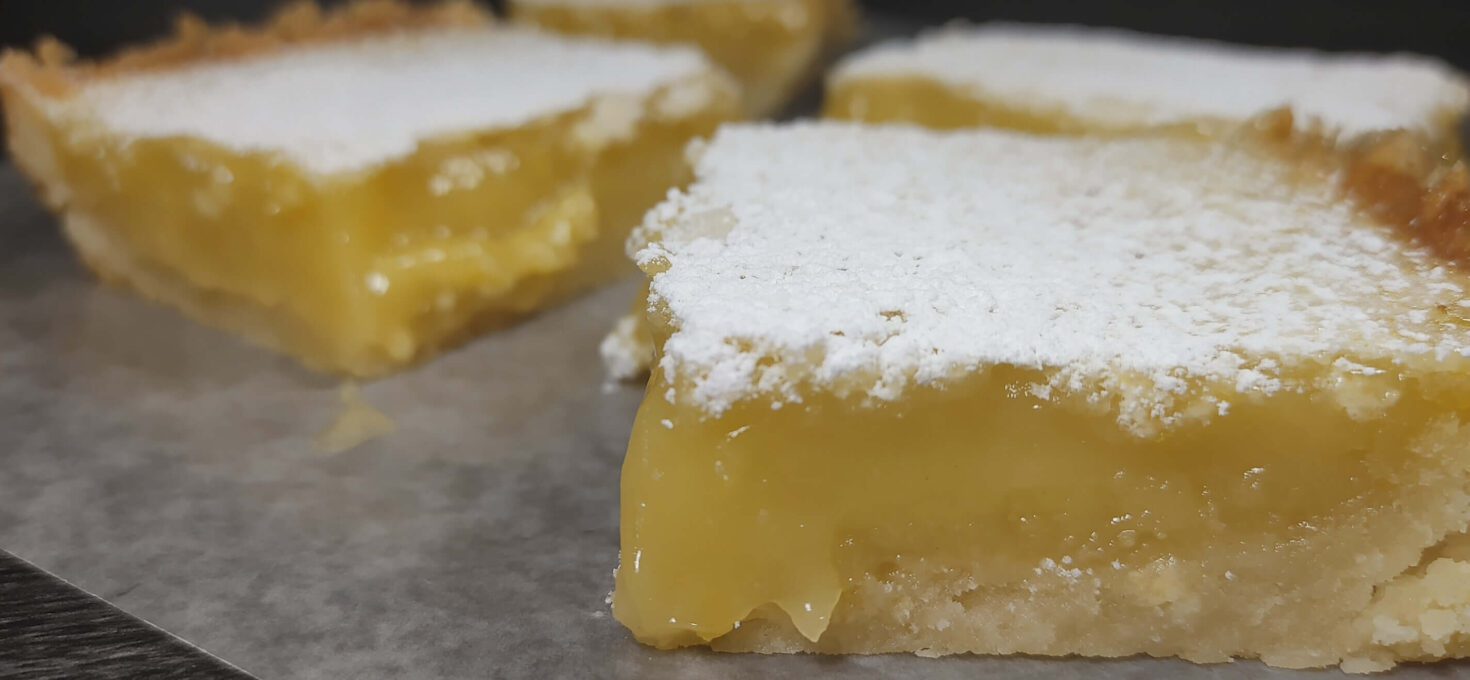
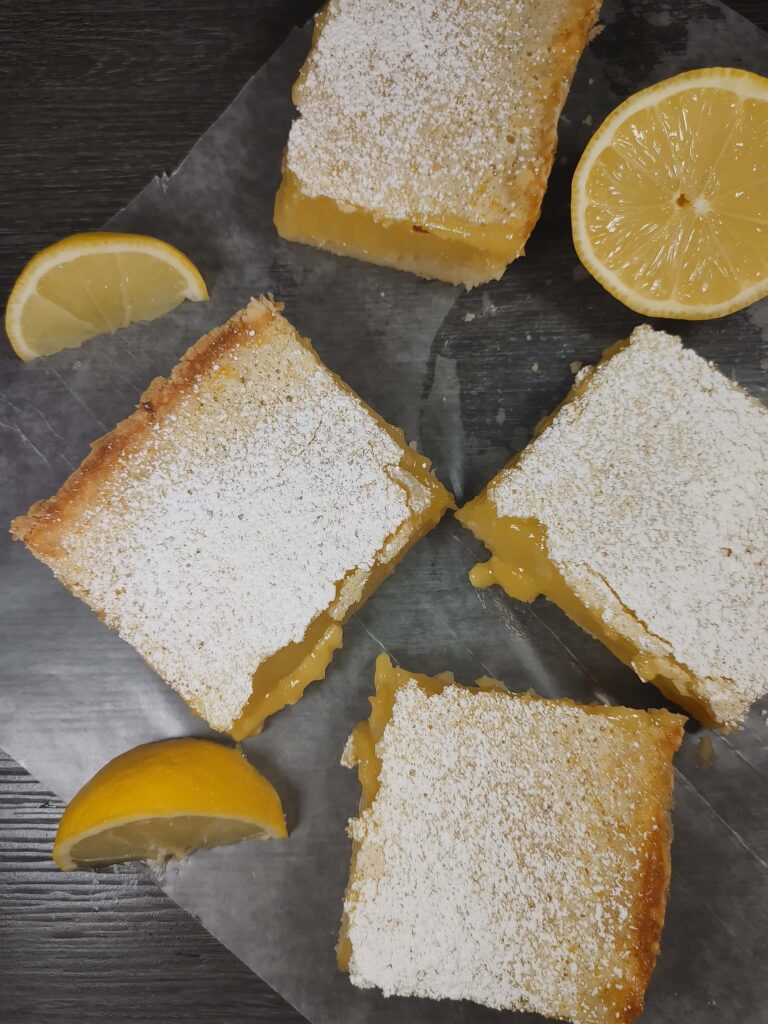
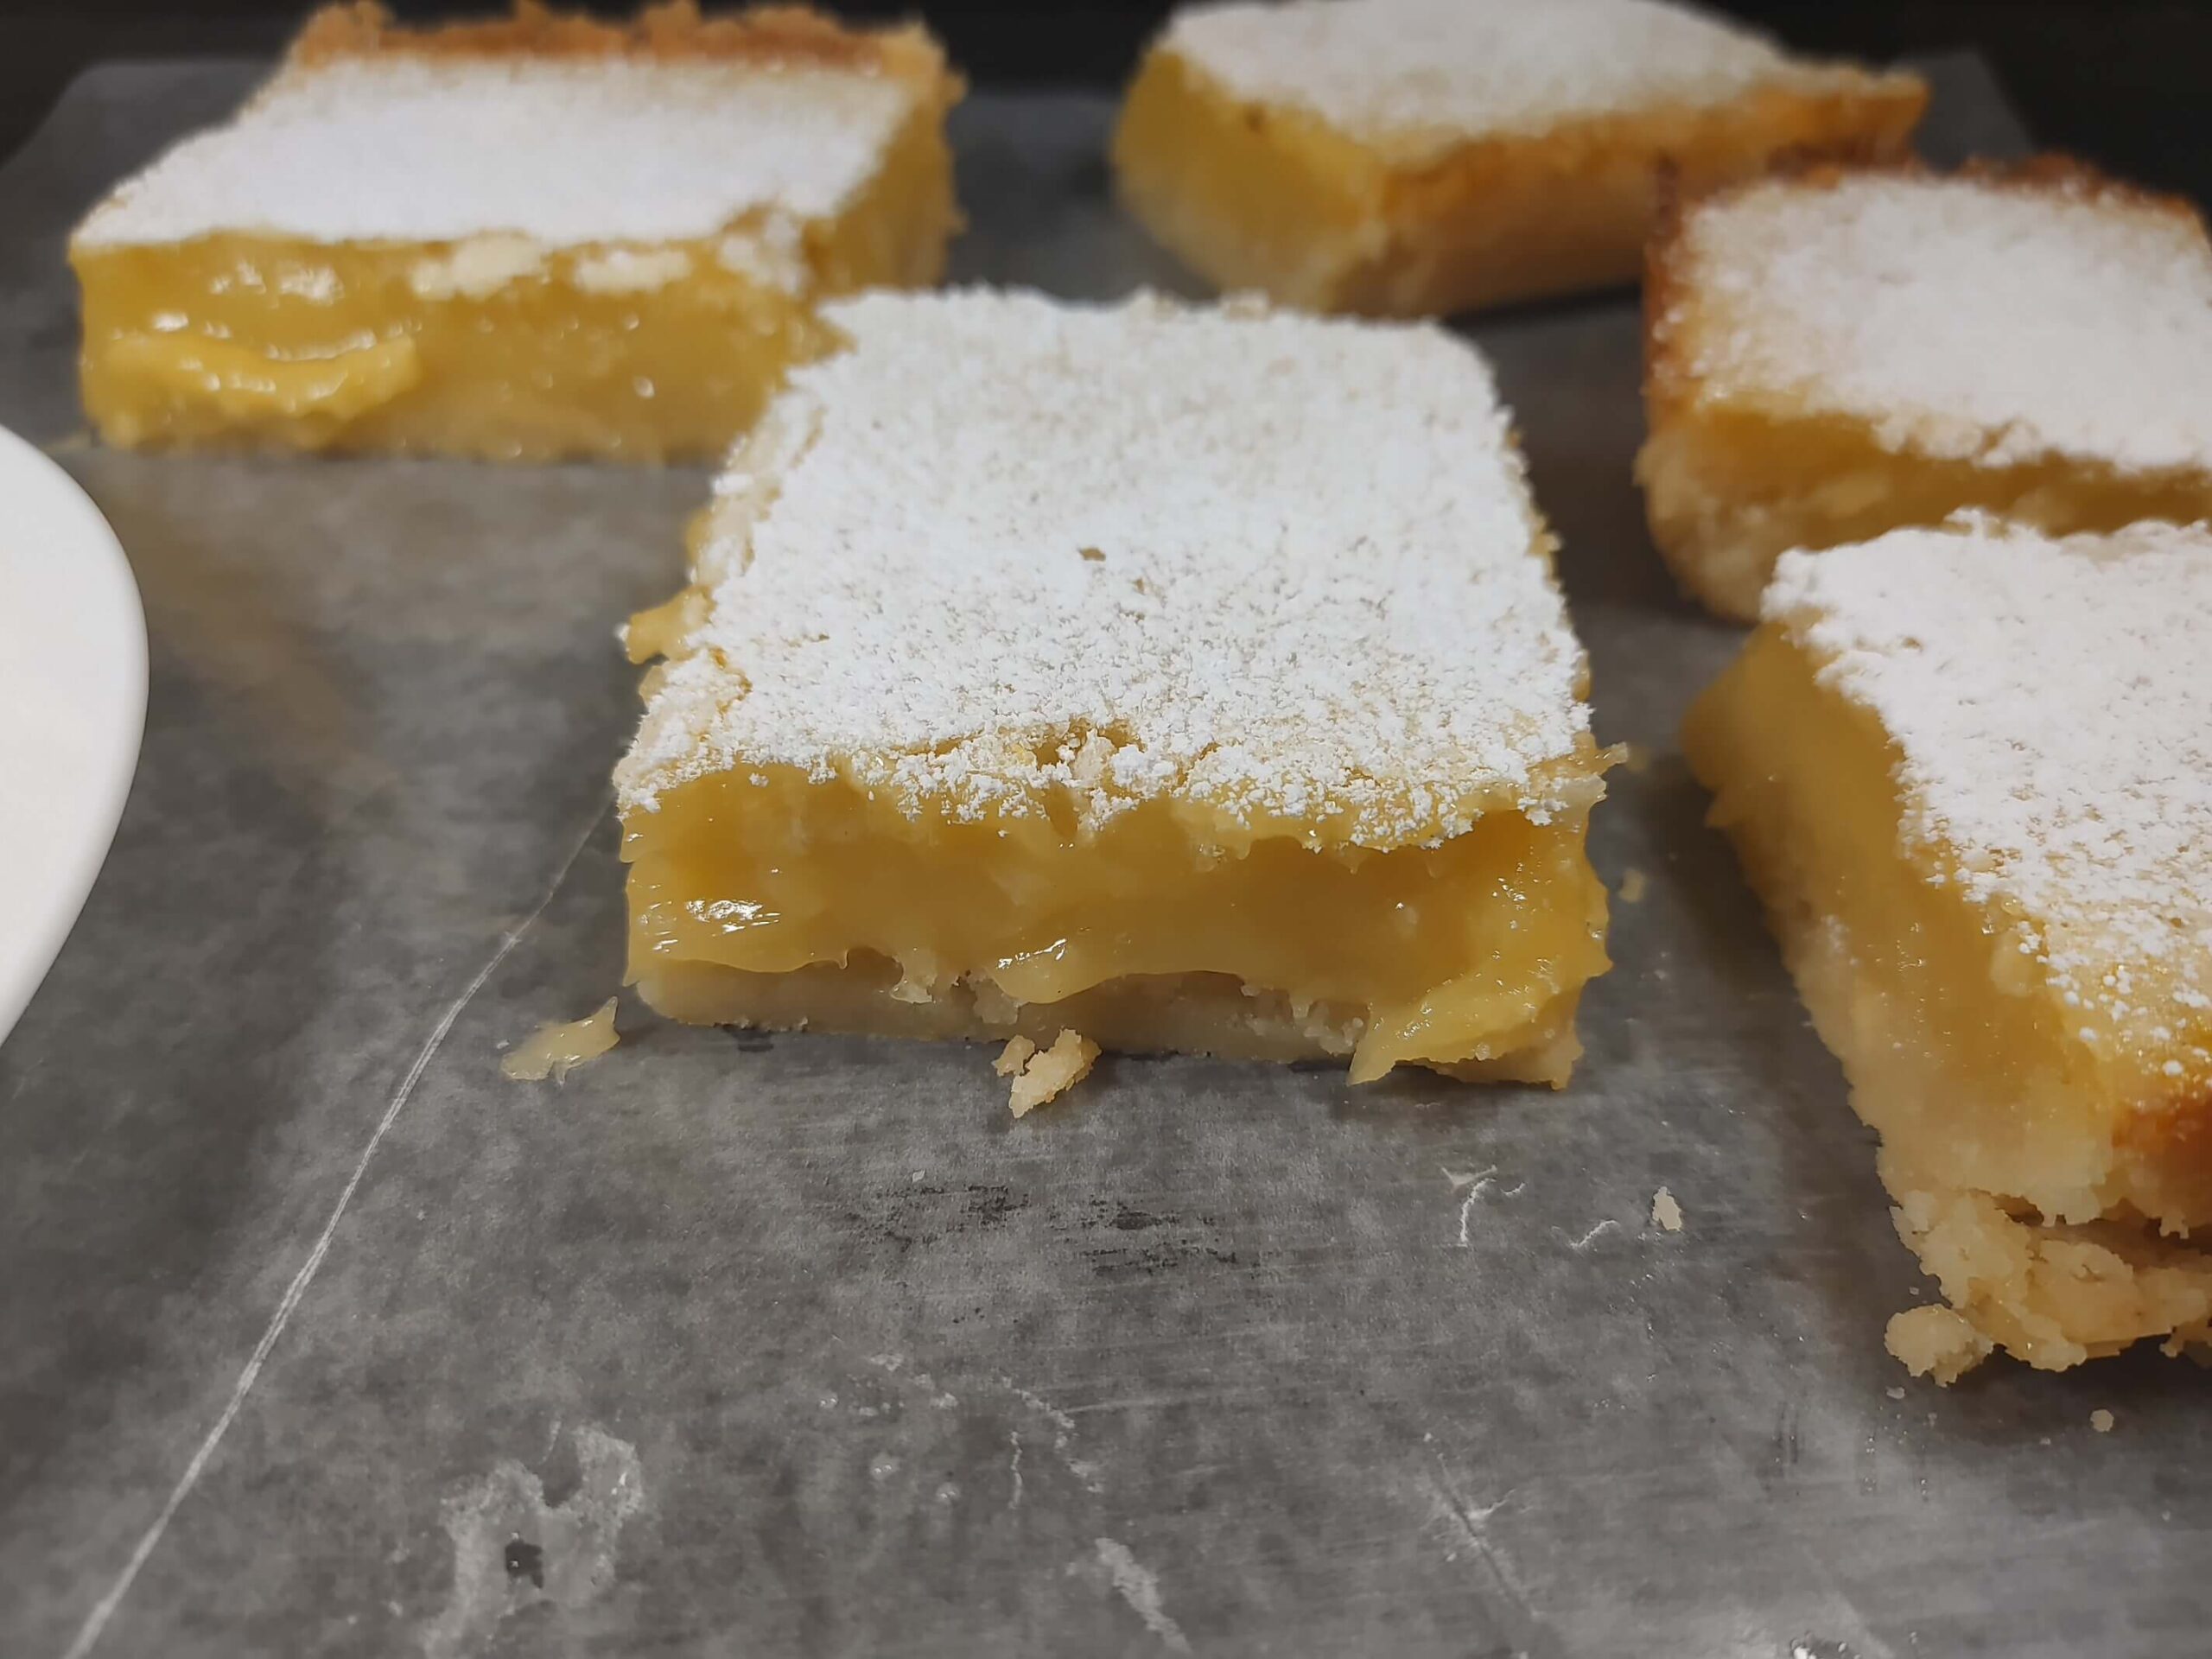
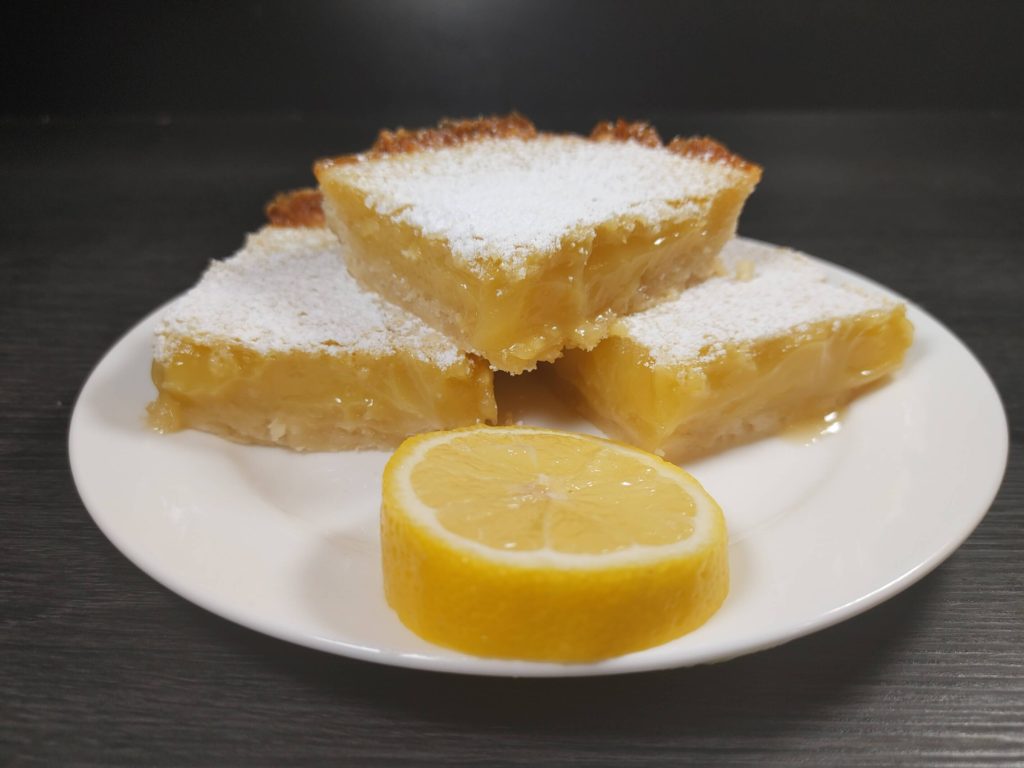
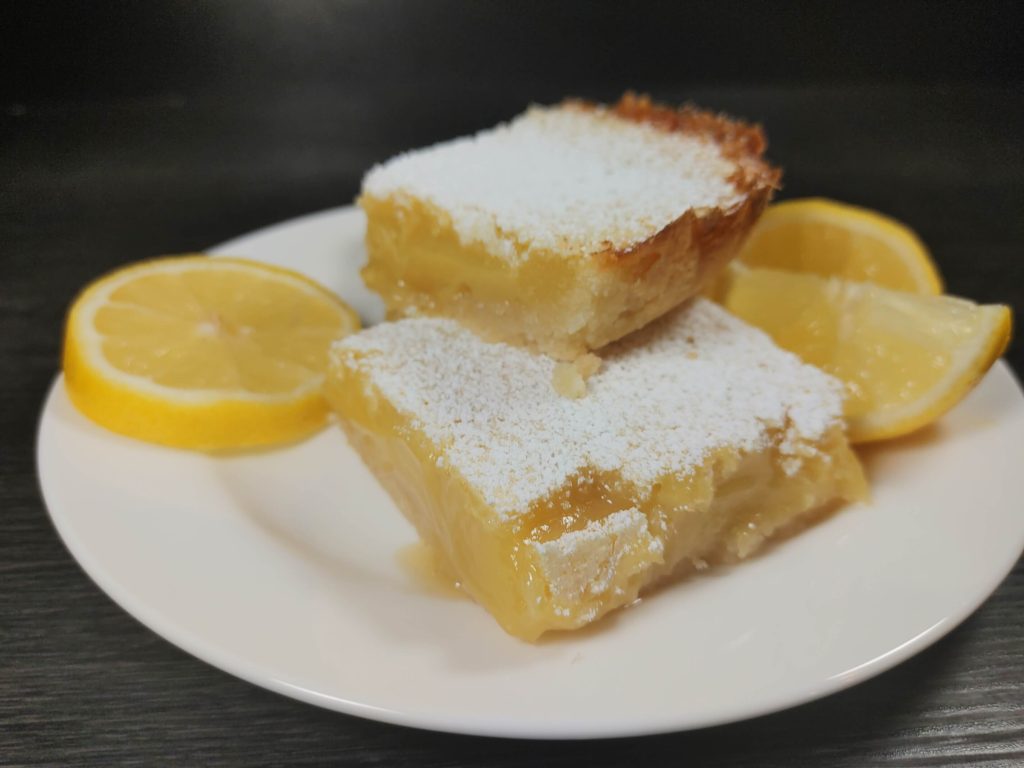
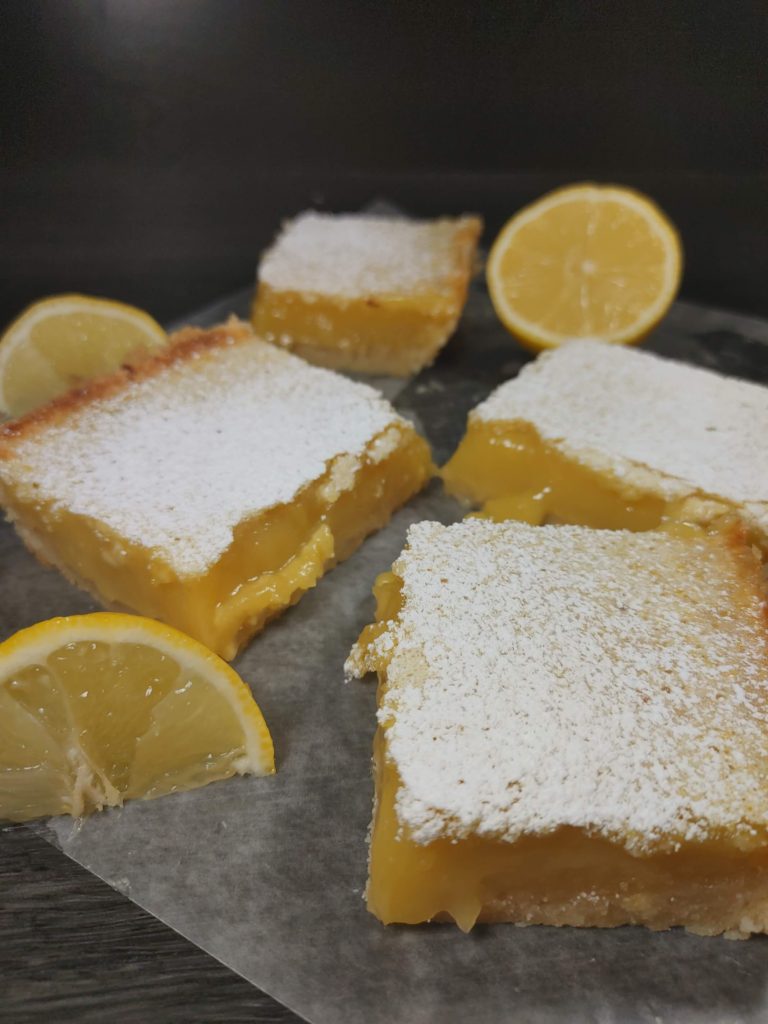
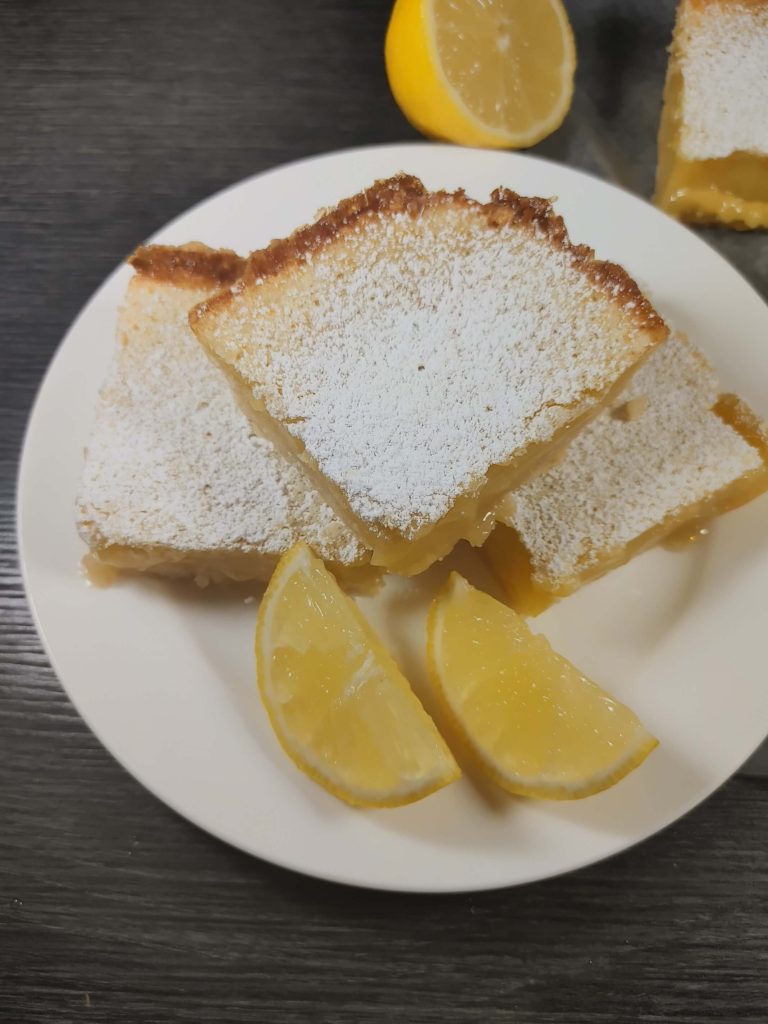
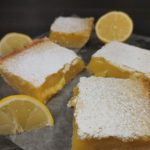
These Easy Homemade Lemon Bars are a wonderful treat. Full of bright and zesty flavor, plus a deliciously buttery shortbread crust, this classic is a family favorite! These are the best homemade lemon bars I have tasted. I usually give all of our leftover cookies and treats away to our neighbors so I don’t eat them all, but this is the only recipe my wife won’t let me give away, so you know they are that good.
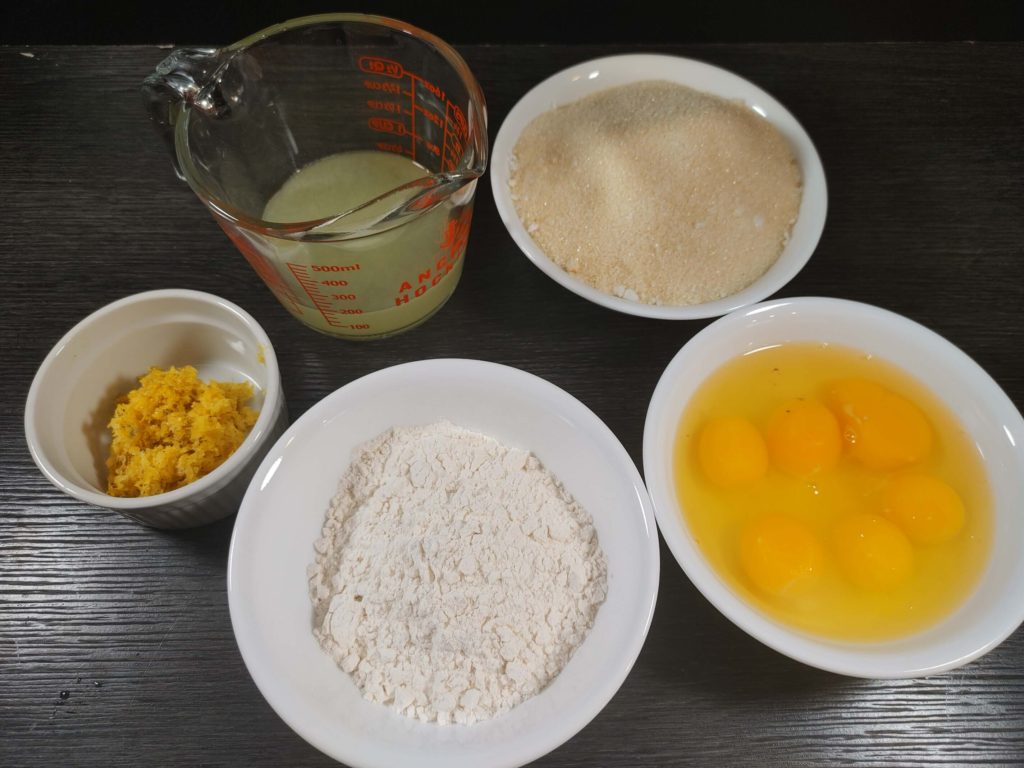
INGREDIENTS YOU’LL NEED:
Crust Ingredients:
- 1¾ Cups Flour: Provides the base structure for the crust, creating a firm foundation for the lemon bars.
- ¼ Cup Cornstarch: Adds a tender, melt-in-your-mouth texture to the crust.
- 1 Tsp Salt: Enhances the flavor and balances the sweetness.
- 1 Cup Powdered Sugar: Sweetens the crust while giving it a smooth texture.
- 2 Sticks Unsalted Butter (cubed into pieces): Adds richness and helps bind the dry ingredients together to form a cohesive crust.
Lemon Filling:
- 6 Eggs: Provides structure and richness to the lemon filling.
- 2¼ Cups Sugar: Sweetens the filling and balances the tartness of the lemon juice.
- 2 Tbsp Lemon Zest: Adds a concentrated lemon flavor and fragrant aroma.
- ⅔ Cup Lemon Juice (squeezed): Delivers a bright, tangy flavor that is essential for lemon bars.
- ¾ Cup Flour: Thickens the filling, ensuring it sets properly and has the right consistency.
HOW TO PREPARE LEMON BARS?
Time needed: 1 hour and 20 minutes
- Preheat Oven:
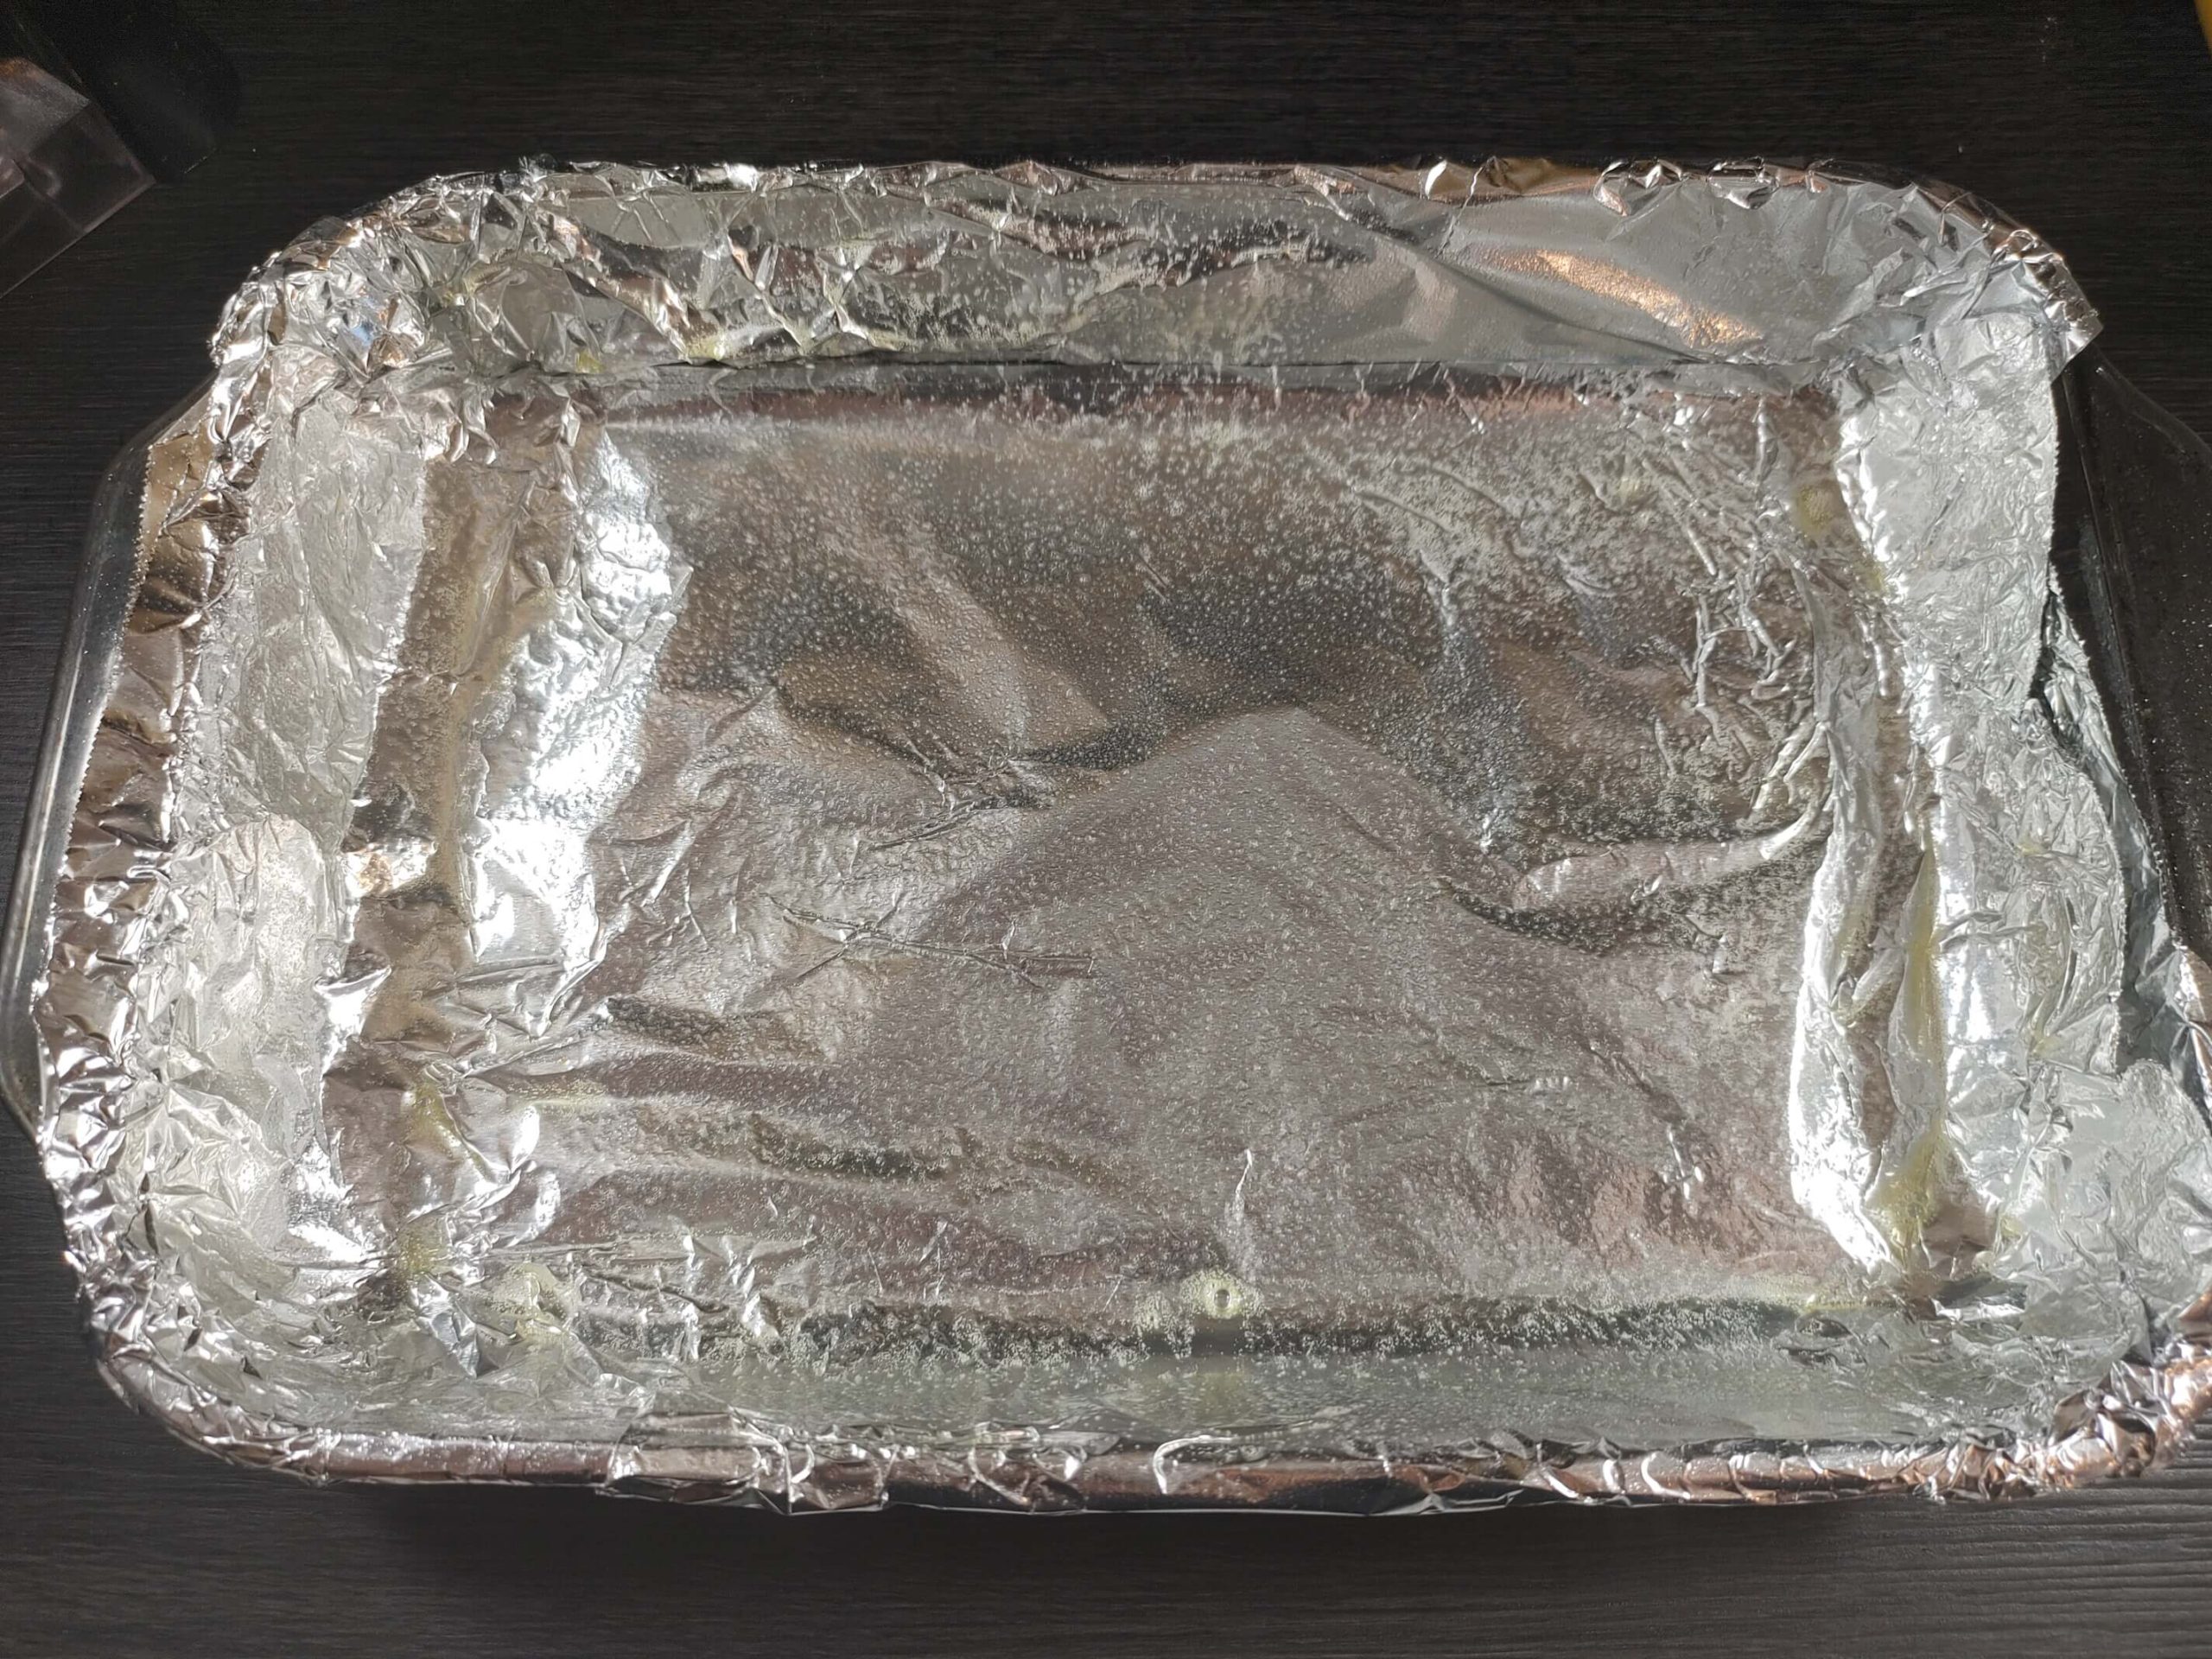
Preheat your oven to 350°F (175°C). Grease a 9×13-inch baking dish or line it with parchment paper or aluminum foil for easier removal of the bars later.
- Crust Preparation:
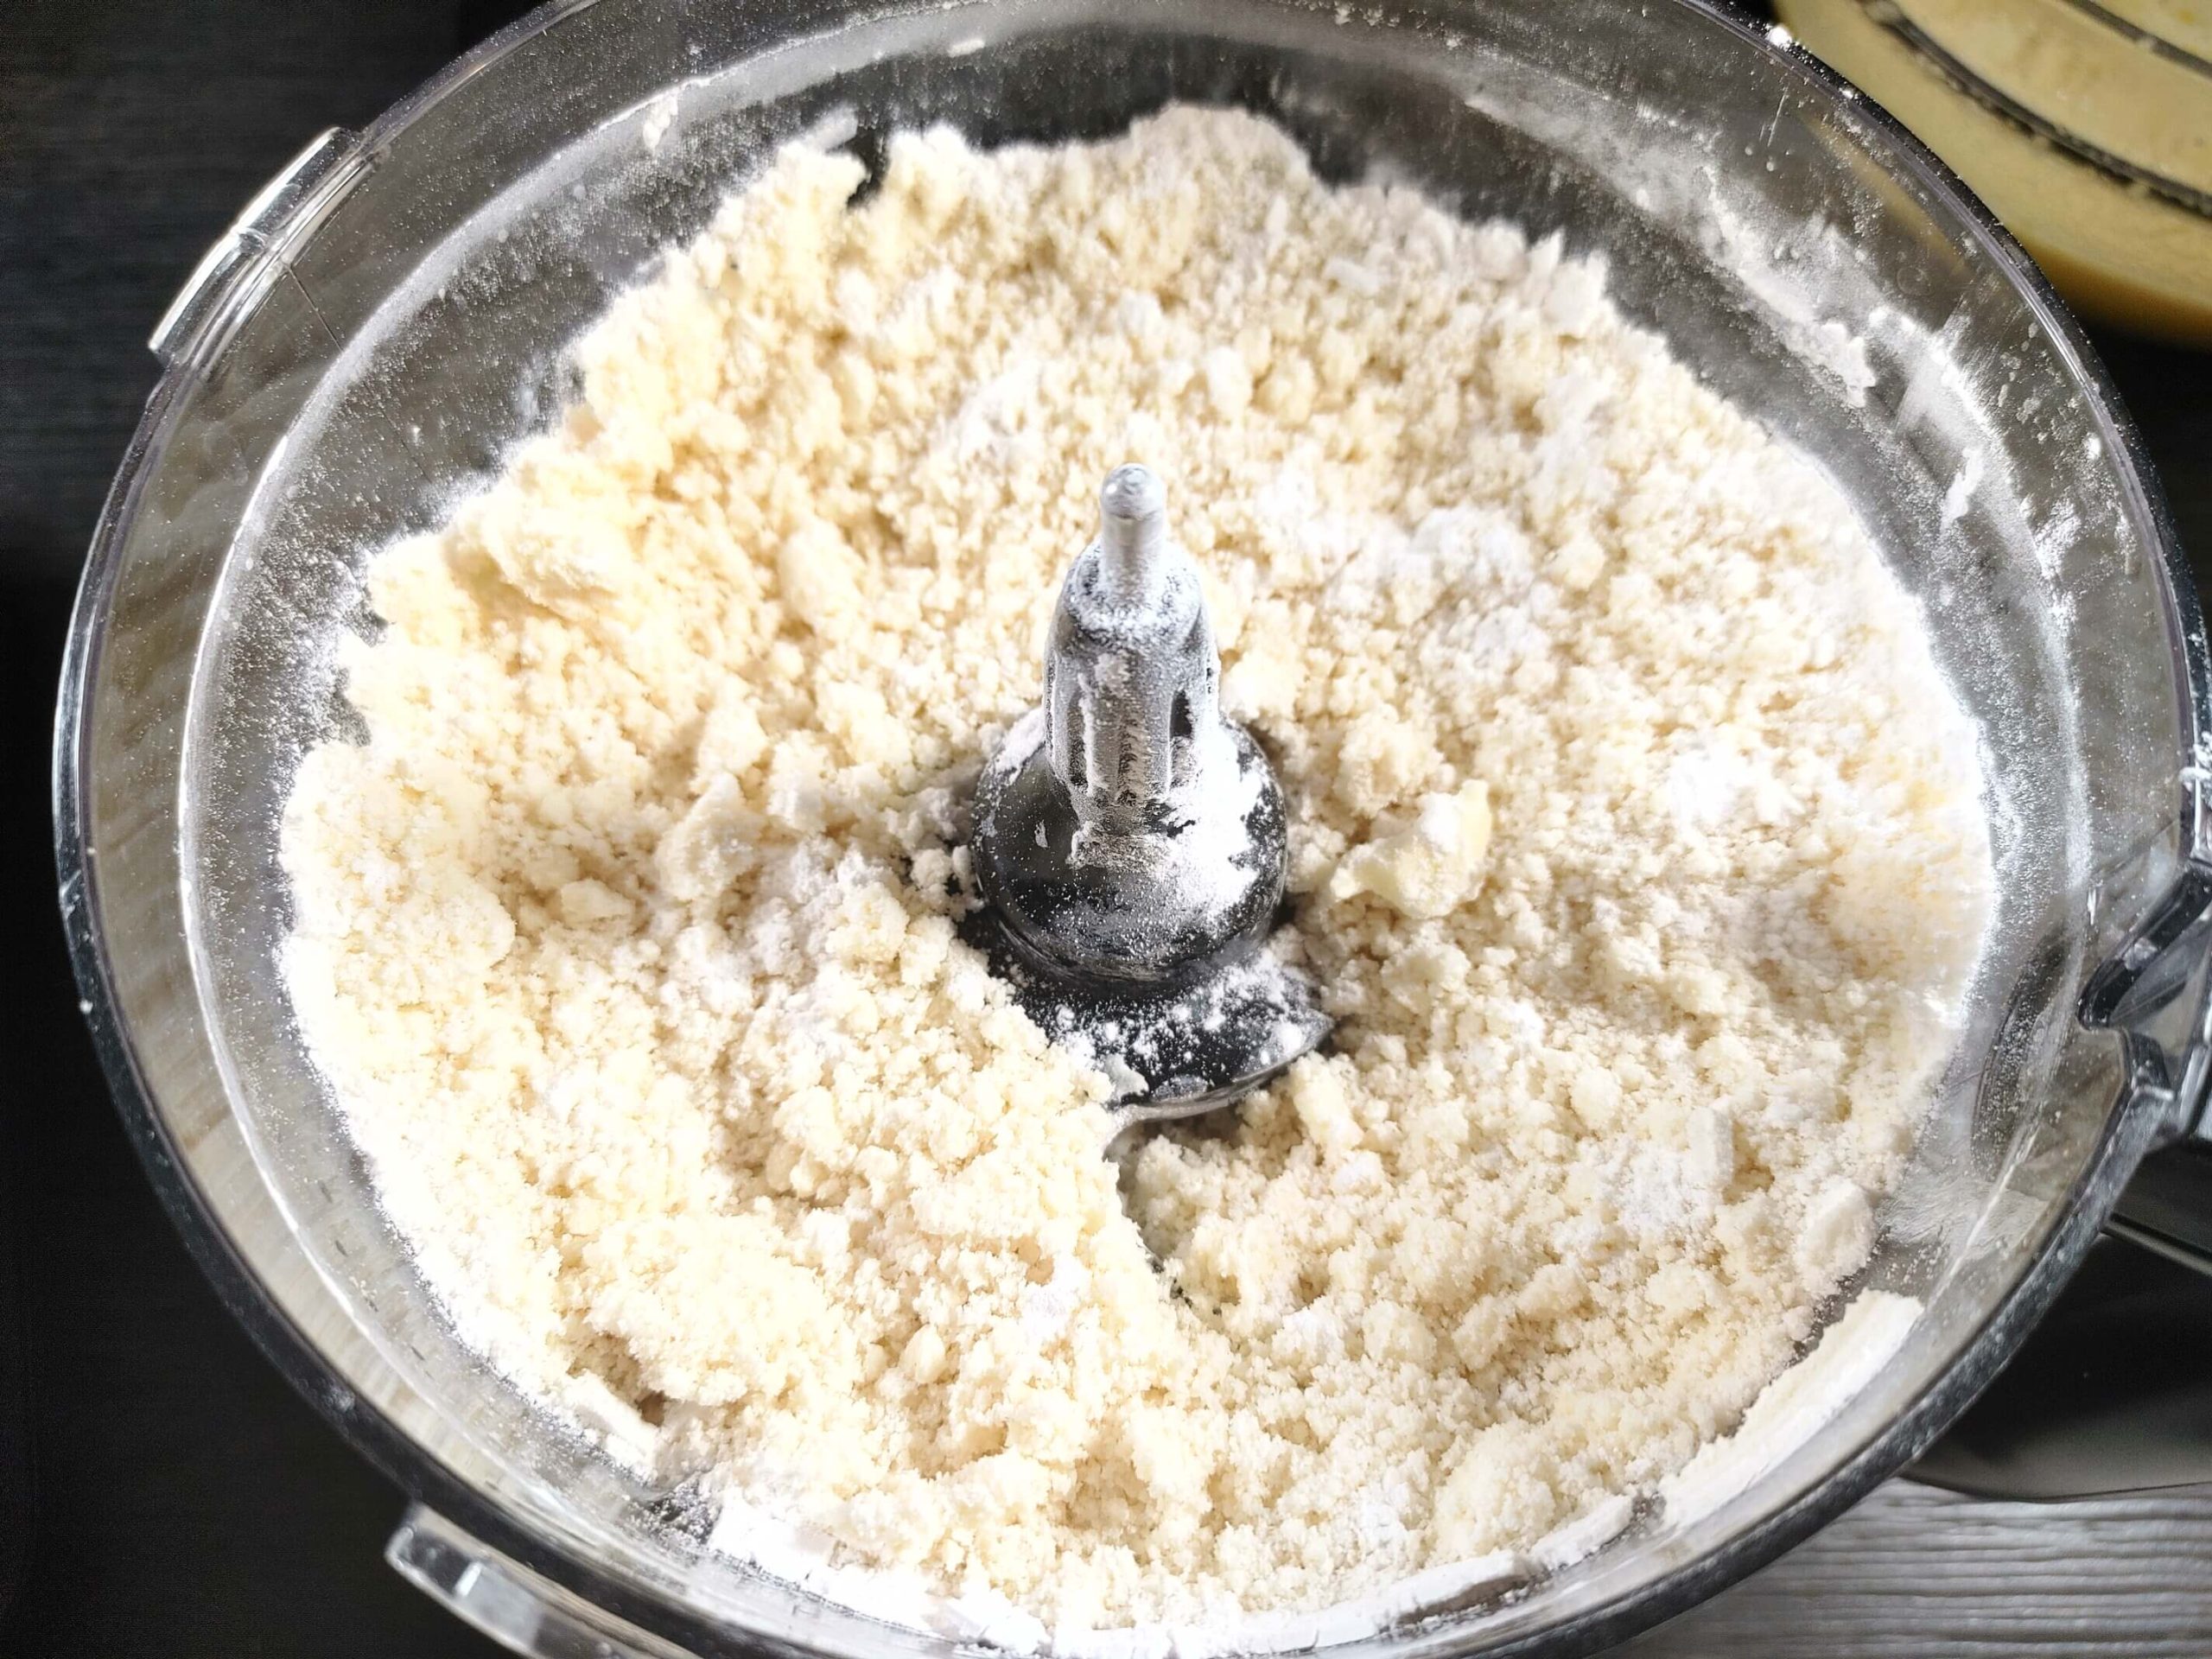
In a large mixing bowl, combine 1¾ cups of flour, ¼ cup of cornstarch, 1 tsp of salt, and 1 cup of powdered sugar. Mix until well combined.
Add Butter: Add the 2 sticks of cubed unsalted butter to the dry ingredients. Using a pastry cutter or your fingers, blend the butter into the flour mixture until it resembles coarse crumbs. - Form the Crust and Bake:
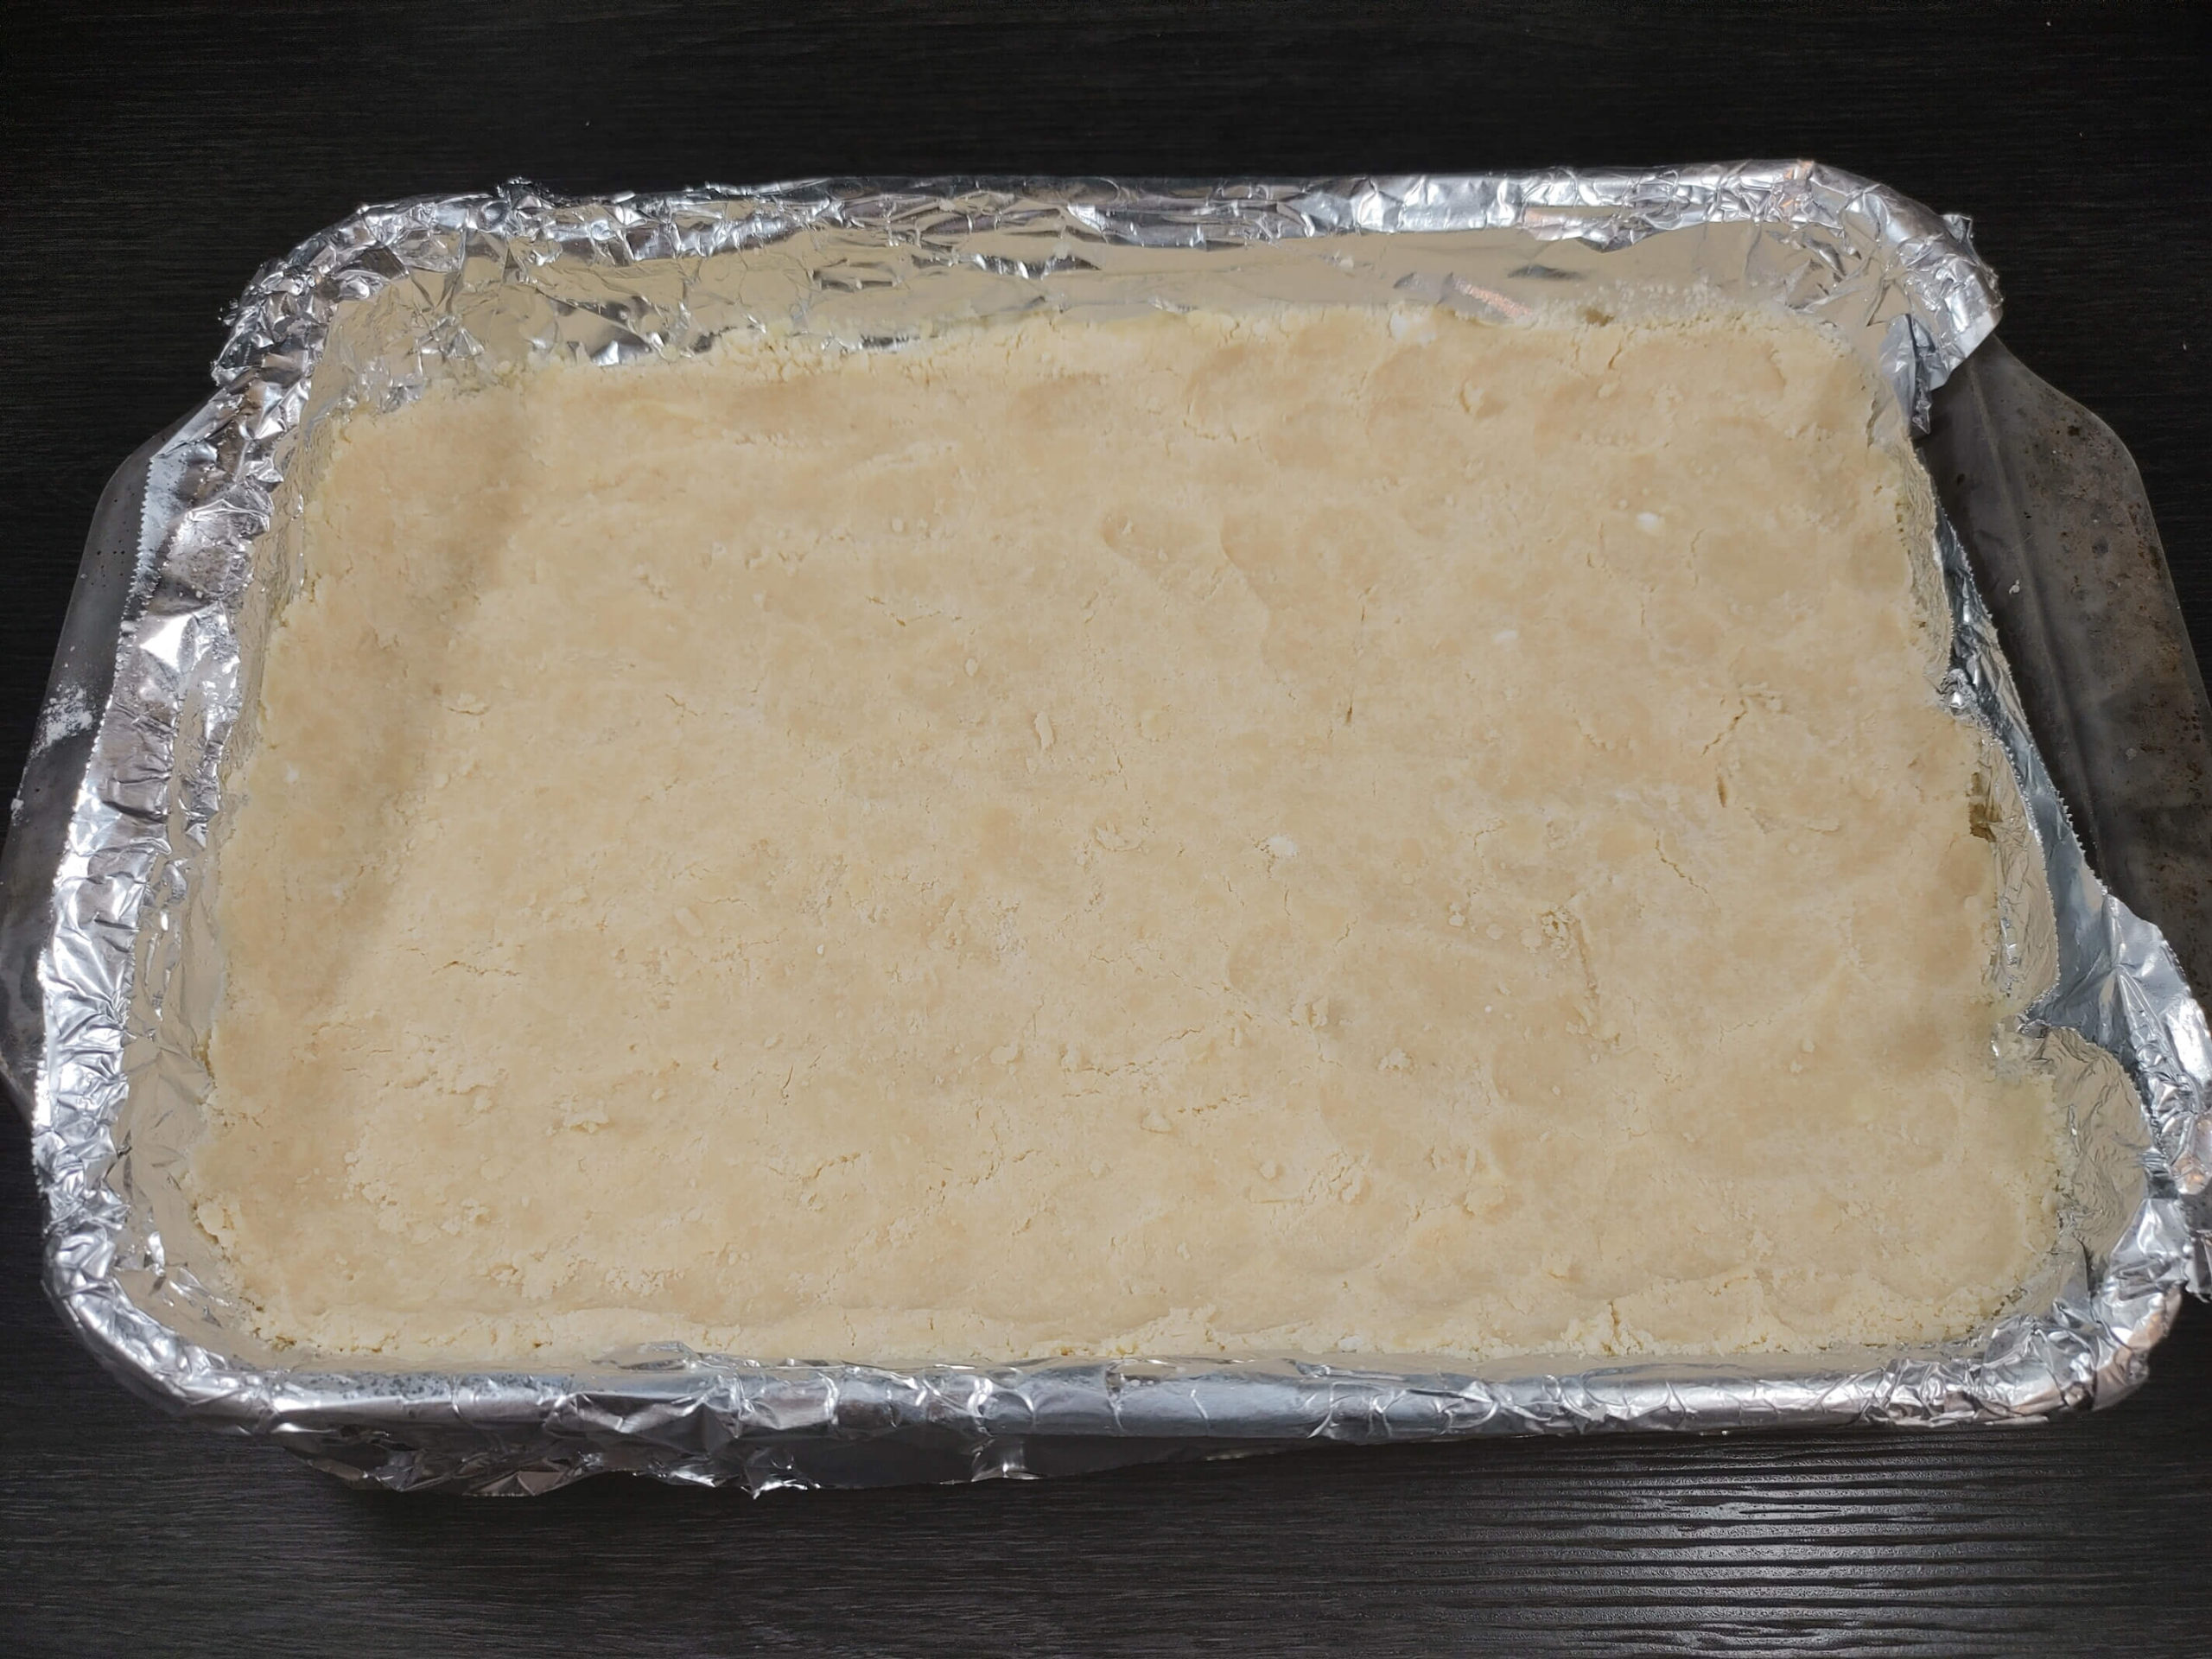
Press the mixture evenly into the prepared baking dish, ensuring the crust is firmly packed and even.
Bake in the preheated oven for about 20 minutes or until the crust is lightly golden. Remove from the oven and let it cool slightly while you prepare the filling. - Lemon Filling Preparation:
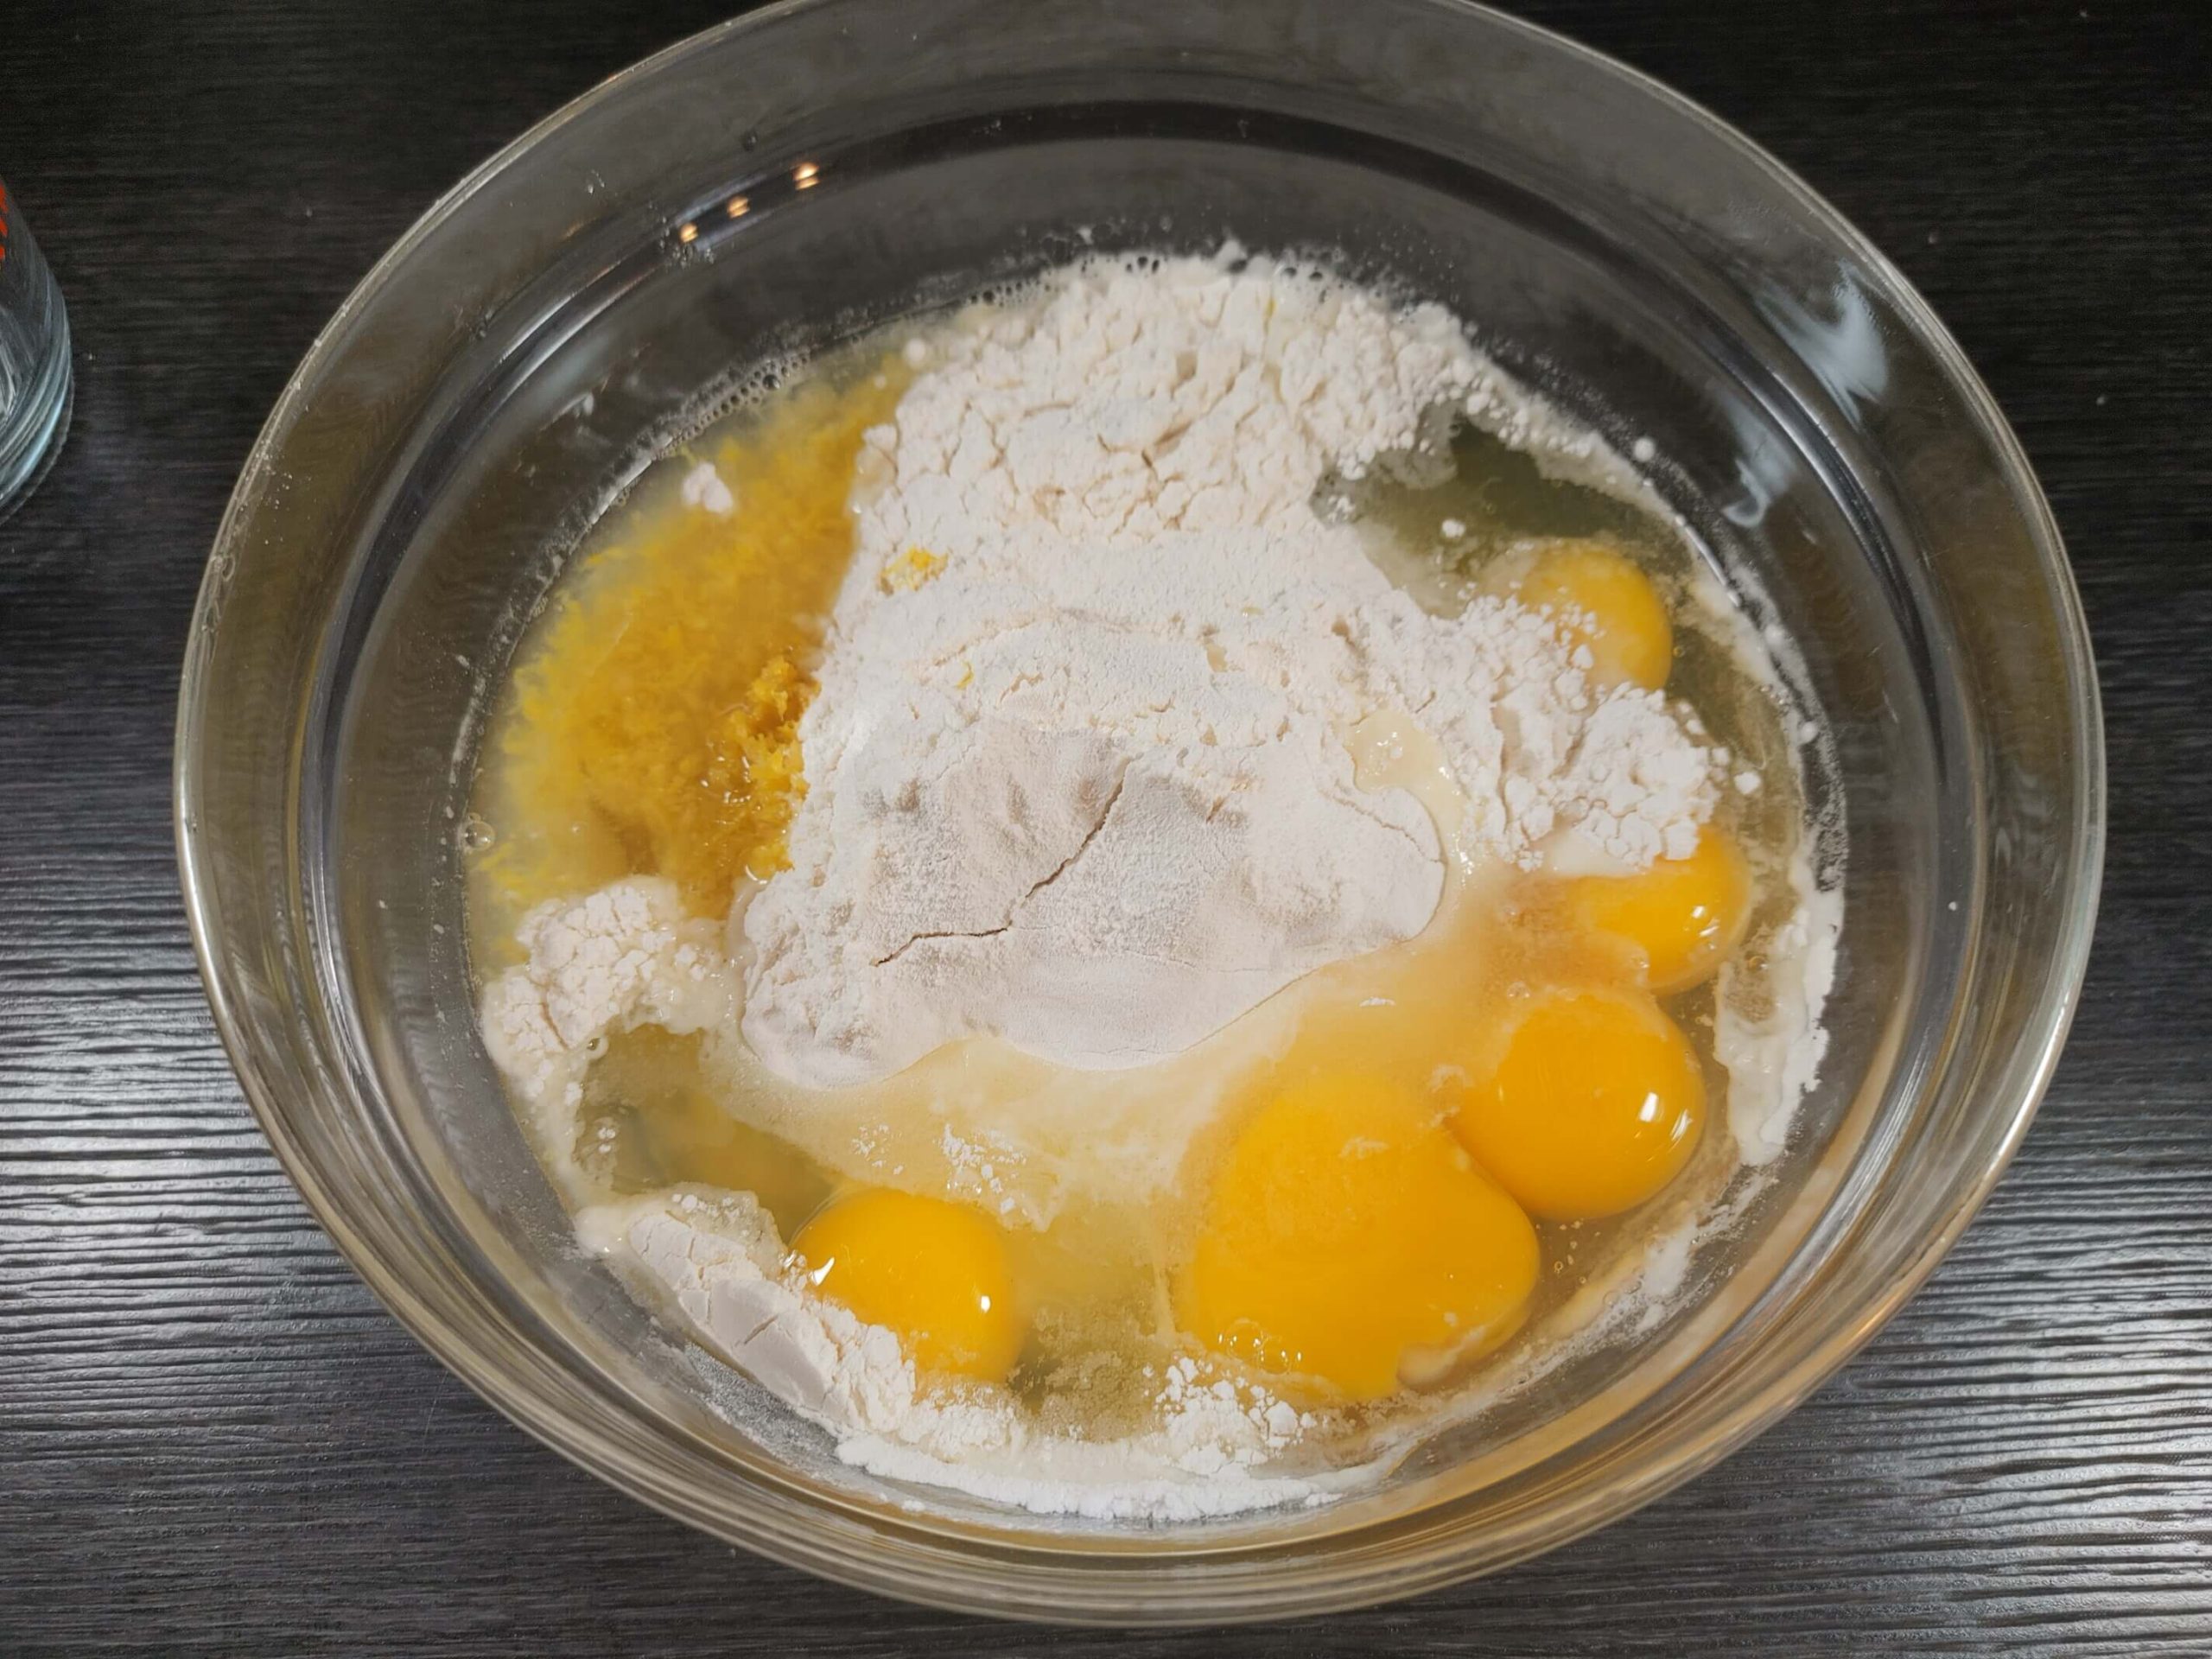
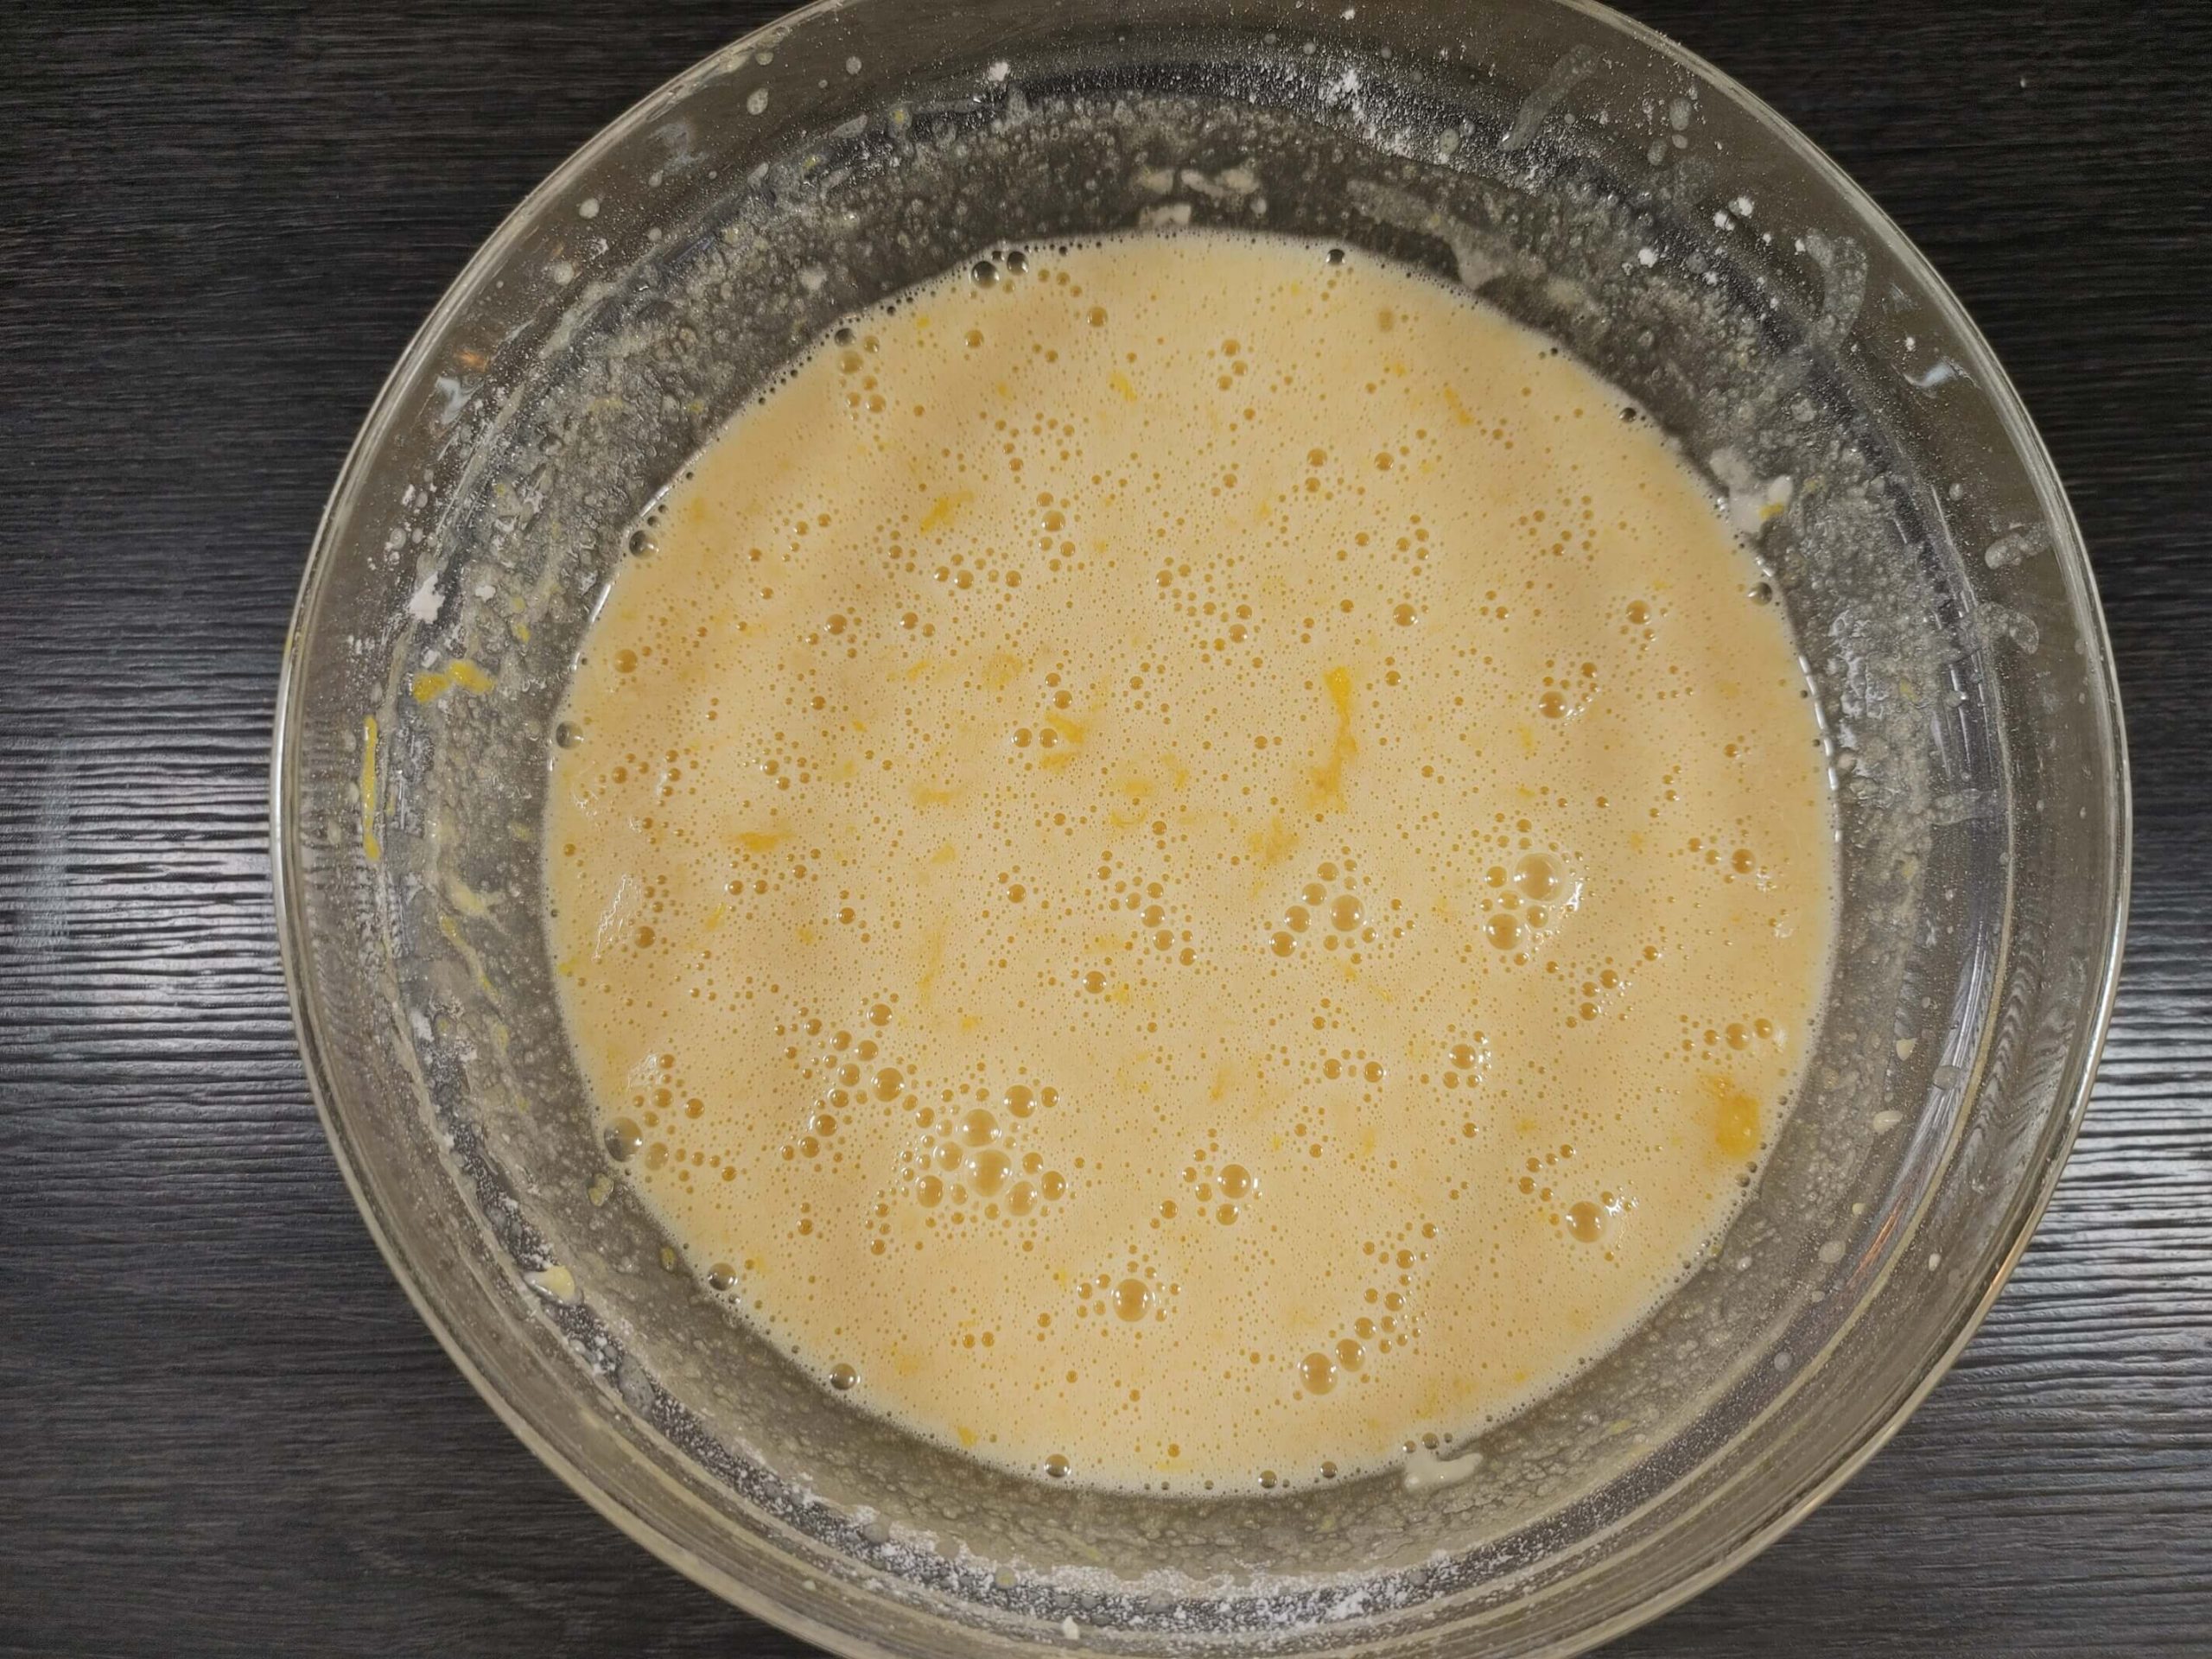
In a large mixing bowl, whisk together 6 eggs and 2¼ cups of sugar until smooth and well combined.
Add 2 tablespoons of lemon zest and ⅔ cup of freshly squeezed lemon juice to the egg mixture. Whisk until well mixed. - Incorporate Flour:
Gradually add ¾ cup of flour to the lemon mixture, whisking continuously to avoid lumps and ensure a smooth filling. - Assemble and Bake:
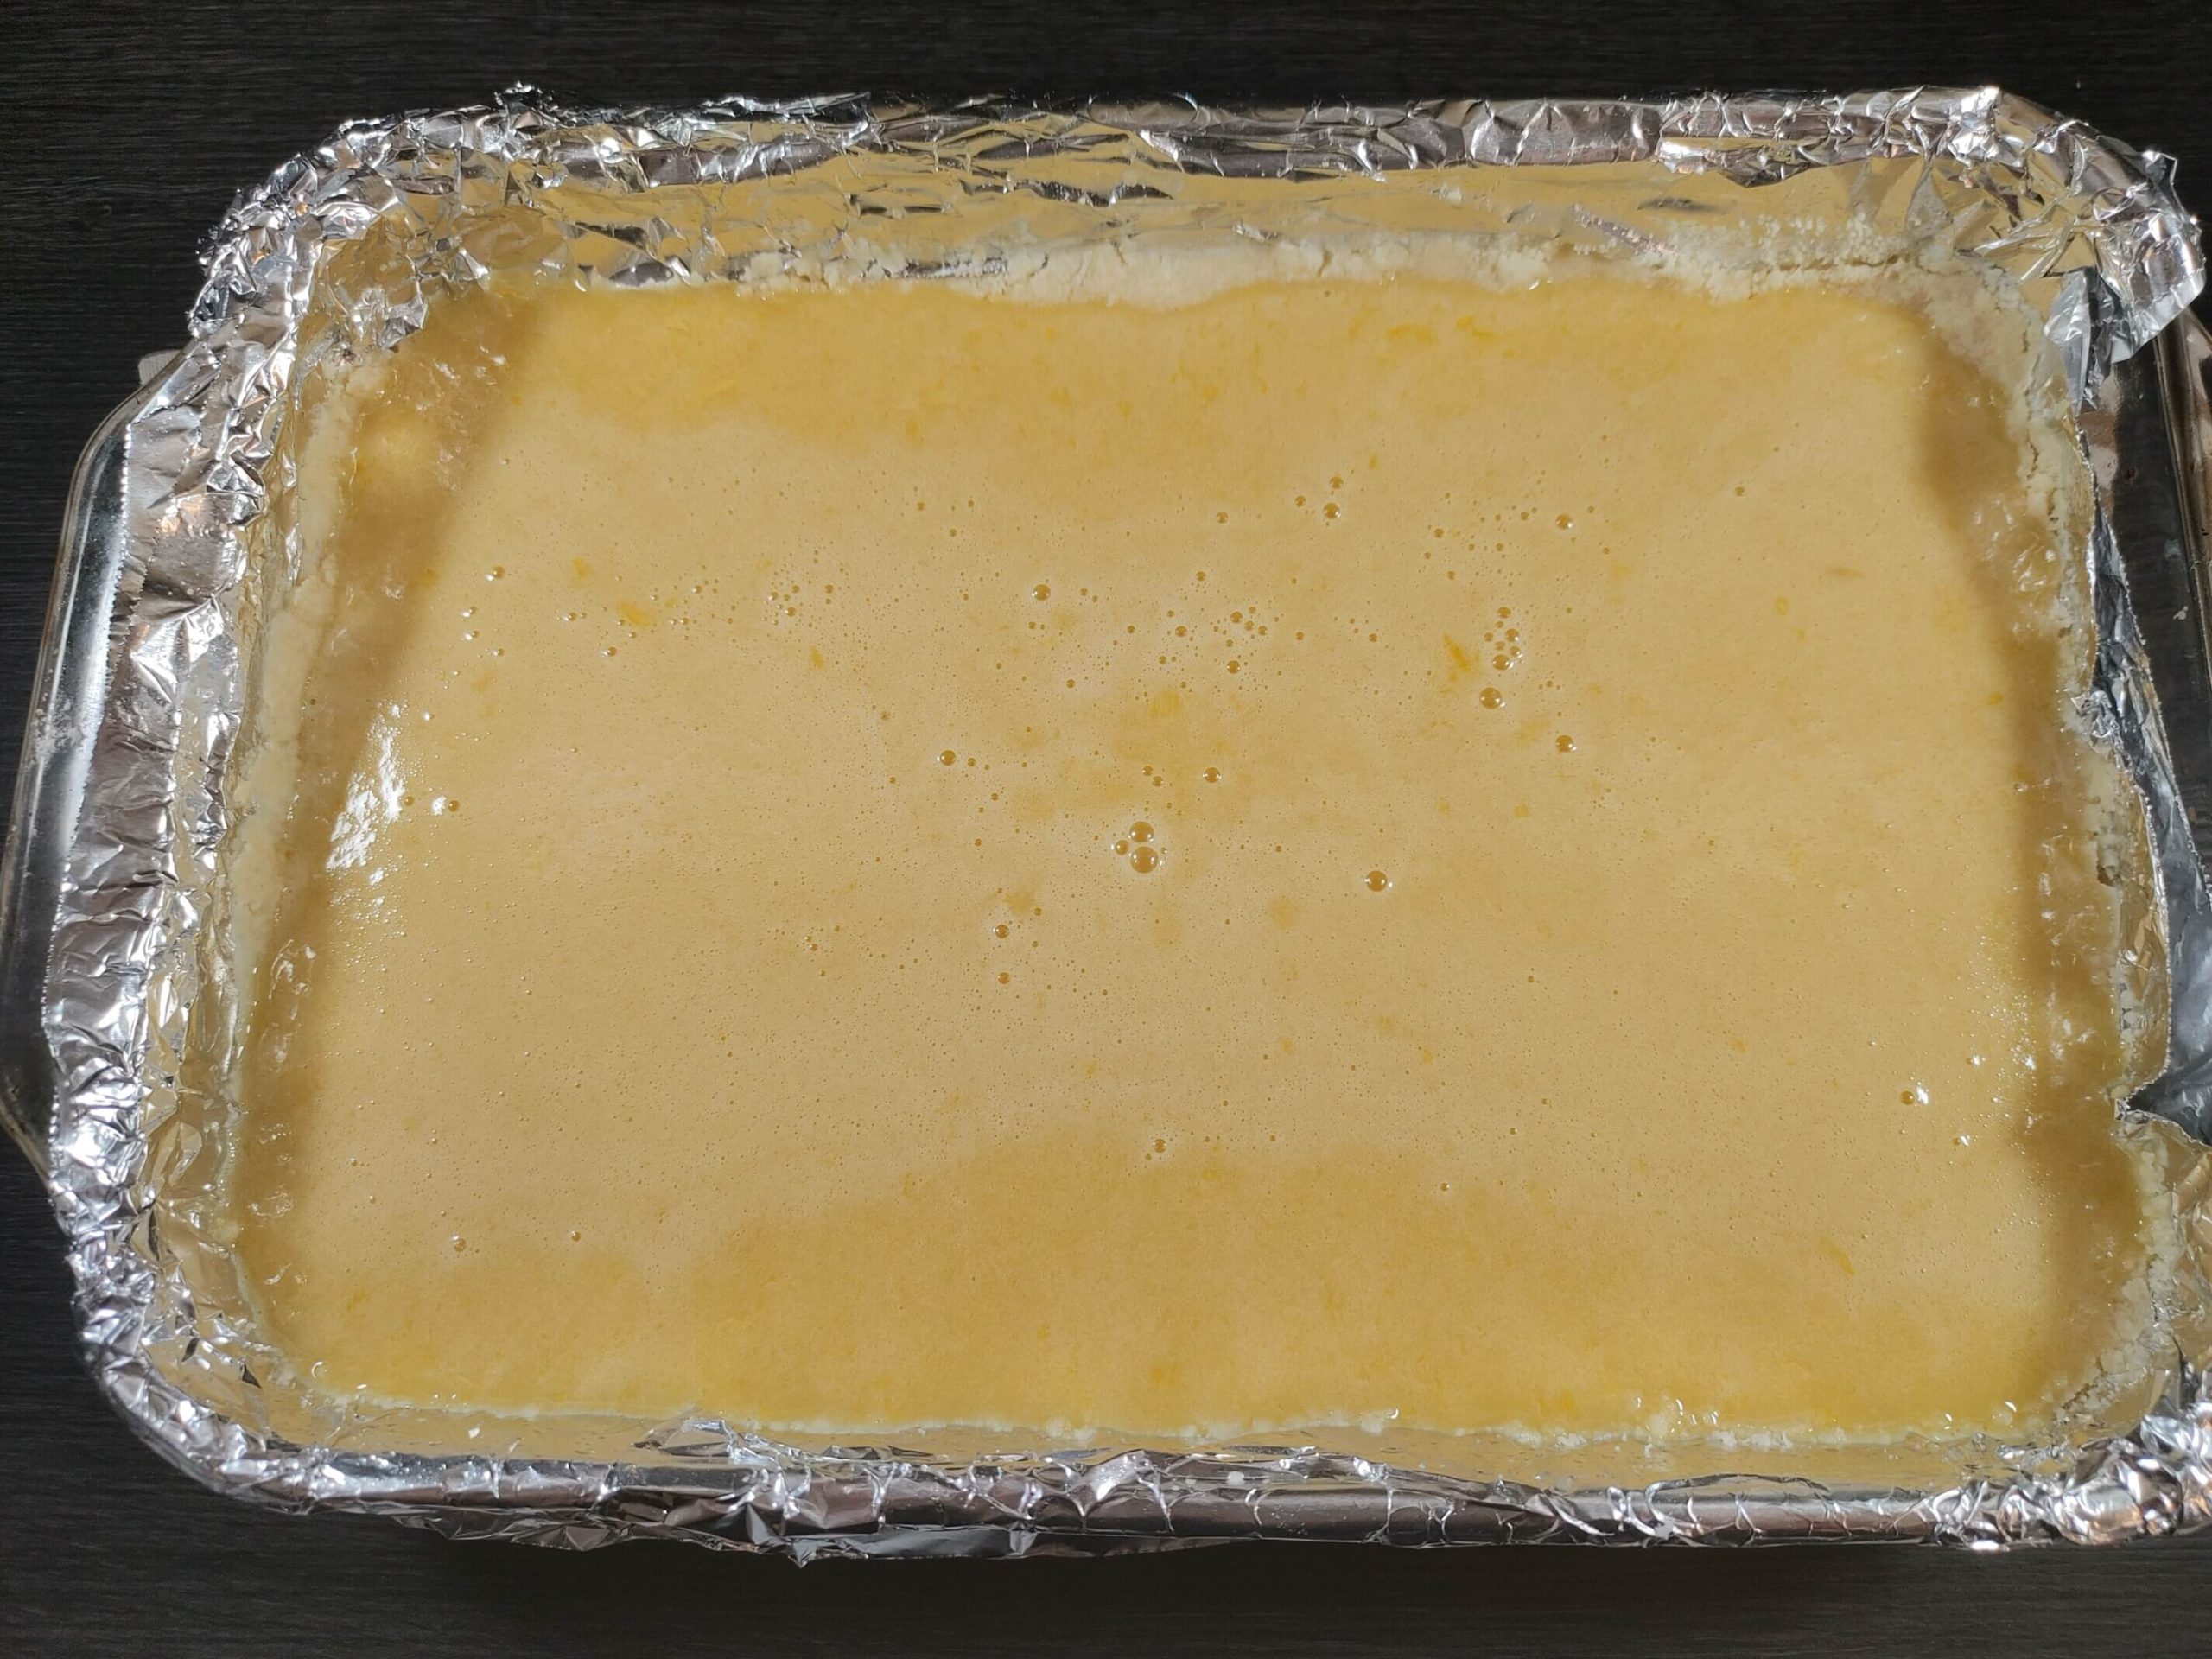
Once the crust has cooled slightly, pour the lemon filling evenly over the crust. - Bake:
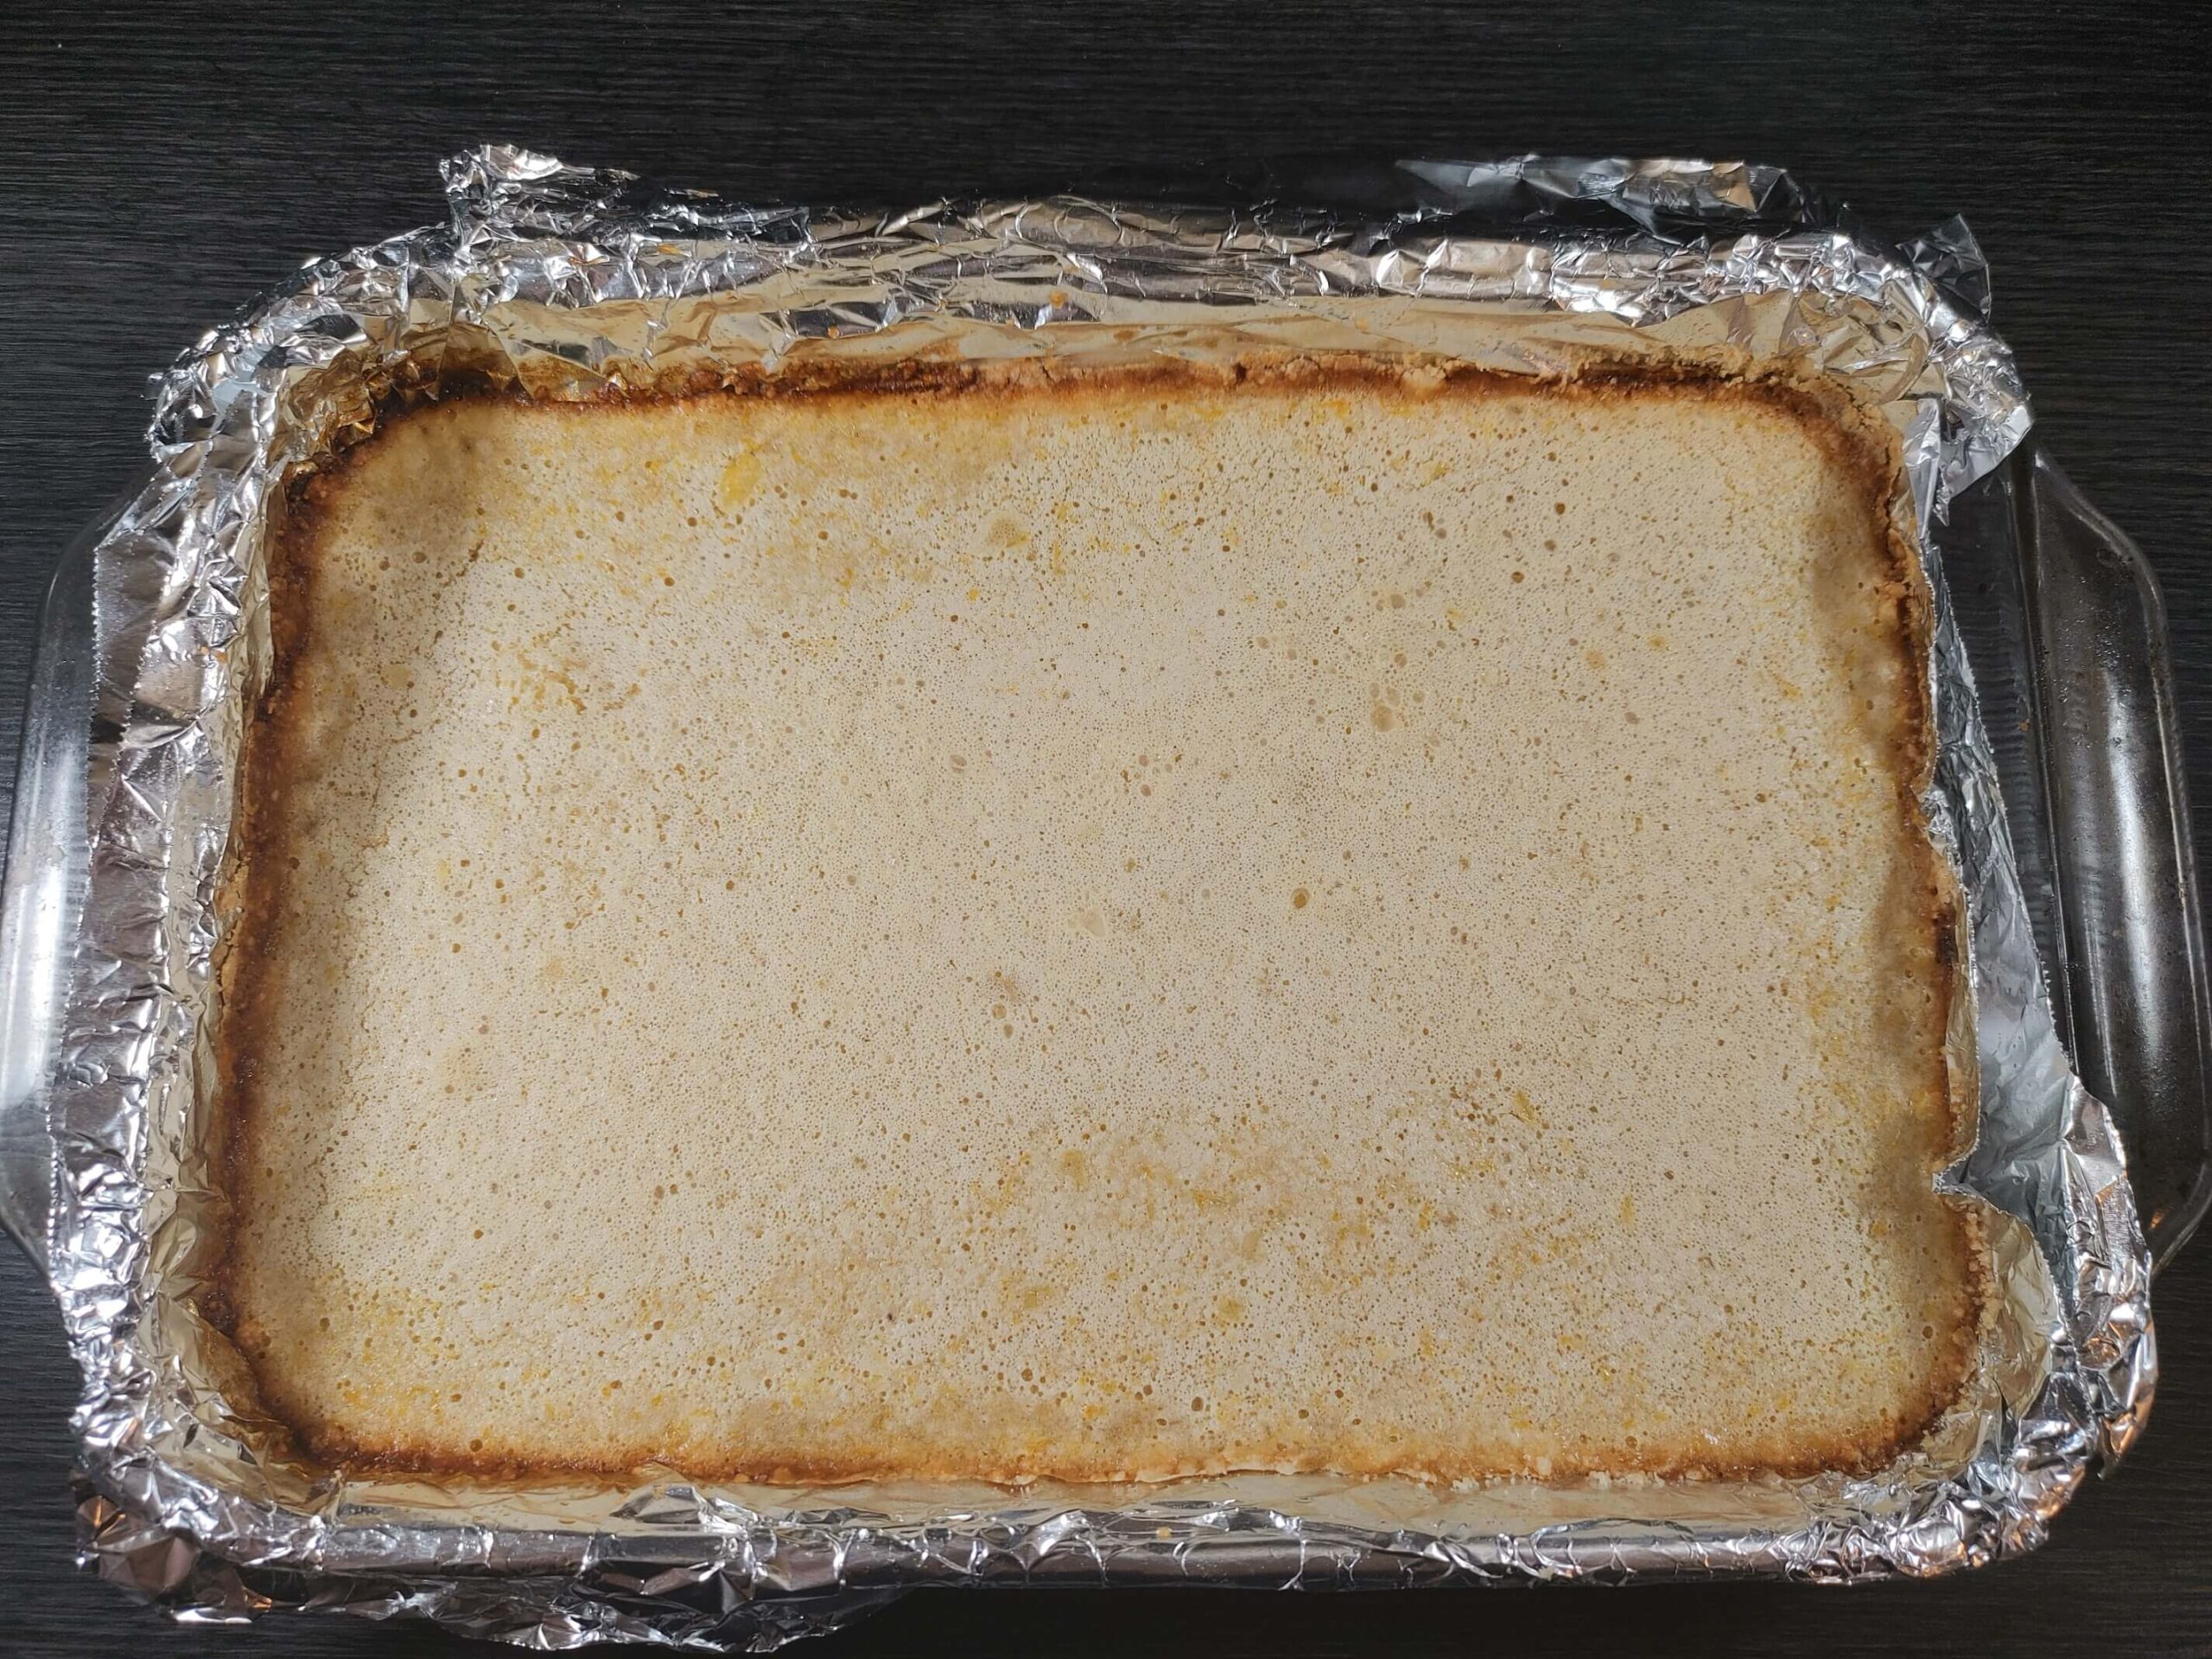
Return the baking dish to the oven and bake at 350°F (175°C) for 25-30 minutes, or until the filling is set and the top is lightly golden.
Remove from the oven and let the lemon bars cool completely in the baking dish. - Cut and Serve:
Dust with Powdered Sugar: Once cooled, dust the top of the lemon bars with additional powdered sugar for a decorative touch and extra sweetness.
Cut into squares or bars and serve. Enjoy your homemade lemon bars!
FAQ – FREQUENTLY ASKED QUESTIONS
Lemon bars should be stored in an airtight container and refrigerated in order to prevent bacterial growth or foodborne illness. The filling in lemon bars is made with eggs which can become a breeding ground for bacteria if it’s kept at room temperature.
You will know your lemon bars are done when the center does not jiggle and the edges are browned. As the bars cool the filling in the middle will continue to firm. Follow the recommended baking time but if the bars seem runny you can give them an additional 3-5 minutes.
Place the lemon bars into the freezer to chill for about 15 minutes before cutting. Line the pan with foil or parchment, and use the two ends of the foil that hang over the edge of the lemon bars to lift the entire sheet out onto a cutting board for easy cutting.
CAN LEMON BARS BE FROZEN?
Lemon bars can be frozen. To freeze the bars, let them cool completely and cover them tightly with aluminum foil and freeze them for up to three months. Before serving, remove them from the freezer and let them thaw overnight in the refrigerator. Cut the bars and then sprinkle with powdered sugar before serving.
PRO TIPS WHEN MAKING LEMON BARS
- Use Fresh Lemons: Always use freshly squeezed lemon juice and zest for the best flavor. Bottled lemon juice lacks the vibrant taste and fragrance of fresh lemons.
- Room Temperature Ingredients: Ensure eggs and butter are at room temperature before mixing. This helps the ingredients blend more smoothly and results in a more consistent texture.
- Blind Bake the Crust: To prevent a soggy bottom, blind bake the crust until it’s lightly golden before adding the lemon filling. This step ensures a firm and crispy base.
- Sift the Flour: Sift the flour before adding it to the lemon filling to avoid lumps and ensure a smooth, even texture.
- Cool Completely: Allow the lemon bars to cool completely in the baking dish before cutting. This helps the filling set properly and makes it easier to achieve clean, sharp edges when slicing.
LOOKING FOR MORE DESSERTS? TRY THESE!
Famous Magnolia Bakery Banana Pudding
Easy Homemade Lemon Bars
Equipment
Ingredients
Crust Ingredients
- 1¾ Cup Flour
- ¼ Cup Cornstarch
- 1 Tsp Salt
- 1 Cup Powdered Sugar
- 2 Sticks Unsalted Butter (cubed into pieces)
Lemon Filling
- 6 Eggs
- 2¼ Cups Sugar
- 2 Tbsp Lemon Zest
- ⅔ Cup Lemon Juice (squeezed)
- ¾ Cup Flour
Instructions
- Preheat Oven: Preheat your oven to 350°F (175°C). Grease a 9×13 inch baking dish or line it with parchment paper for easier removal of the bars later.
- Crust Preparation: In a large mixing bowl, combine 1¾ cups of flour, ¼ cup of cornstarch, 1 tsp of salt, and 1 cup of powdered sugar. Mix until well combined.
- Add Butter: Add the 2 sticks of cubed unsalted butter to the dry ingredients. Using a pastry cutter or your fingers, blend the butter into the flour mixture until it resembles coarse crumbs.
- Form the Crust: Press the mixture evenly into the prepared baking dish, ensuring the crust is firmly packed and even.
- Bake the Crust: Bake in the preheated oven for about 20 minutes or until the crust is lightly golden. Remove from the oven and let it cool slightly while you prepare the filling.
- Lemon Filling Preparation: In a large mixing bowl, whisk together 6 eggs and 2¼ cups of sugar until smooth and well combined.
- Add Lemon Zest and Juice: Add 2 tablespoons of lemon zest and ⅔ cup of freshly squeezed lemon juice to the egg mixture. Whisk until well mixed.
- Incorporate Flour: Gradually add ¾ cup of flour to the lemon mixture, whisking continuously to avoid lumps and ensure a smooth filling.
- Assemble and Bake: Once the crust has cooled slightly, pour the lemon filling evenly over the crust.
- Bake: Return the baking dish to the oven and bake at 350°F (175°C) for 25-30 minutes, or until the filling is set and the top is lightly golden.
- Cool: Remove from the oven and let the lemon bars cool completely in the baking dish.
- Final Touch: Dust with Powdered Sugar: Once cooled, dust the top of the lemon bars with additional powdered sugar for a decorative touch and extra sweetness.
- Cut and Serve: Cut into squares or bars and serve. Enjoy your homemade lemon bars!