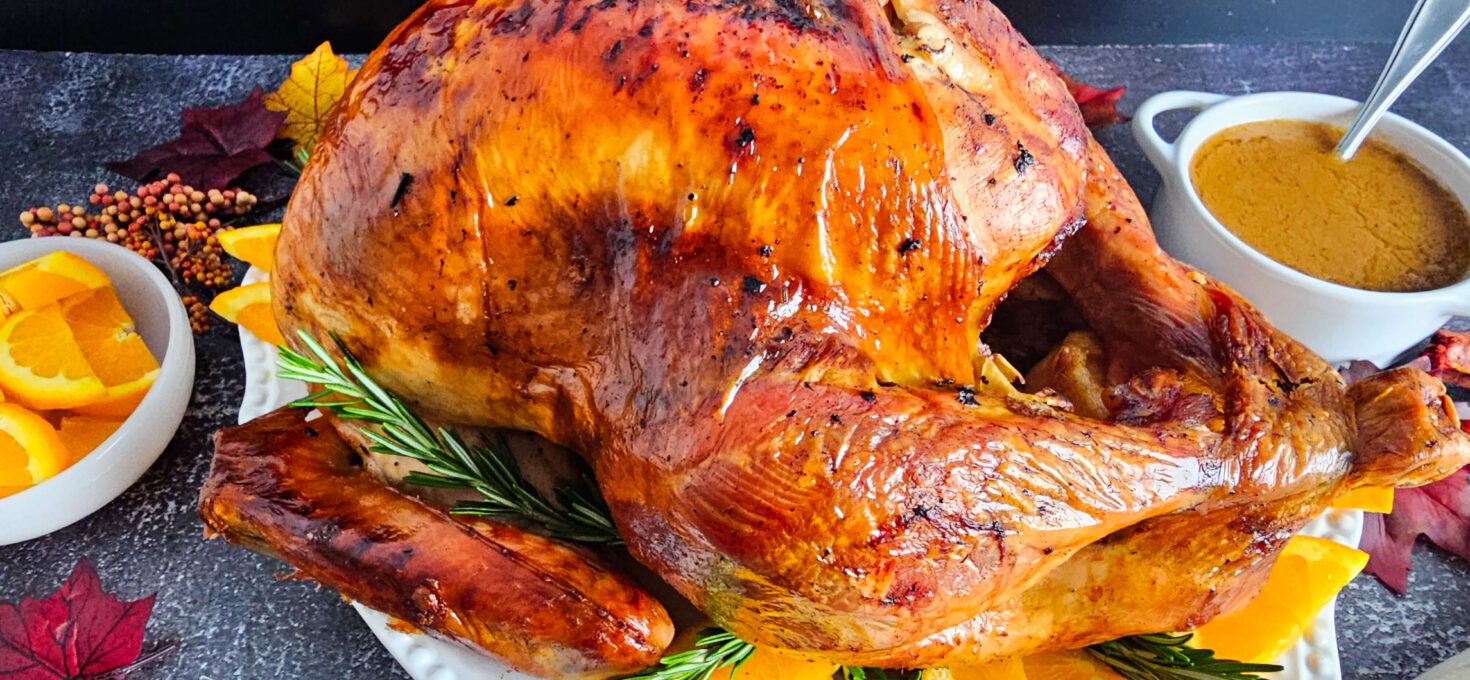
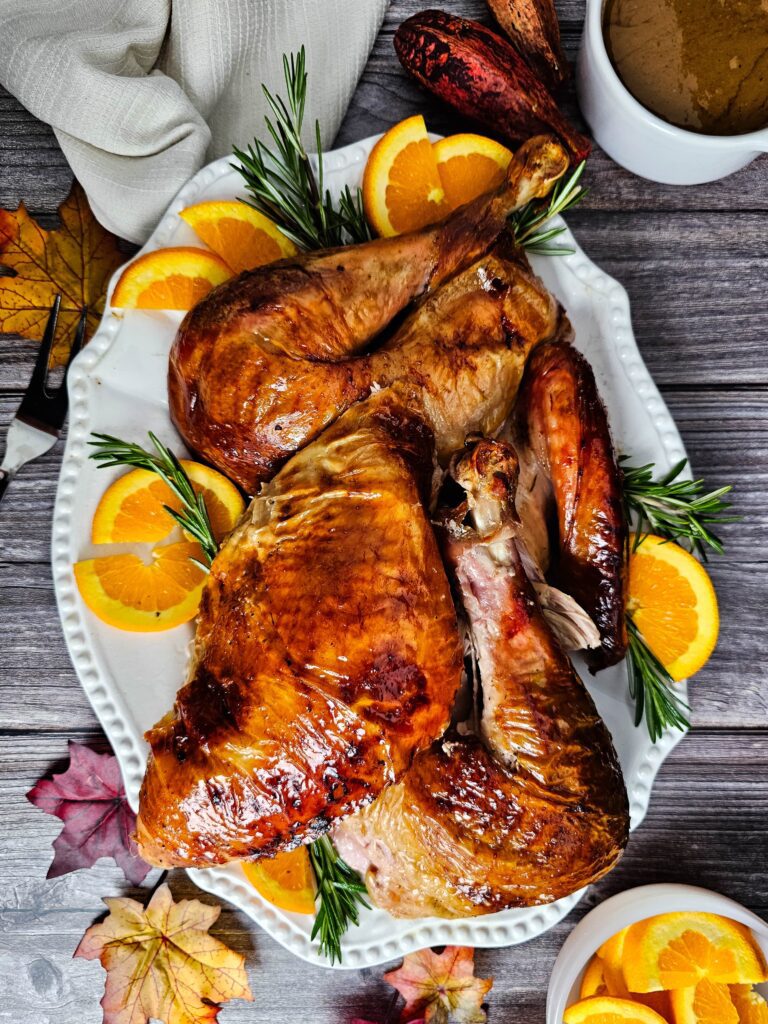
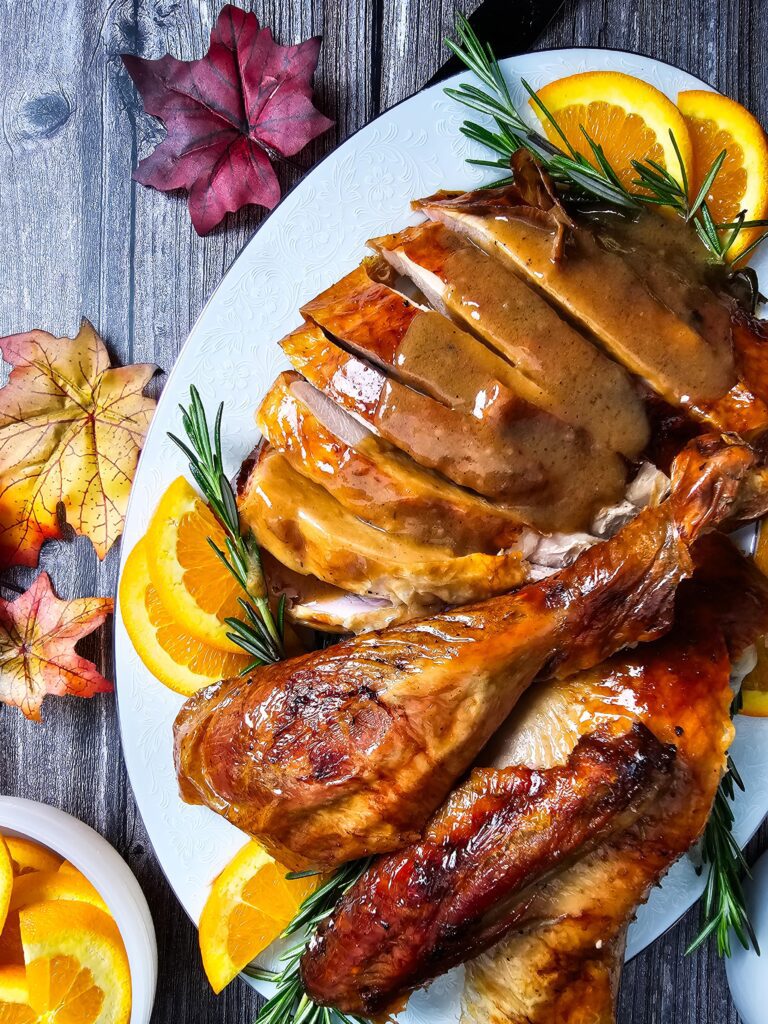
Every year when Thanksgiving rolls around, I always want that perfectly juicy, flavorful turkey that has everyone going back for seconds. This easy turkey brine recipe for a moist holiday turkey is my secret weapon. It’s simple to make, smells amazing while it simmers, and keeps the turkey so tender and moist that you’ll never want to skip this step again. The mix of salt, citrus, and herbs gives the bird that classic holiday flavor with just the right touch of sweetness and spice. If you’ve ever had a dry turkey (we’ve all been there!), trust me — this moist turkey brine changes everything.
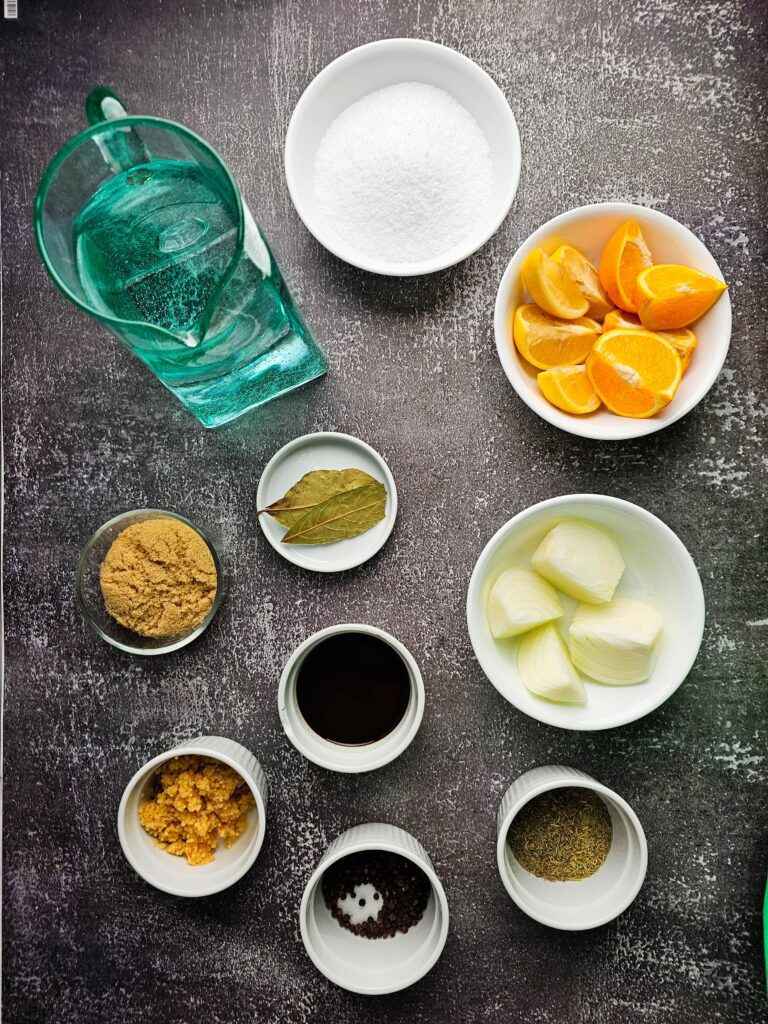
INGREDIENTS YOU’LL NEED
- 2 gallons of water (or 1 gallon water + 1 gallon ice): I start with 2 gallons total liquid to fully cover the turkey. Using ice helps cool the brine faster so it’s ready to use sooner.
- 1 ½ cups kosher salt: This is the key to a juicy turkey! Kosher salt gently seasons the meat and helps lock in moisture. I avoid canning or table salt — they can make the brine too salty.
- ½ cup brown sugar: The brown sugar balances the salt and gives the turkey a subtle sweetness and golden color when it roasts.
- ¼ cup Worcestershire sauce: This adds deep, savory umami flavor — kind of that “can’t put your finger on it” goodness that makes every bite richer.
- 3 tablespoons minced garlic: Garlic gives the brine that cozy, home-cooked flavor. I use fresh if I have it, but jarred works perfectly fine too.
- 1 tablespoon whole black peppercorns: The peppercorns add a light, earthy spice without being overwhelming. Whole ones are best because they infuse slowly.
- 2–3 bay leaves: Bay leaves add that warm, herby aroma that makes the kitchen smell like the holidays.
- 1 tablespoon dried thyme or rosemary (optional): When I want extra herby flavor, I toss in a little thyme or rosemary — both pair beautifully with turkey.
- 2 oranges or lemons, quartered: The citrus brightens the flavor and cuts through the salt, giving the turkey a nice fresh balance.
- 1 small onion, quartered: The onion adds a mild, savory base note that rounds out all the flavors in the brine.
Why This Recipe Works?
- Keeps your holiday turkey juicy, tender, and full of flavor every time.
- Uses simple, pantry ingredients—no fancy stuff needed.
- Guarantees a moist, golden roasted turkey that steals the show at Thanksgiving or Christmas.
HOW TO BRINE YOUR HOLIDAY TURKEY?
Time needed: 1 day, 4 hours and 30 minutes
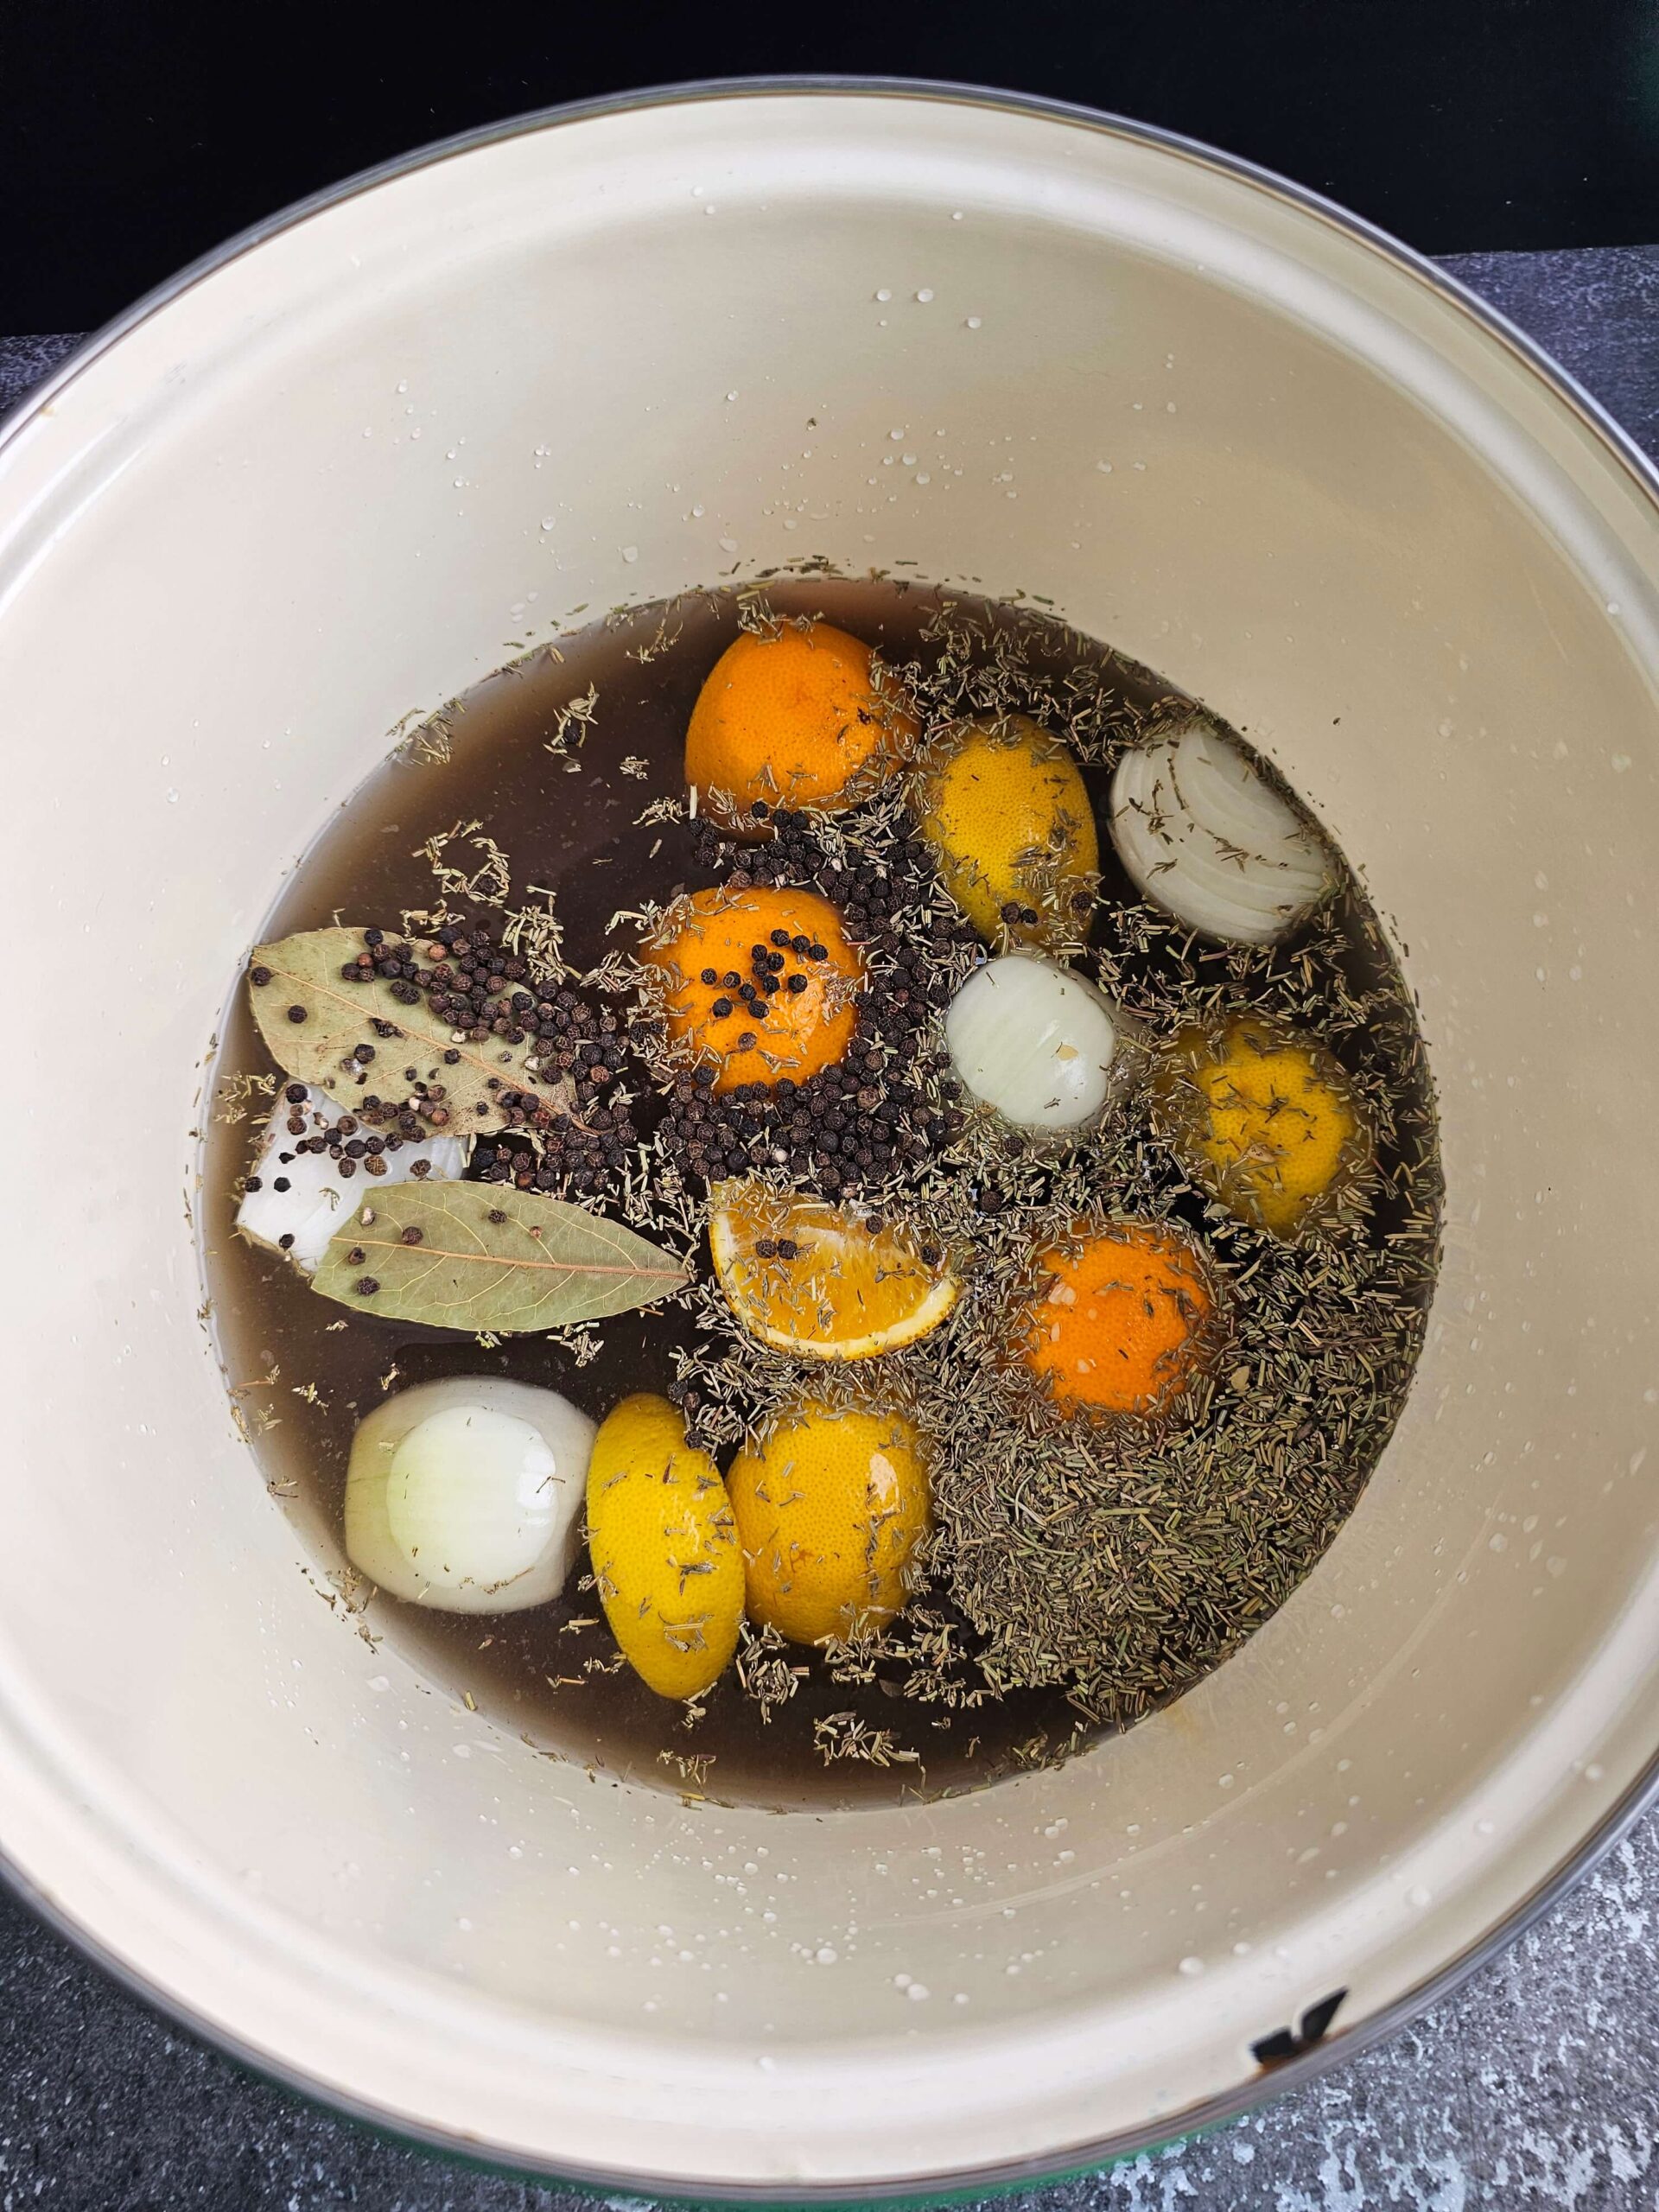
- Prepare the Brine:
Combine ingredients: In a large pot, add 1 gallon of water, salt, sugar, Worcestershire sauce, garlic, peppercorns, herbs, citrus, and onion.
Heat until dissolved: Warm over medium heat until salt and sugar dissolve. Do not boil.
Cool completely: Remove from heat and add the remaining gallon of cold water (or ice).
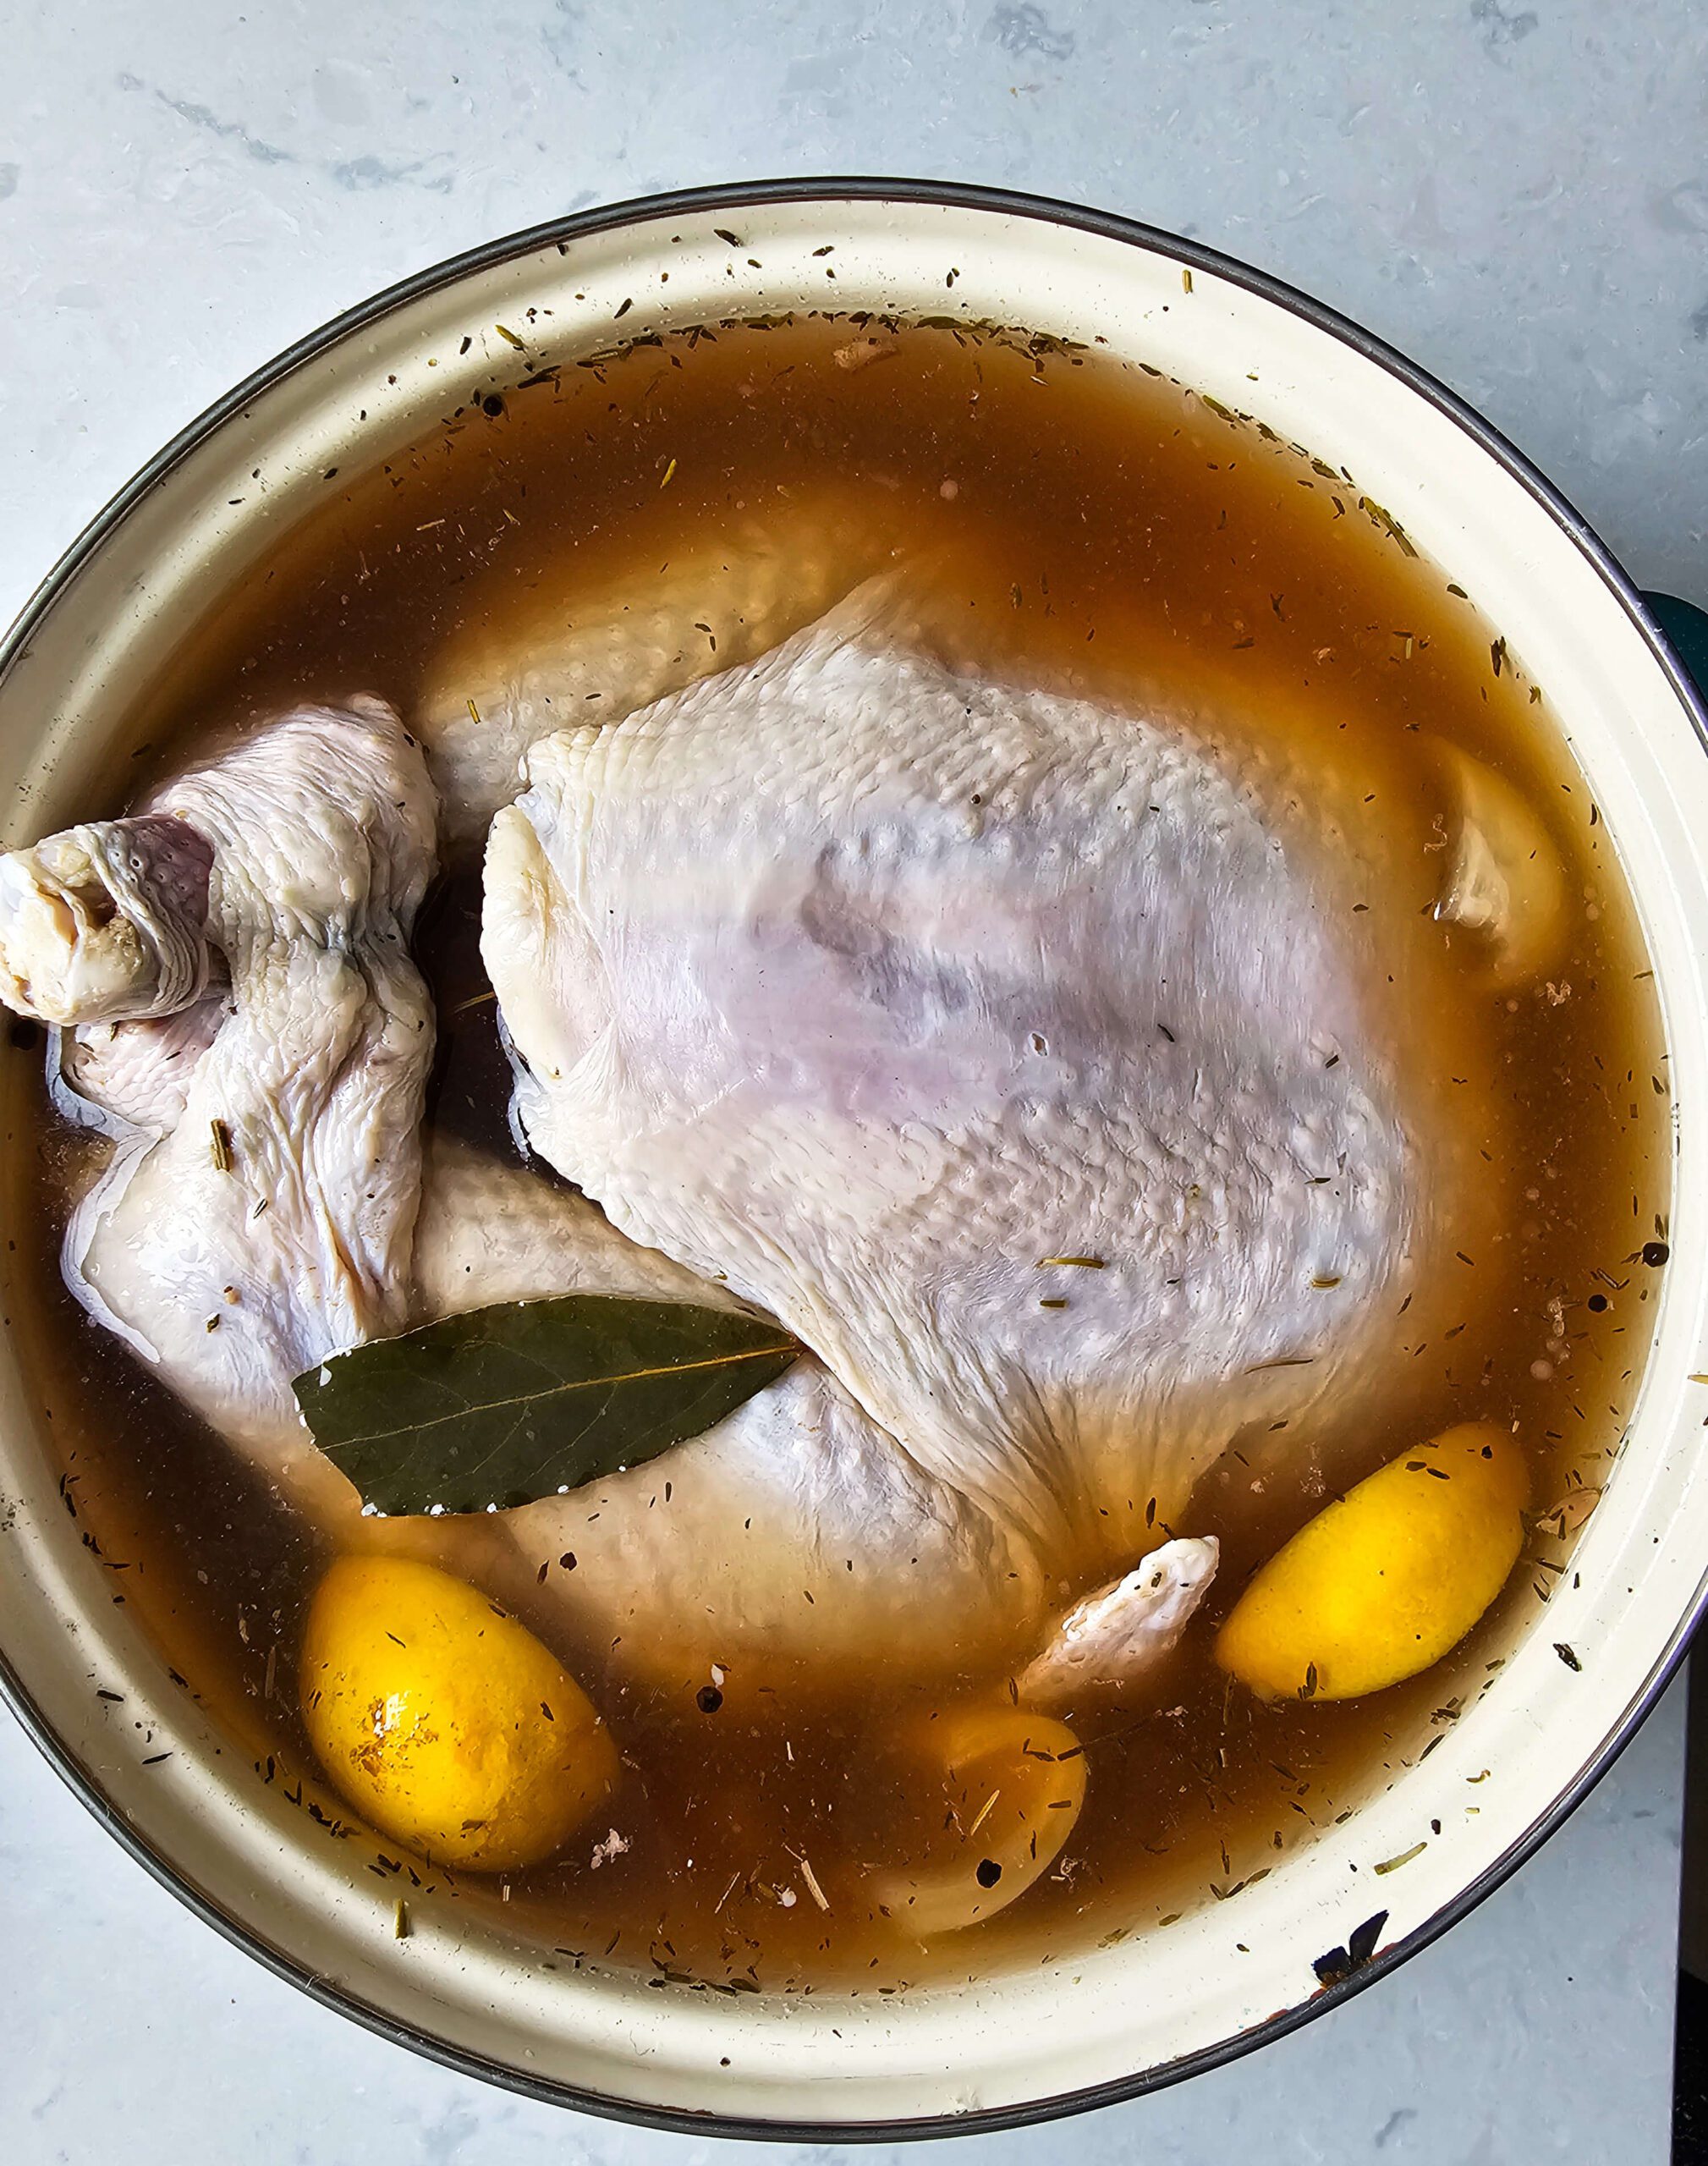
- Submerge the turkey:
Place your thawed turkey in a brining bag or large container, pour in the cooled brine, and refrigerate for 18–24 hours. - Prep Turkey for Baking:
Set your oven to 325°F (regular oven) or 300°F (convection oven).
After brining, remove the turkey and rinse it inside and out to remove excess salt. Pat it completely dry with paper towels—this helps the skin crisp up.
Stuff the cavity with lemon halves, a small onion (quartered), a few celery stalks, carrot chunks, and a couple sprigs of fresh rosemary or thyme. These add moisture and amazing flavor to both the turkey and the gravy drippings.
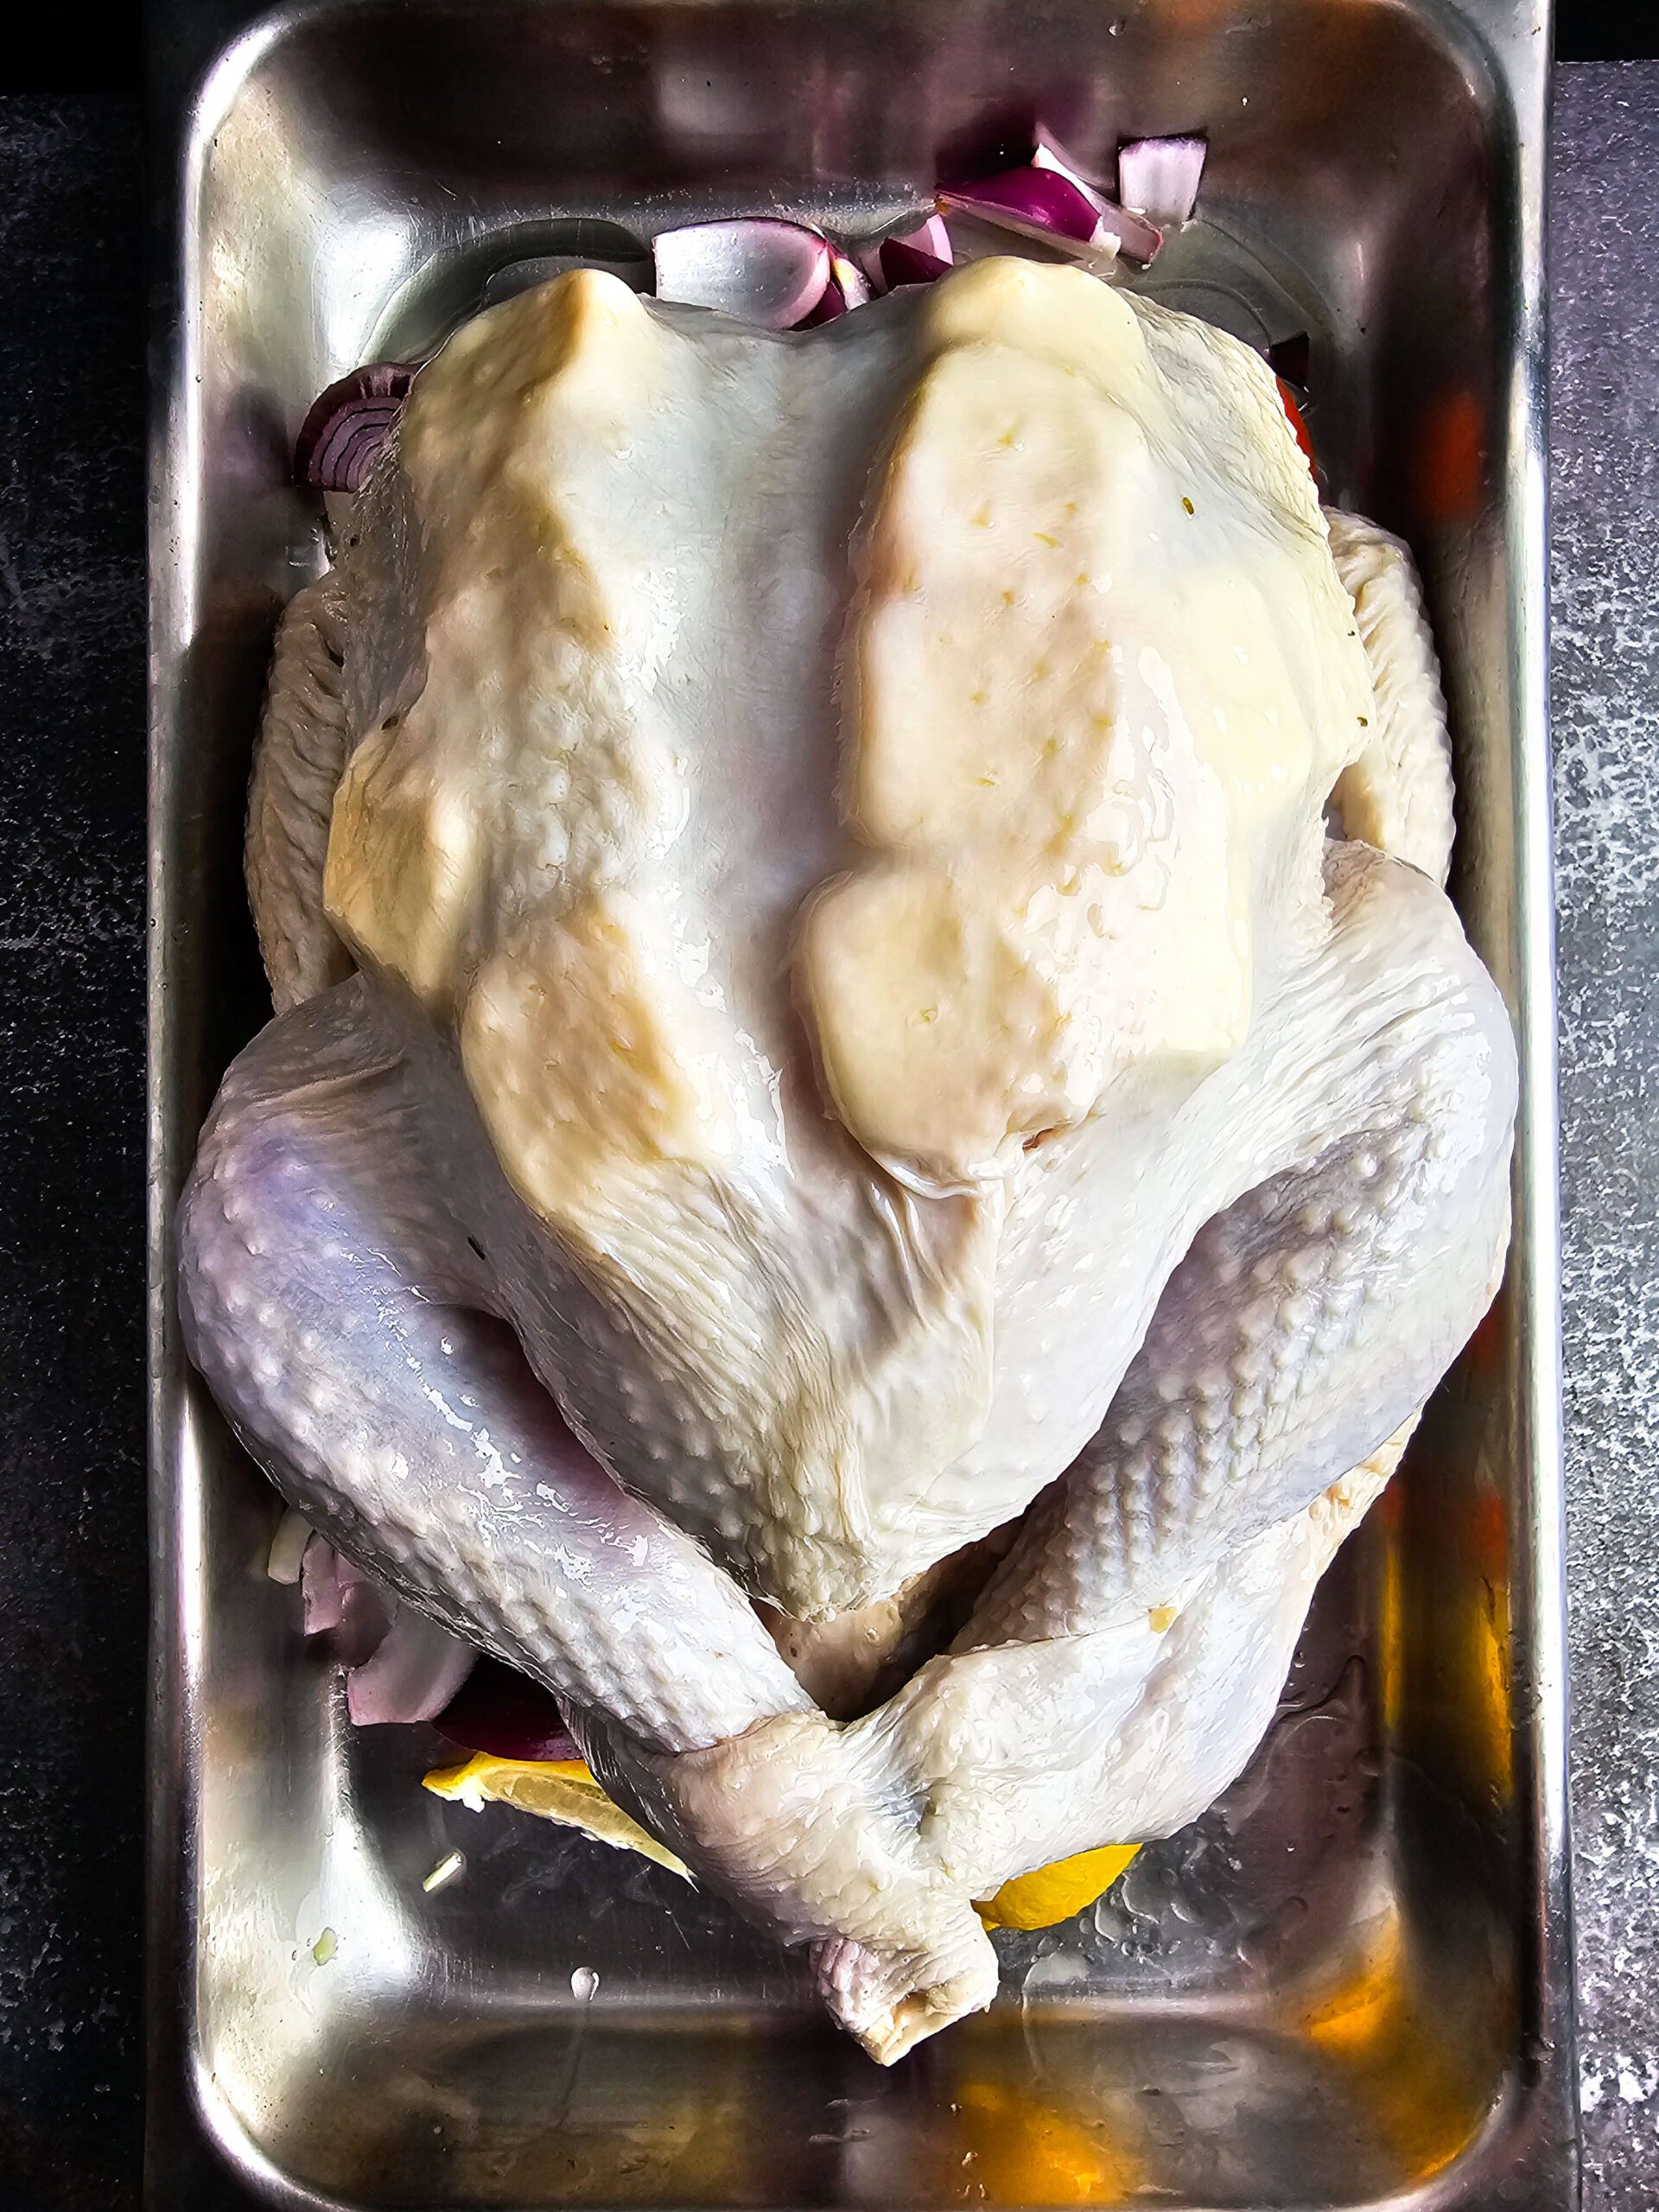
Gently loosen the skin over the breasts with your fingers. Rub softened butter (about ½ cup) or olive oil under the skin and all over the outside of the bird. This keeps the meat moist and helps the skin turn golden and crispy.
Place onion wedges, celery pieces, and carrots in the bottom of your roasting pan—these will caramelize and make your gravy rich and flavorful. Set the turkey on a rack over the veggies so air circulates and the skin browns evenly. - Roast the Turkey:
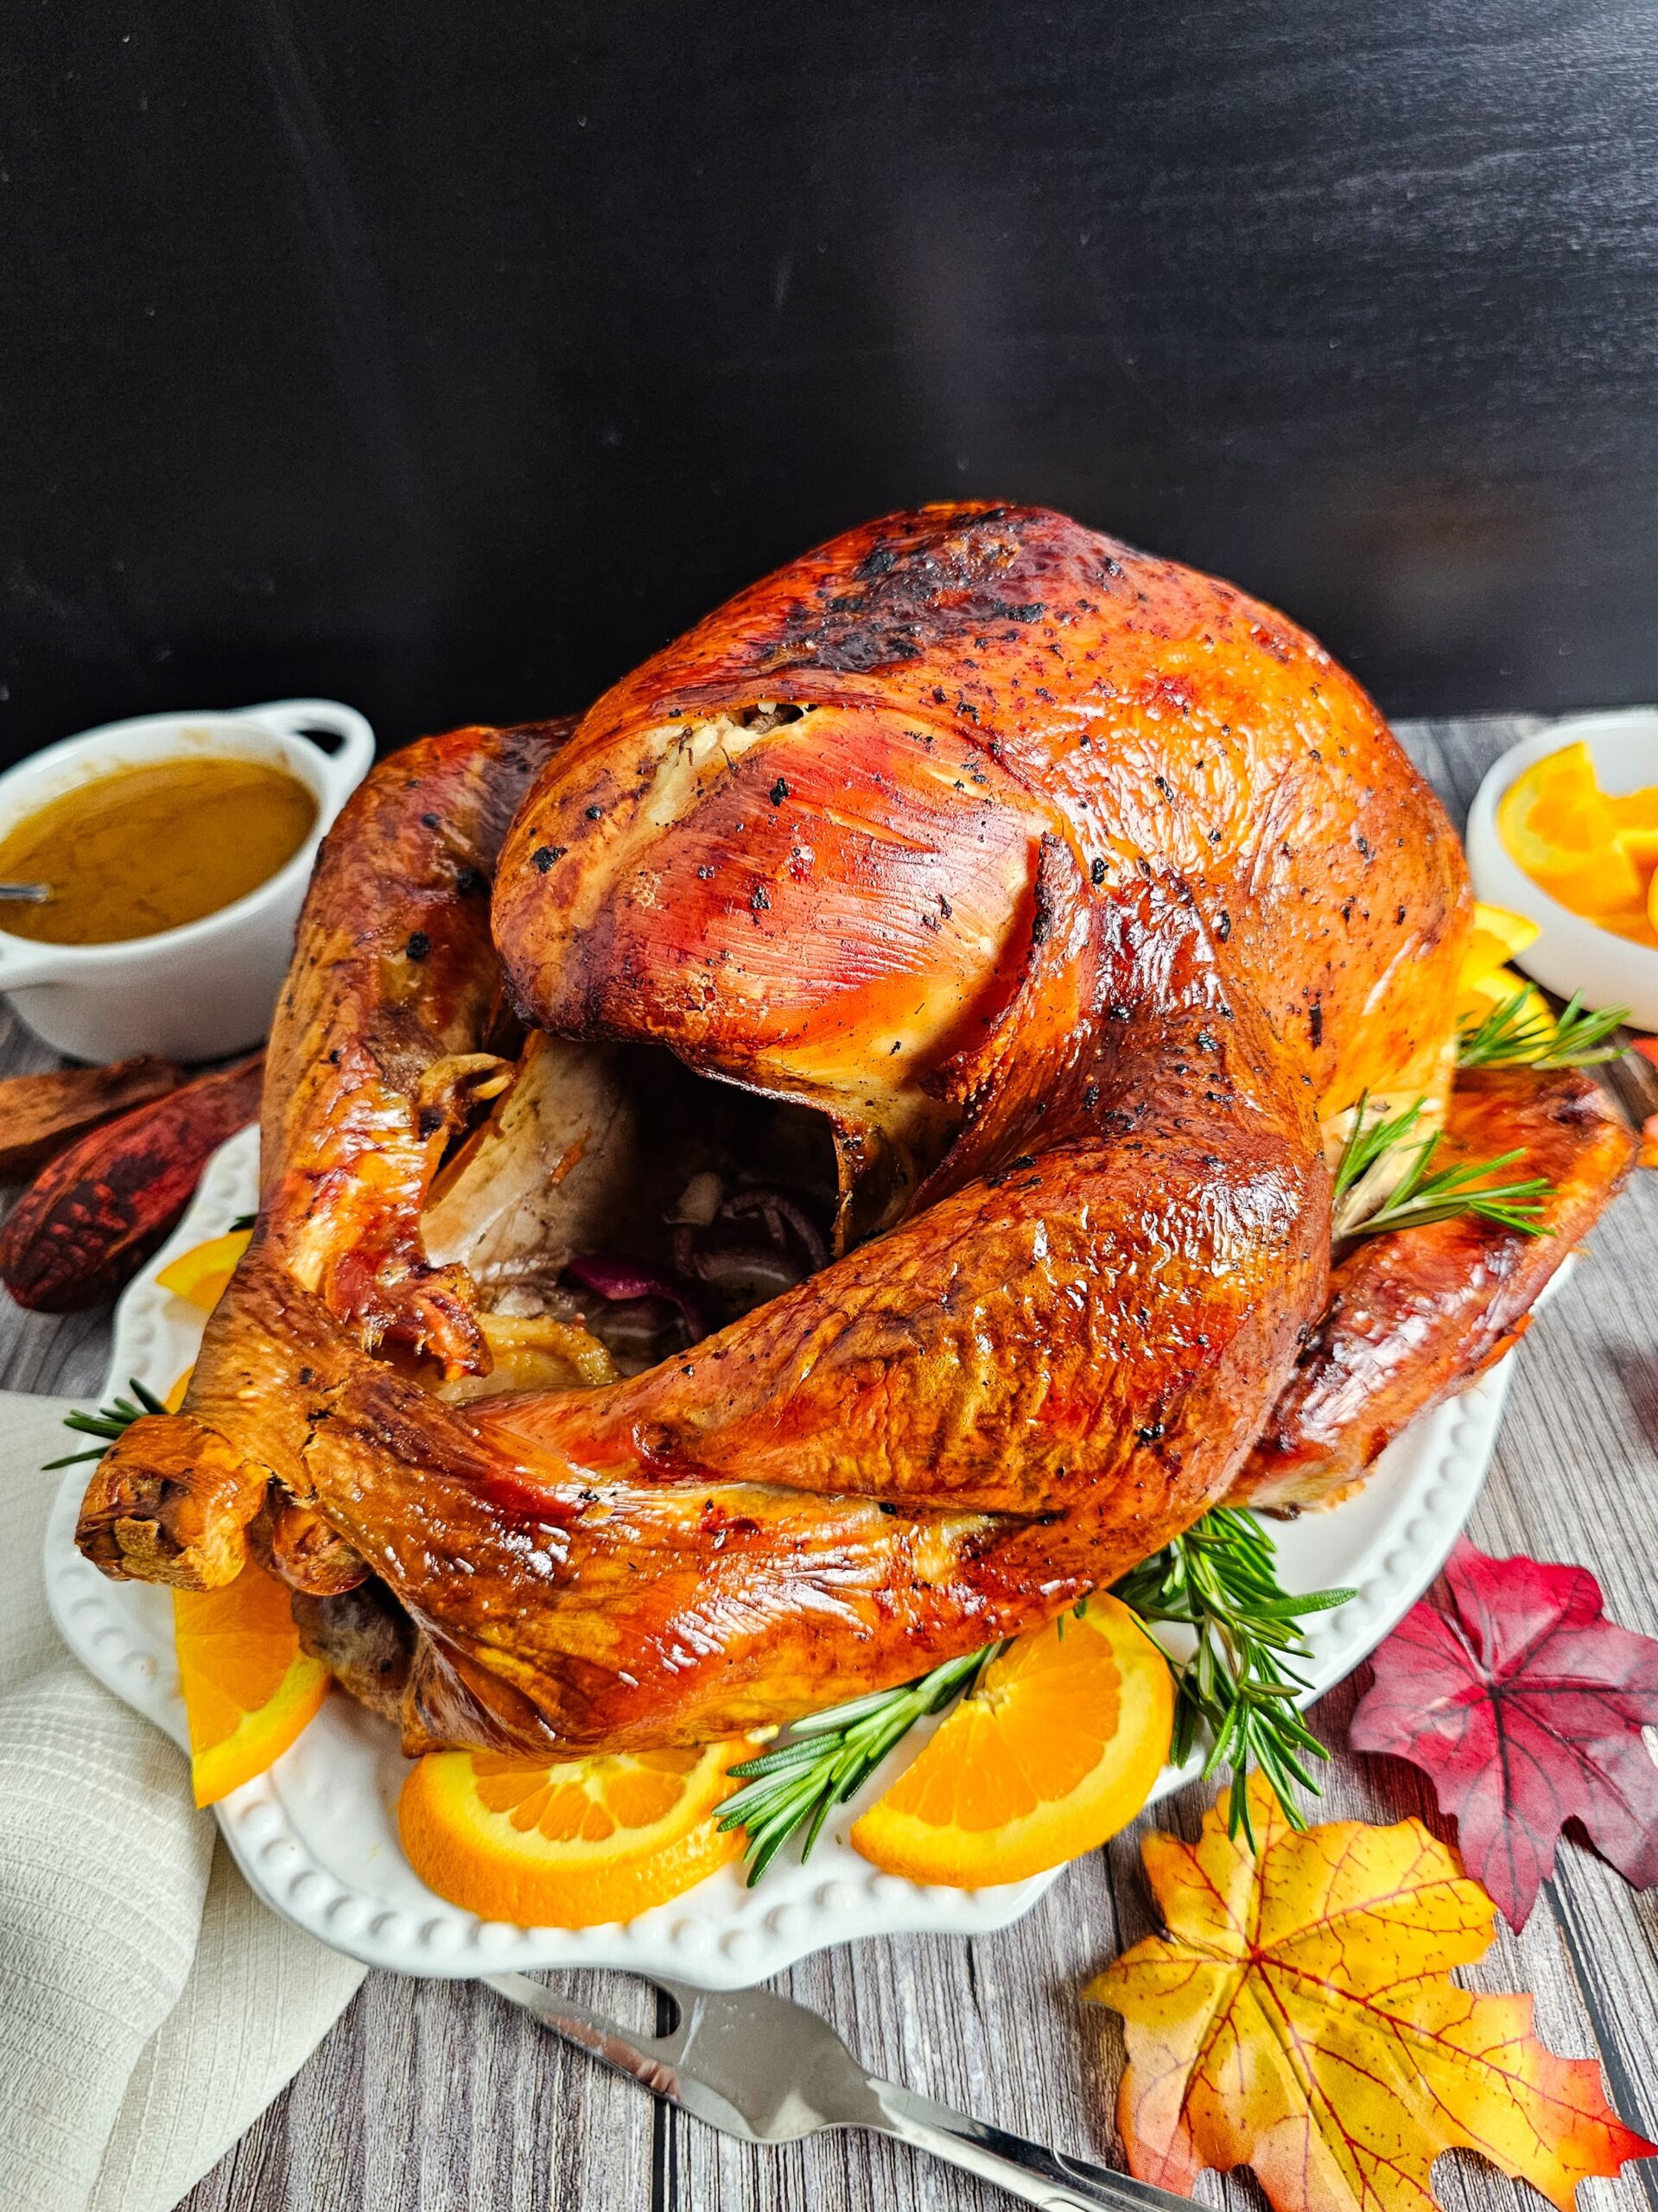
For a regular oven: Roast at 325°F for about 15 minutes per pound (roughly 4½ to 5 hours for a 15–20 lb turkey). For a convection oven: Roast at 300°F for about 12 minutes per pound (about 3½ to 4 hours). Tent loosely with foil if the skin browns too quickly. Baste it every hour to ensure the breasts stay moist.
The turkey is ready when the thickest part of the breast reaches 165°F and the thigh hits 175°F using a meat thermometer.
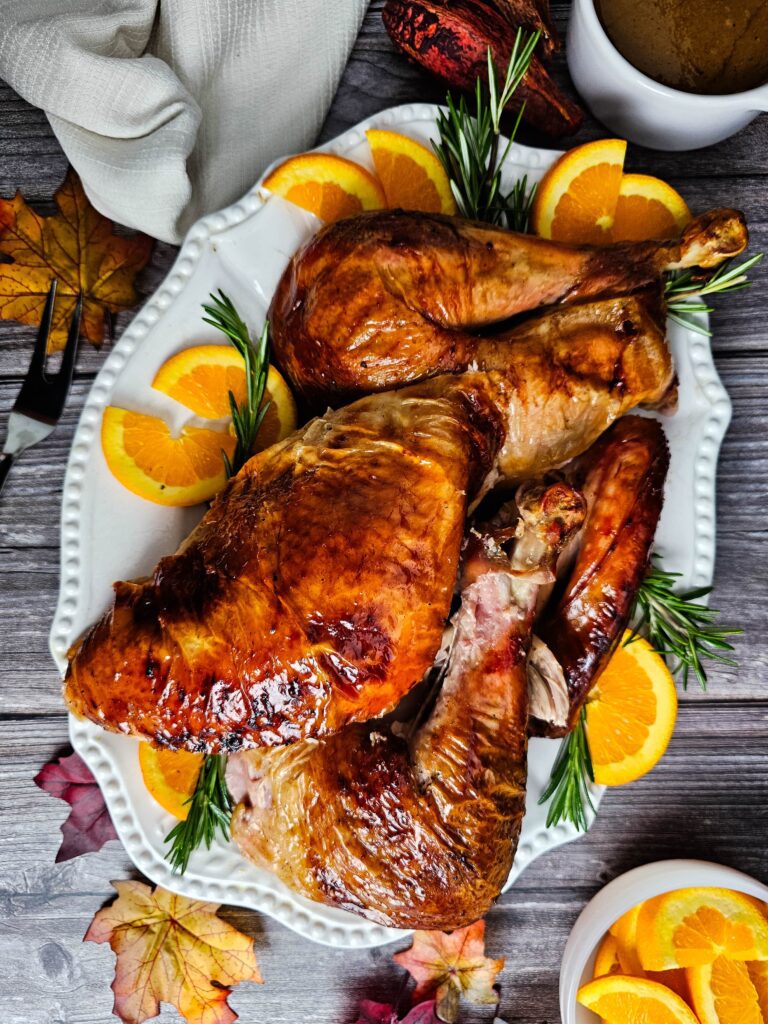
Let it rest at least 30 minutes before carving—this helps the juices redistribute and keeps the meat tender.
FAQ- FREQUENTLY ASKED QUESTIONS:
Brining is my secret to a juicy, flavorful turkey! Soaking the bird in a salty, seasoned water bath helps the meat stay tender and full of flavor while it cooks.
I like to brine my turkey for about 12 to 24 hours. Smaller birds do great with 8–12 hours, but I always let a big turkey soak overnight for the best flavor.
Nope — the turkey has to be fully thawed first. The brine can’t soak in if the meat’s still icy.
You can — just use a little less (about ¾ as much). Table salt is finer and stronger, so a little goes a long way.
You can lightly season but it’s not necessary; the brine adds a ton of flavor. If you choose to season, be sure to skip the salt but still rub on some butter, pepper, garlic, and herbs for extra flavor and that golden, crispy skin.
Dry that bird really well before it goes in the oven! I also rub butter or oil all over it and roast it uncovered for most of the time. That’s how you get that beautiful golden skin.
Recipe Substitutions and Variations for Easy Turkey Brine
Here are a few simple swaps and ideas I’ve tried over the years to make this holiday turkey brine recipe fit whatever I have on hand:
- Use apple cider instead of water: Adds a subtle sweetness and rich fall flavor that pairs beautifully with turkey.
- Swap brown sugar for maple syrup or honey: It gives the brine a deeper caramel flavor and helps the skin brown even more in the oven.
- Add whole cloves, cinnamon sticks, or star anise: Perfect if you love a warm, spiced aroma for your Thanksgiving turkey.
- Try fresh herbs like sage, thyme, or rosemary: They make your oven-roasted turkey smell like the holidays from the moment it starts cooking.
BRINED Turkey TIP FOR Recipe Success
Over the years, I’ve learned a few easy tricks to make sure my juicy brined turkey turns out perfectly every time:
- Dry the skin really well before roasting. This is my #1 tip for getting that crispy golden turkey skin everyone loves.
- Don’t skip resting time. Let the turkey rest at least 30 minutes before carving to keep every slice moist and tender.
- Use a meat thermometer. Checking that the breast hits 165°F and the thighs reach 175°F ensures it’s cooked safely and perfectly juicy.
Common Mistakes to Avoid
- Don’t skip rinsing after brining — it can make your turkey too salty.
- Make sure the turkey is fully submerged in the brine for even flavor.
- Don’t forget to pat the turkey dry for crispy skin.
- Avoid overcooking — always check the internal temperature!
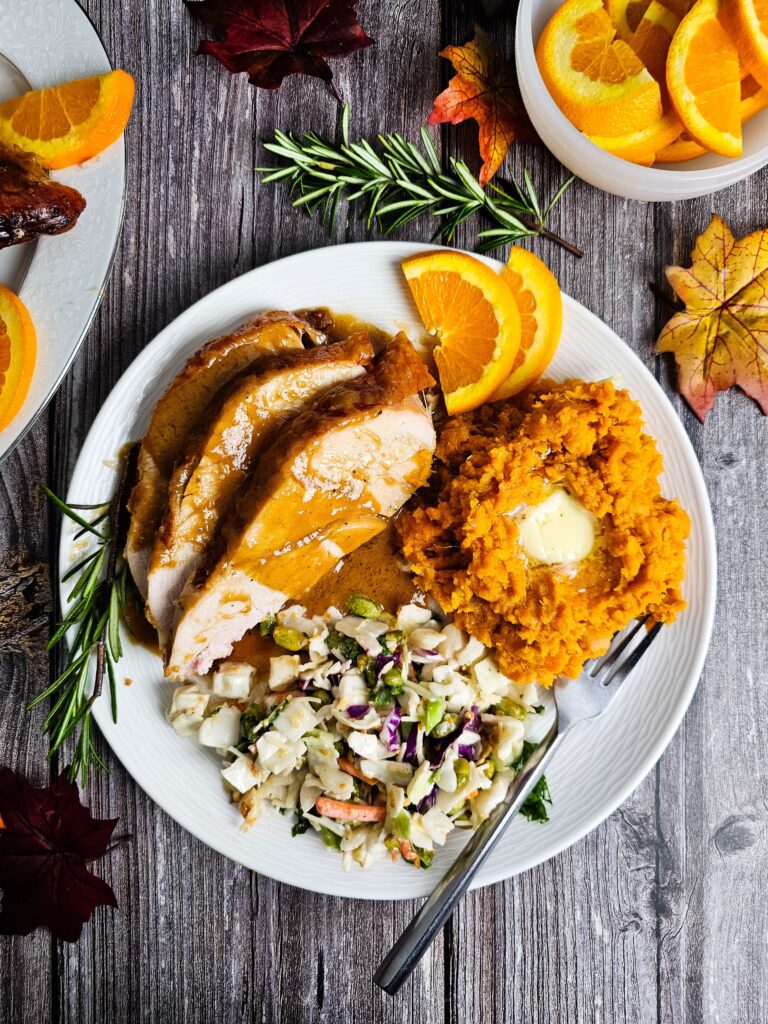
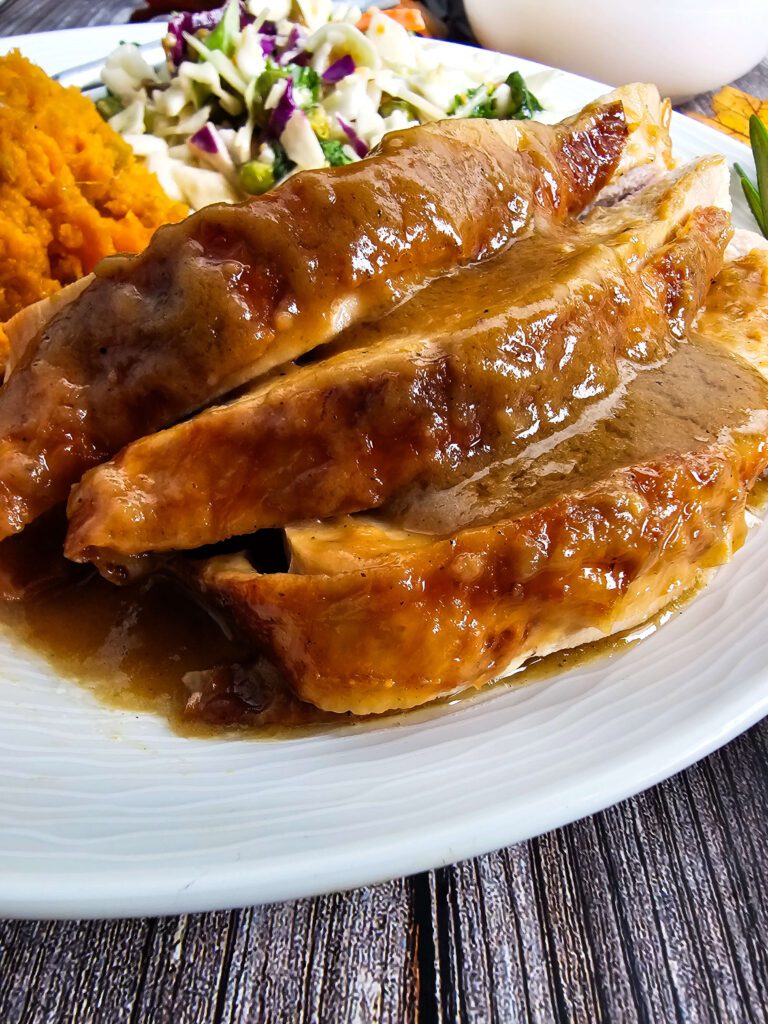
What to Serve with a jUICY ROASTED Turkey?
A brined roasted turkey pairs beautifully with classic Thanksgiving sides like creamy mashed potatoes, savory stuffing, roasted green beans, and homemade cranberry sauce. I love serving it with a cozy fall drink like warm apple cider, mulled wine, or even sparkling cranberry punch. For bigger gatherings like Christmas dinner or Friendsgiving, it’s the show-stopping centerpiece everyone looks forward to. Honestly, this turkey is delicious enough to make for any special Sunday meal too — not just the holidays!
How to Store AND REHEAT Leftover mOIST Turkey?
If you have leftovers (and lucky you if you do!), store your roasted turkey in airtight containers or zip-top bags in the fridge for up to 4 days. I like to slice the meat off the bone first so it’s easy to reheat for sandwiches or soups. Reheat gently in the oven or microwave with a splash of broth to keep it from drying out.
Can leftover ROASTED Turkey Be Frozen FOR ANOTHER DAY?
Yes, you can absolutely freeze your cooked turkey! Once cooled, wrap the slices tightly in foil or freezer-safe bags and store them for up to 3 months. When you’re ready to enjoy it again, thaw it overnight in the fridge and warm it up with a bit of broth or gravy for that fresh-roasted flavor.
What to Make with Leftover Brined Turkey?
When it comes to leftover brined turkey, I love turning it into easy next-day meals that taste just as good as the holiday dinner. My go-to favorites are turkey wraps, creamy turkey noodle soup, or a cozy turkey pot pie made with leftover veggies. It also great chopped in a salad for quick lunches throughout the week. Honestly, leftovers from a moist brined turkey are one of the best parts of Thanksgiving!
LOOKING FOR HOLIDAY SIDE DISHES? TRY THESE!
Roasted Butternut Squash Casserole
Baked Cheesy Brussels Sprouts Casserole
Sweet & Savory Maple Pecan Glazed Carrots
Cheddar Broccoli Casserole Recipe
FINAL THOUGHTS
Brining really is the secret to the most flavorful, tender, and juicy holiday turkey. It’s one of those simple steps that makes all the difference — from that crispy skin to the buttery, melt-in-your-mouth meat. If you give this recipe a try, I’d love to hear how it turned out for you! Leave me a comment below and let me know what your family thought — I always enjoy hearing how your Thanksgiving or Christmas turkey turned out.

Easy Turkey Brine for a Moist Holiday Turkey
Equipment
Ingredients
- 15-20 lbs. turkey
- 2 gallons water (or 1 gallon water + 1 gallon ice to cool quickly)
- 1 ½ cups kosher salt (avoid canning salt—it can taste harsh)
- ½ cup brown sugar (adds depth and balances the salt)
- ¼ cup Worcestershire sauce (umami boost)
- 3 tablespoons garlic (minced)(fresh or jarred)
- 1 onion quartered (for savory flavor)
- 1 tablespoon whole black peppercorns
- 3 bay leaves
- 1 tablespoon rosemary (optional, for herby flavor)
- 2 oranges quartered (brightens and balances the richness)
Gravy Ingredients:
- 4 tablespoons butter unsalted
- ¼ cup flour
- 2 cups turkey stock Chicken Stock/ Water (from the bottom of the pan)
- salt and fresh cracked black pepper to taste
Instructions
Brine the Turkey:
- Combine ingredients: In a large pot, add 1 gallon of water, salt, sugar, Worcestershire sauce, garlic, peppercorns, herbs, citrus, and onion.
- Heat until dissolved: Warm over medium heat until salt and sugar dissolve. Do not boil.
- Cool completely: Remove from heat and add the remaining gallon of cold water (or ice).
- Submerge the turkey: Place your thawed turkey in a brining bag or large container, pour in the cooled brine, and refrigerate for 18–24 hours.
- Rinse & pat dry: Before roasting, rinse the turkey well and pat dry. For crisp skin, let it air dry in the fridge for 1–2 hours before cooking.
Turkey Roasting Instructions:
- Preheat the oven: Set your oven to 325°F (regular oven) or 300°F (convection oven).
- Rinse and pat dry: After brining, remove the turkey and rinse it inside and out to remove excess salt. Pat it completely dry with paper towels—this helps the skin crisp up.
- Add aromatics for flavor: Stuff the cavity with lemon halves, a small onion (quartered), a few celery stalks, carrot chunks, and a couple sprigs of fresh rosemary or thyme. These add moisture and amazing flavor to both the turkey and the gravy drippings.
- Butter it up: Gently loosen the skin over the breasts with your fingers. Rub softened butter (about ½ cup) or olive oil under the skin and all over the outside of the bird. This keeps the meat moist and helps the skin turn golden and crispy.
- Layer for extra flavor: Place onion wedges, celery pieces, and carrots in the bottom of your roasting pan—these will caramelize and make your gravy rich and flavorful. Set the turkey on a rack over the veggies so air circulates and the skin browns evenly.
- Roast the turkey: For a regular oven: Roast at 325°F for about 15 minutes per pound (roughly 4½ to 5 hours for a 15–20 lb turkey). For a convection oven: Roast at 300°F for about 12 minutes per pound (about 3½ to 4 hours). Tent loosely with foil if the skin browns too quickly.
- Check for doneness: The turkey is ready when the thickest part of the breast reaches 165°F and the thigh hits 175°F using a meat thermometer.
- Rest before carving: Let it rest at least 30 minutes before carving—this helps the juices redistribute and keeps the meat tender.
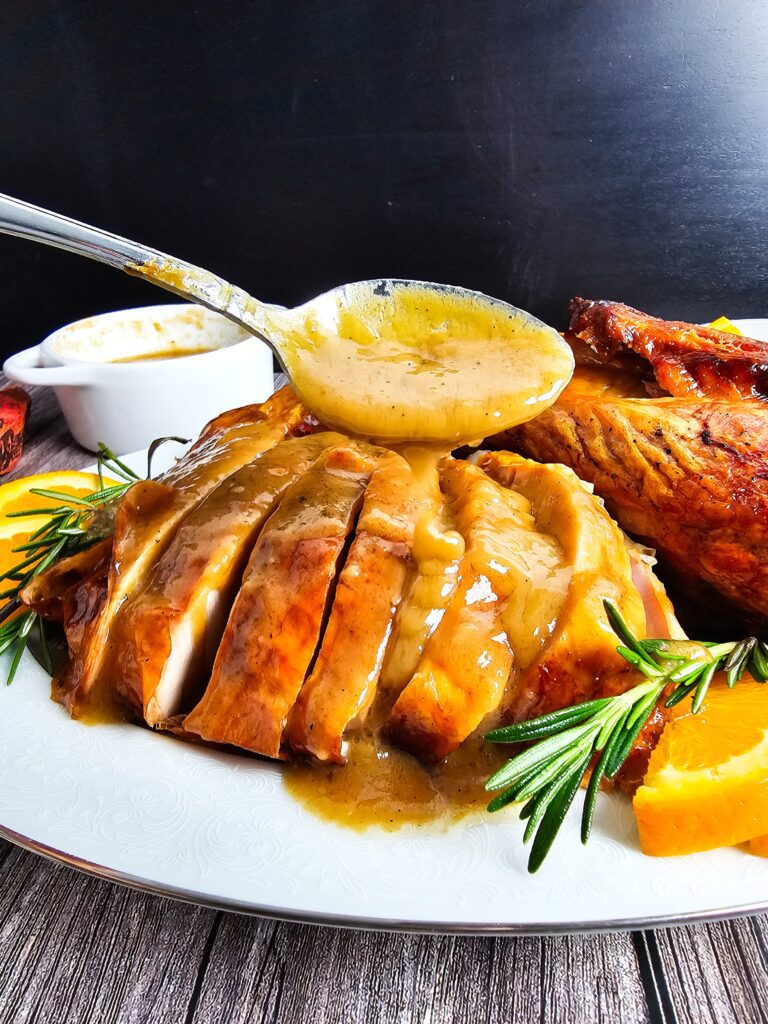
- Make the gravy magic: Save those golden brown veggies and pan drippings! Strain and simmer them with a little flour and broth to make the most flavorful homemade gravy ever.
Make the Gravy:
- Strain the drippings: Pour the pan juices through a fine strainer into a measuring cup. Skim off most of the fat, but keep a little — it adds flavor.
- Make a roux: In a medium saucepan, melt the butter over medium heat. Whisk in the flour and cook for about 2–3 minutes, stirring constantly, until it turns a light golden brown. This cooks out the raw flour taste.
- Add the liquid: Slowly pour in your 2 cups of turkey drippings or stock, whisking the whole time to avoid lumps. Keep stirring as it thickens — about 5–7 minutes — until it’s smooth and glossy.
- Season and serve: Taste and add salt and black pepper as needed. If it’s too thick, whisk in a splash of extra broth or water until it’s just right.