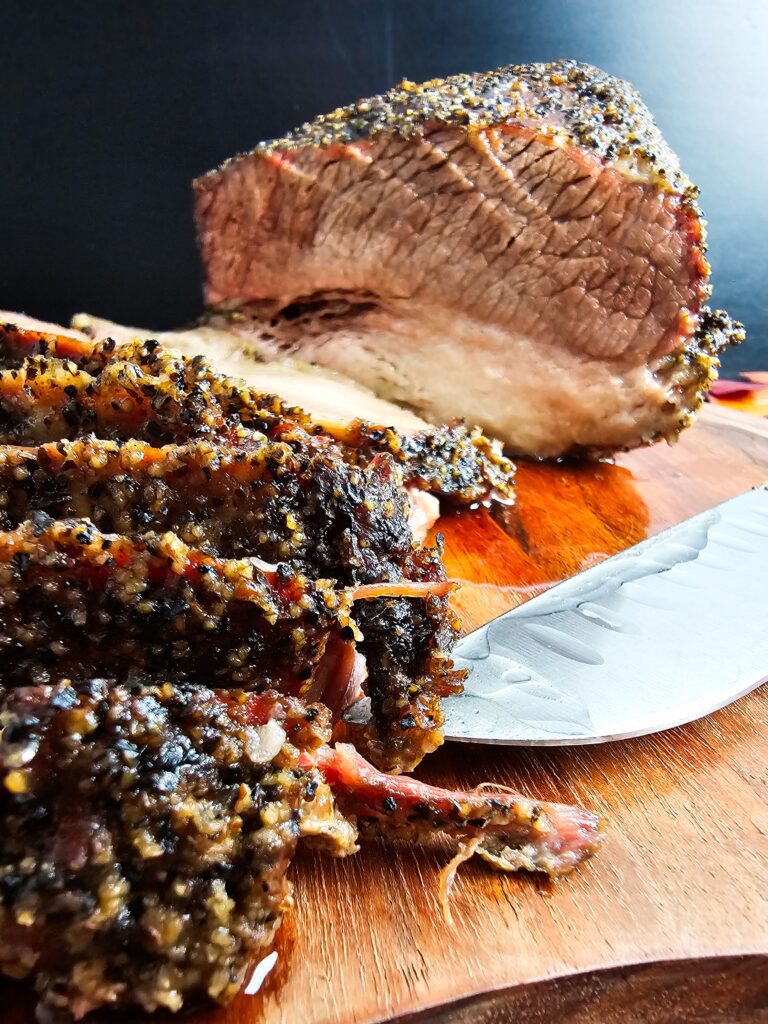
I truly believe that some of the best meals are the ones that take the least effort, and this Easy Salt and Black Pepper Baked Beef Brisket is the perfect example. Whether I’m hosting a laid-back Sunday family dinner or looking for a show-stopping main dish for Christmas, Hanukkah, or Father’s Day, this recipe never fails me. It’s my go-to for Game Day sliders or a cozy New Year’s Eve feast because it feeds a crowd and feels incredibly special without requiring me to stand over a stove all day. If you love that melt-in-your-mouth texture of a professional BBQ joint but want the comfort of your own home, you have to try this.

INGREDIENTS YOU’LL NEED
- 4–6 Pound Whole Beef Brisket: I look for a flat or point cut with a nice thin fat cap still attached. This fat is my “secret weapon” because it melts down as it bakes, keeping the meat from drying out.
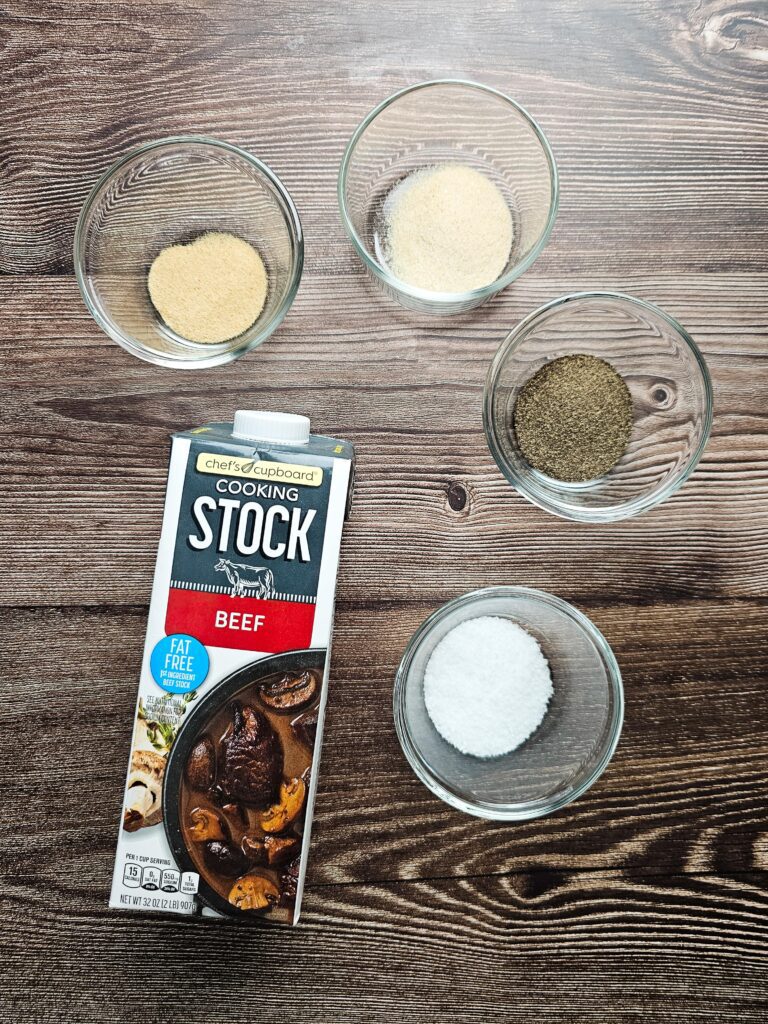
- 2 ½ Tablespoons Kosher Salt: I prefer kosher salt because the larger flakes distribute more evenly. It’s essential for drawing out the juices and seasoning the meat deep inside.
- 2 ½ Tablespoons Coarse Black Pepper: I use a coarse grind to give the brisket that classic, crusty exterior. It provides a little heat and a lot of texture.
- 1 Teaspoon Garlic Powder: While not strictly traditional, I like to add just a hint of garlic. It adds a layer of “umami” that really wakes up the beef in an oven environment.
- 1 Teaspoon Onion Powder: I toss this in to give the crust a savory, rounded finish that smells amazing while it roasts.
- ½ Cup Beef Broth: I pour this into the bottom of the pan to create a little steam. It keeps the environment moist and gives me the start of a great au jus if I want to save the drippings.
WHY I LOVE THIS RECIPE?
I’ve made a lot of roasts, but I keep coming back to this one for three specific reasons:
- Zero Stress: I don’t need a fancy smoker or 15 different spices; the oven does all the heavy lifting while my house smells incredible.
- Pure Beef Flavor: Because we only use salt and pepper, you actually taste the rich, savory beef rather than just a face-full of barbecue sauce.
- The “Sliceability”: It comes out so tender that it practically melts, making it easy to slice perfectly for a crowd without it falling apart.
HOW TO PREPARE TENDER OVEN-BAKED BRISKET?
Time needed: 8 hours and 15 minutes
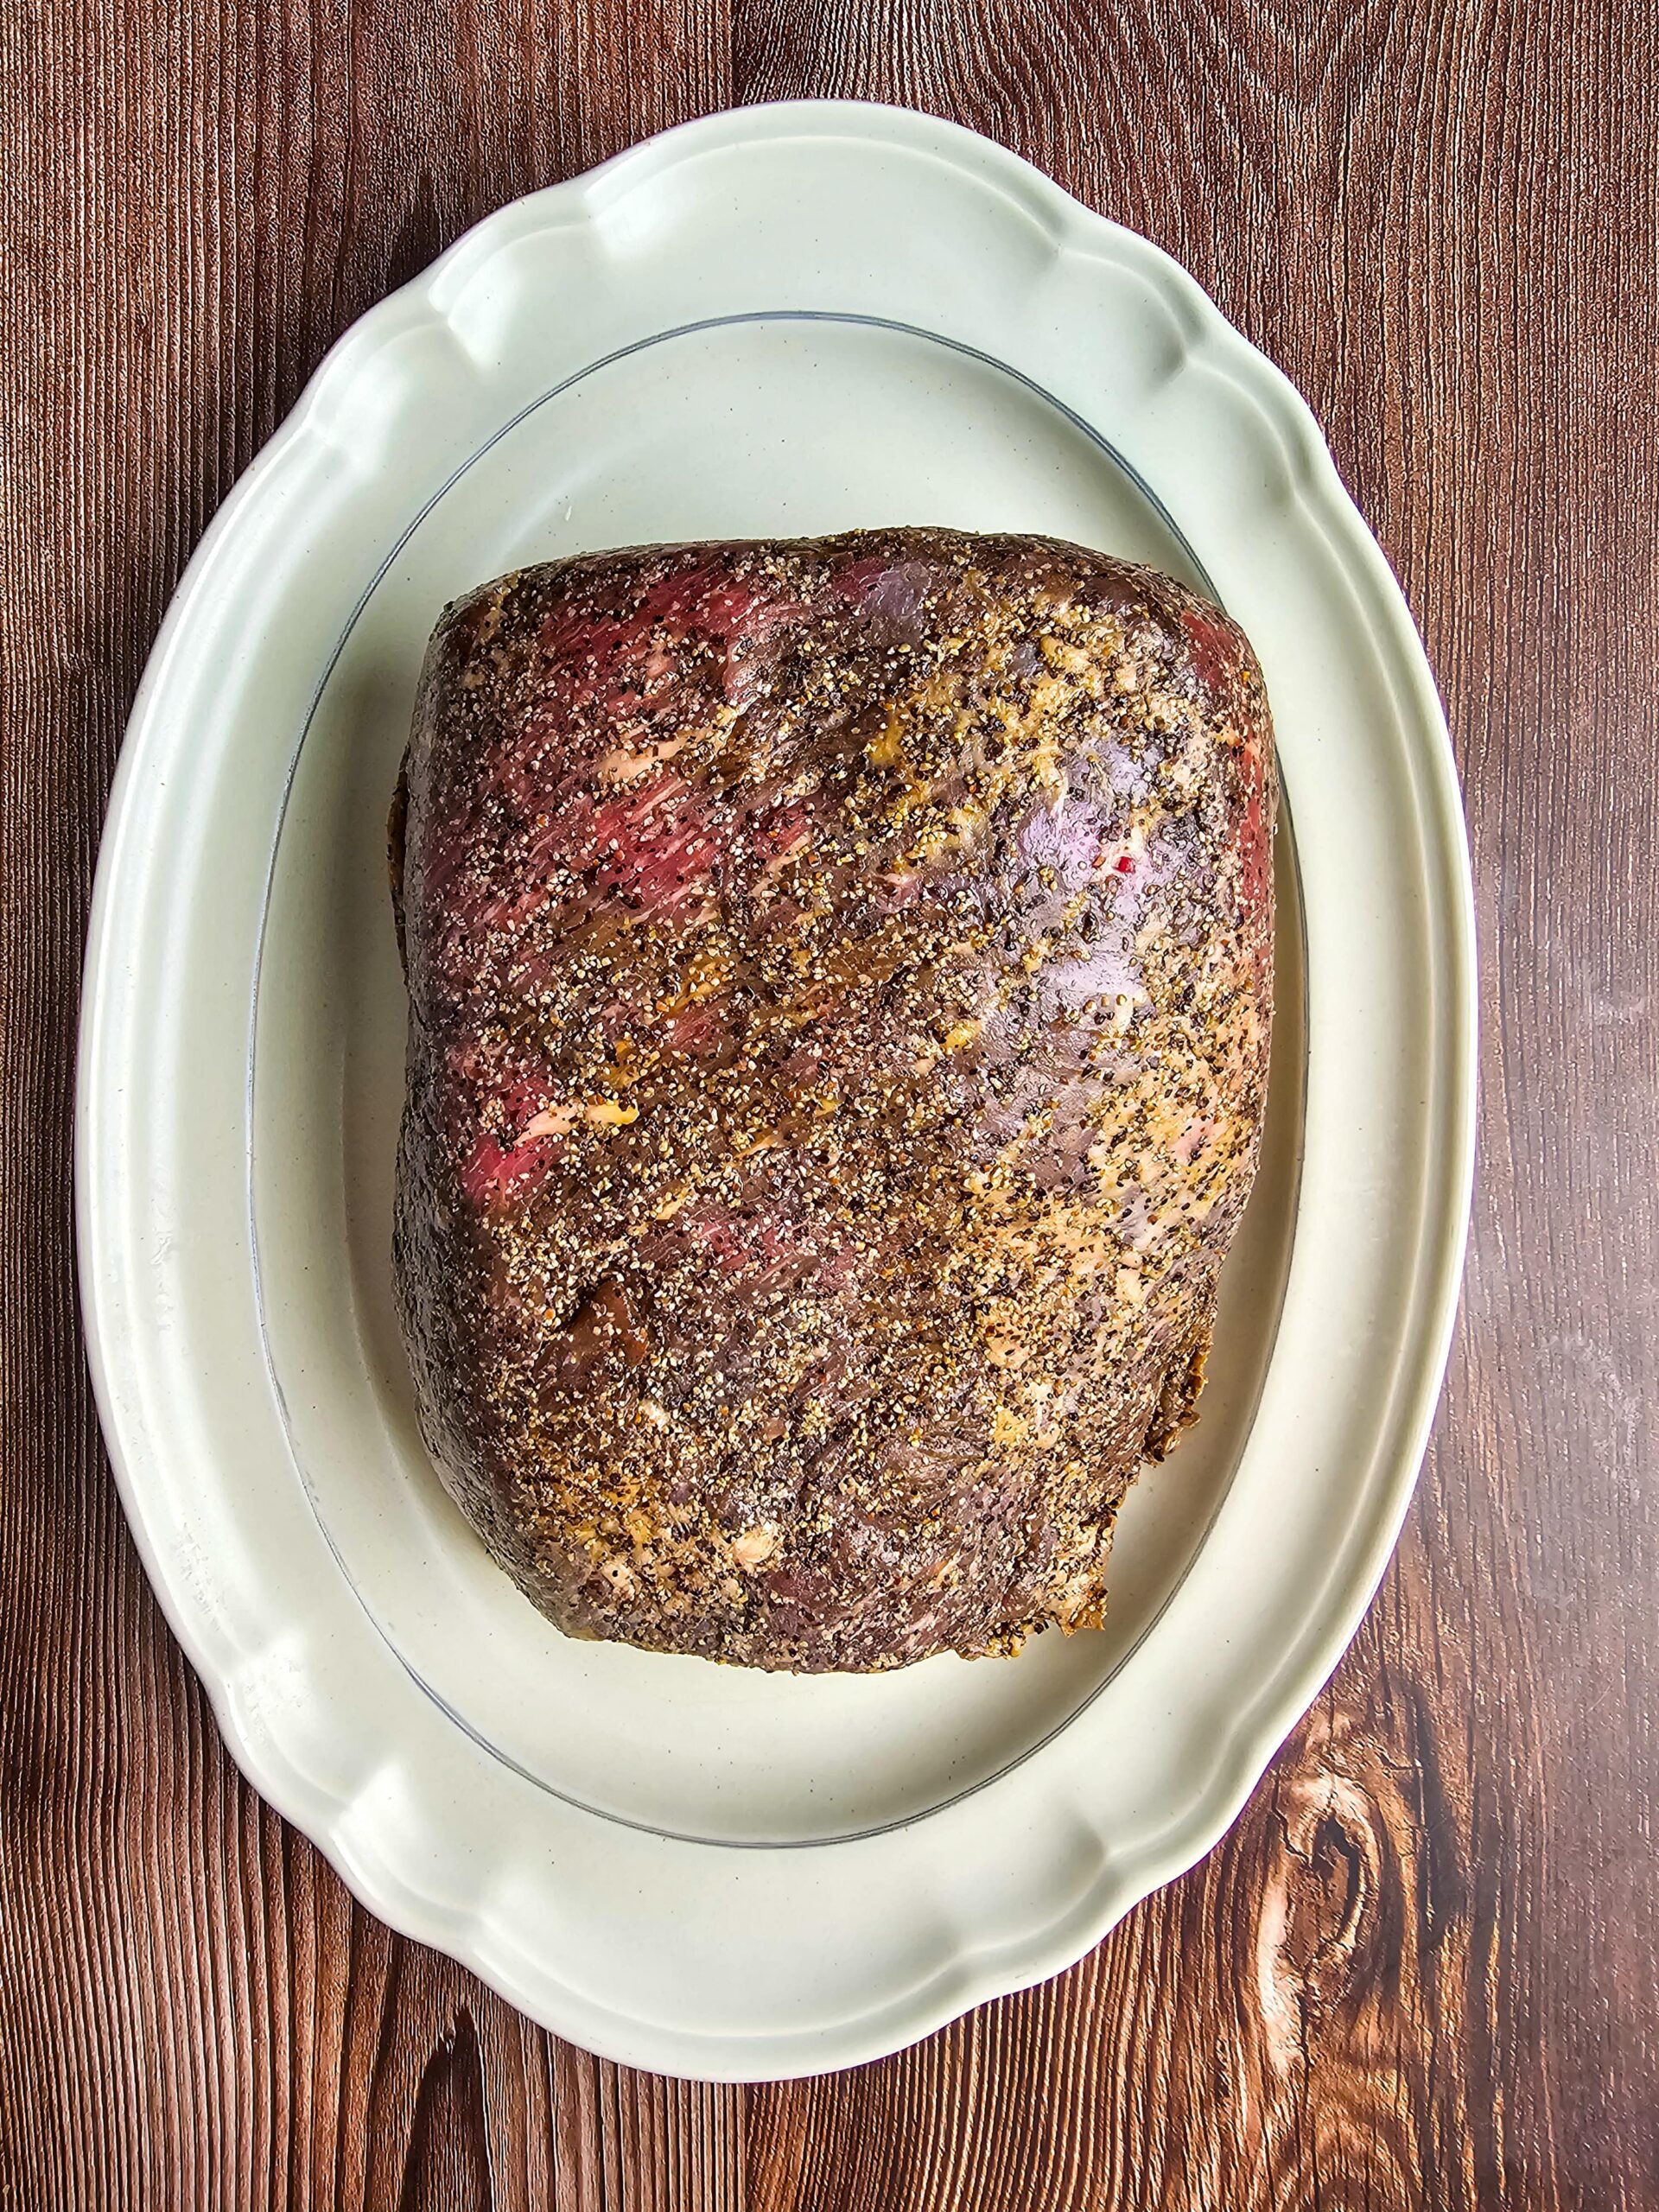
- Prep the brisket:
Pat the brisket dry with paper towels. Mix together the salt, pepper, garlic powder, and onion powder. Rub generously all over the brisket, coating both sides and pressing it into the meat. - Rest before roasting (optional but better):
Wrap the rubbed brisket in plastic wrap and refrigerate 4 hours or overnight. Bring to room temperature for 30–45 minutes before cooking.
- Prepare for oven roasting:
Preheat oven to 275°F (135°C). Place brisket fat-cap side up on a large roasting pan with a rack (or directly in a heavy roasting pan). Pour beef broth (or water) into the bottom of the pan for moisture. - Slow roast:
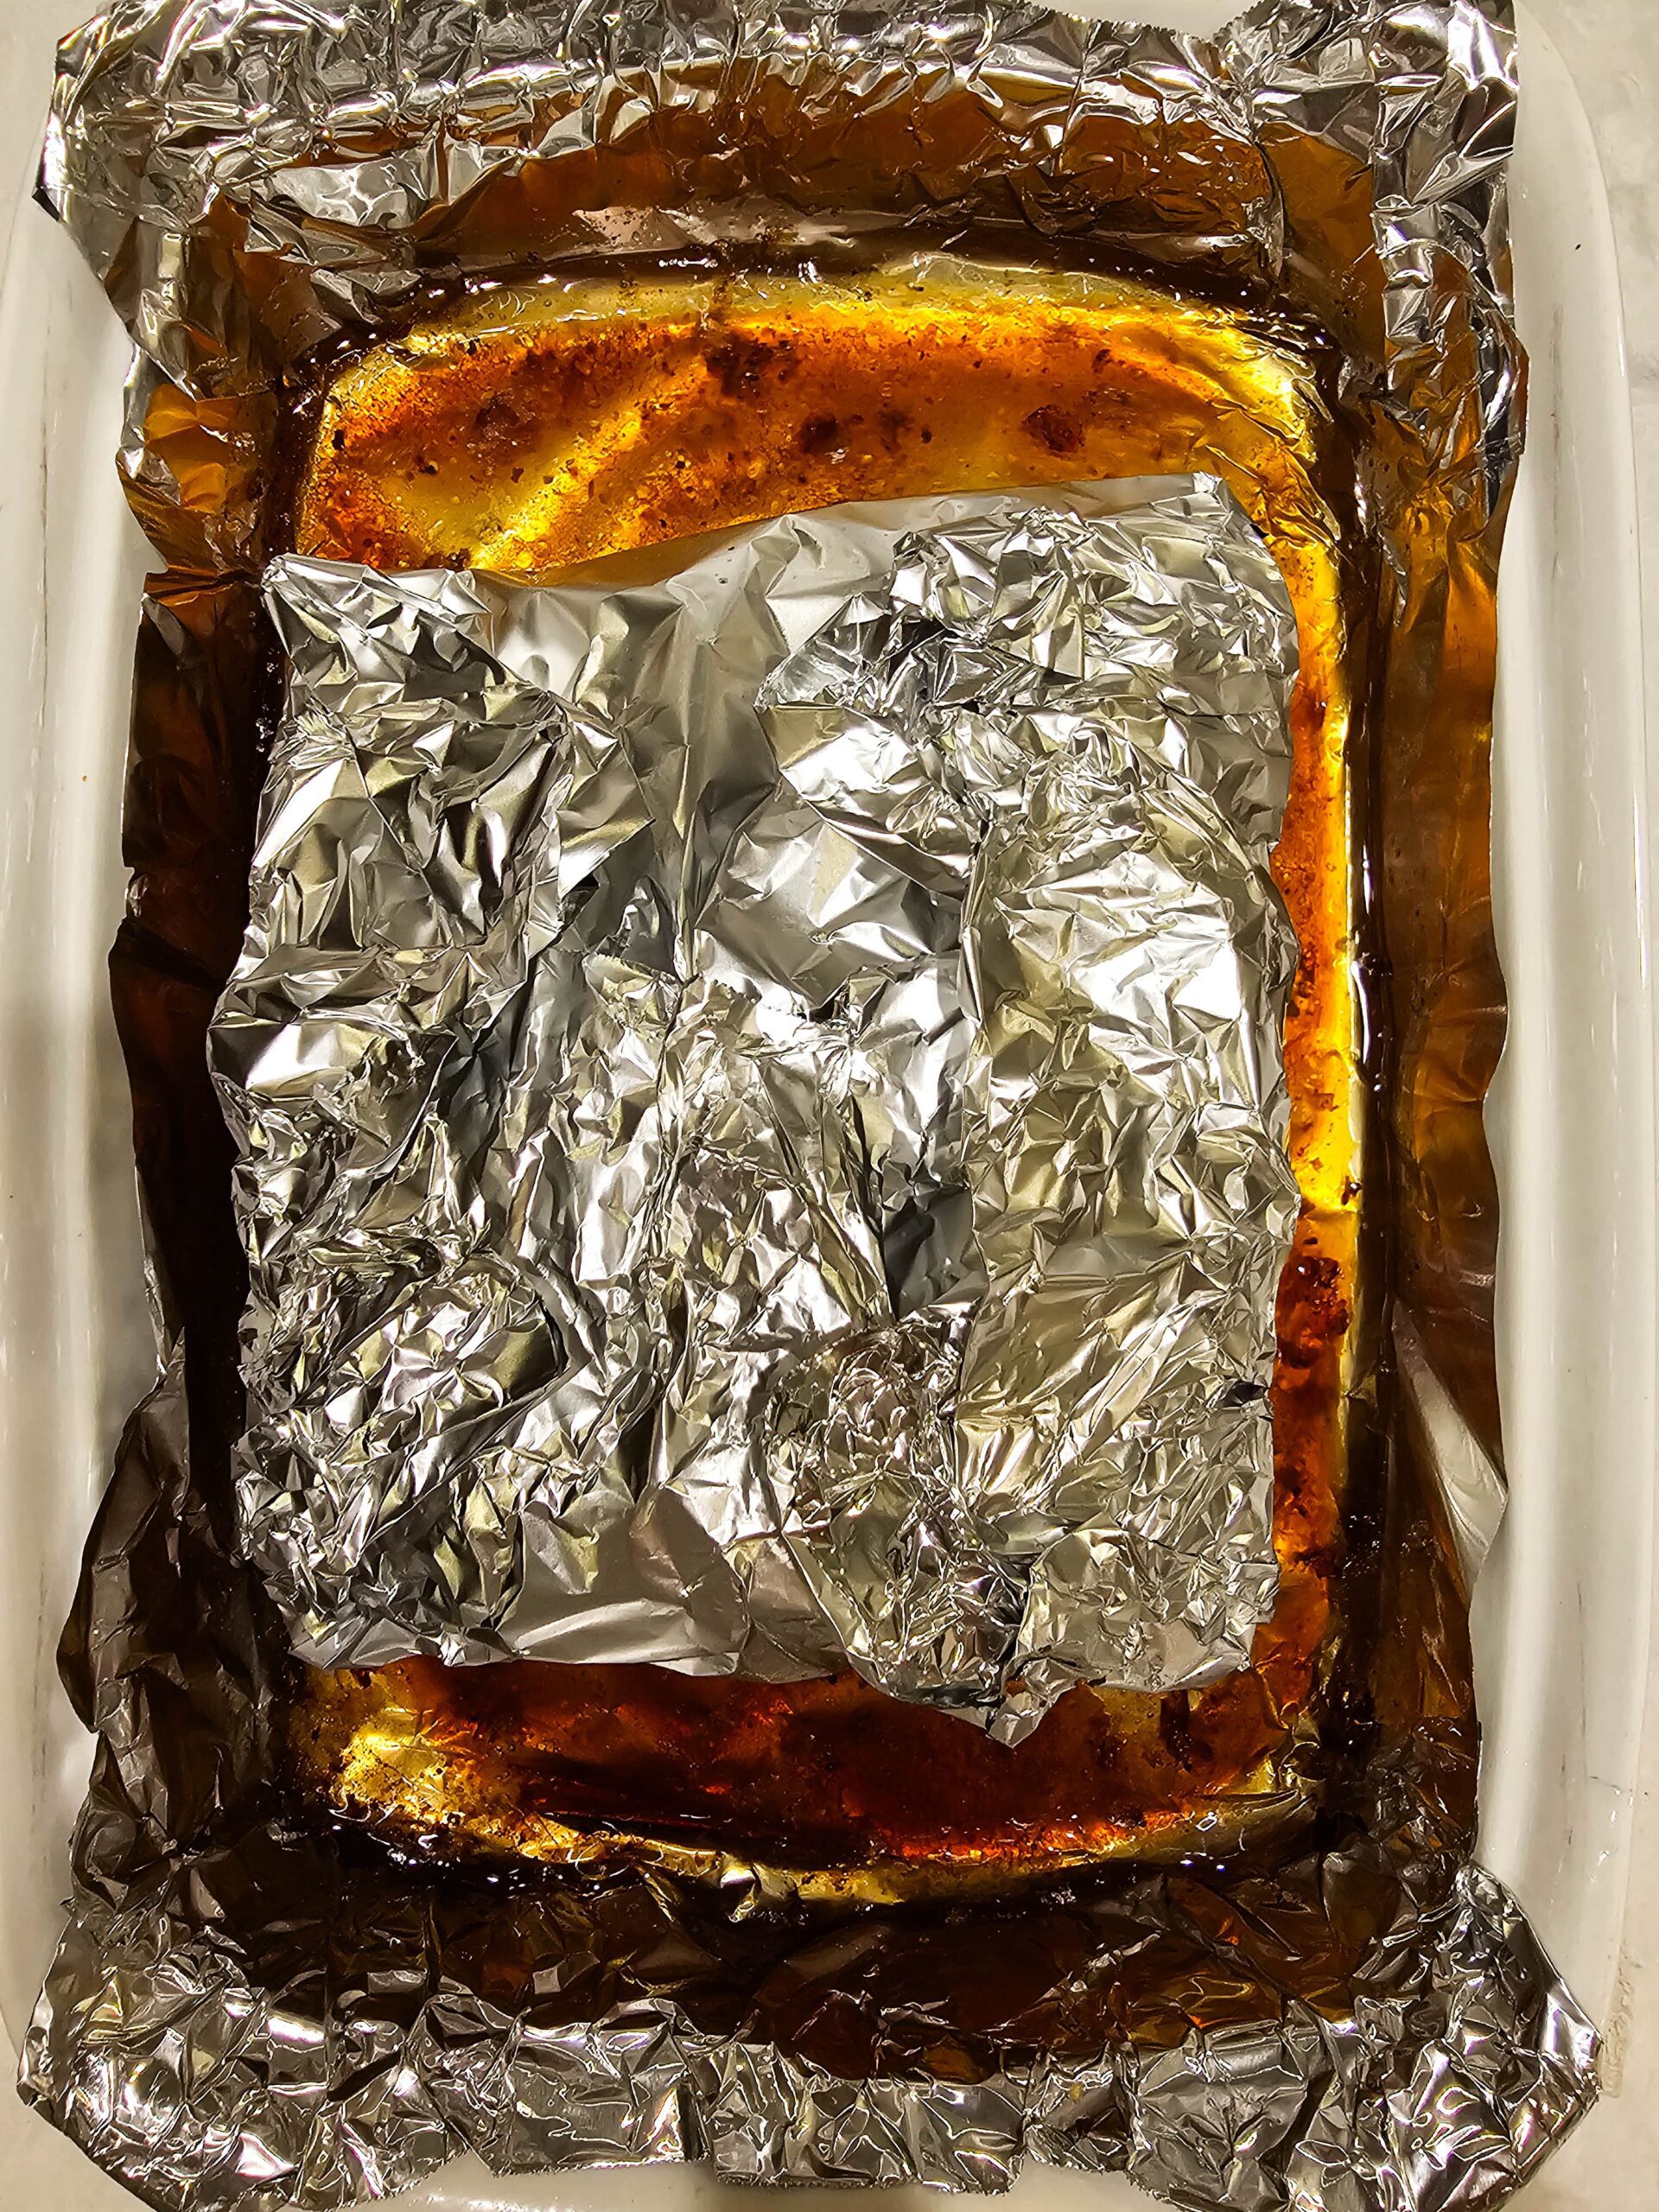
Wrap the brisket tightly with heavy-duty aluminum foil. Roast at 275°F for about 1 hour per pound, until the internal temperature reaches 190–200°F (the sweet spot for tender, sliceable brisket). - Resting:
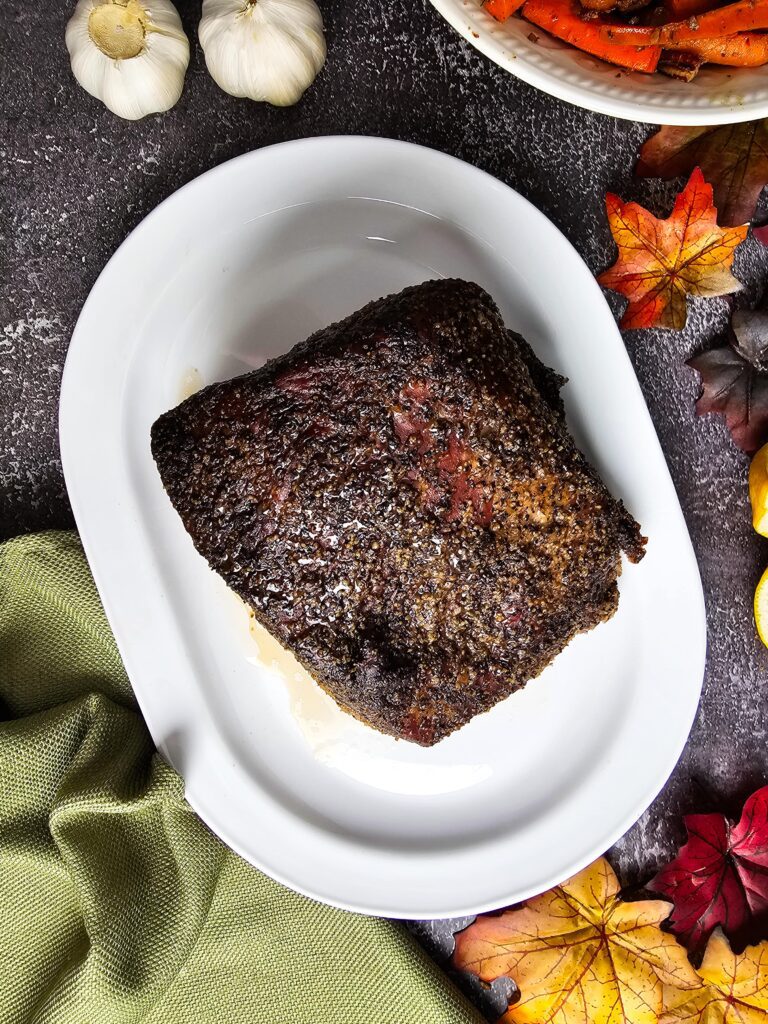
Remove brisket from oven and keep covered. Let rest at least 30–45 minutes before slicing. - Serving:
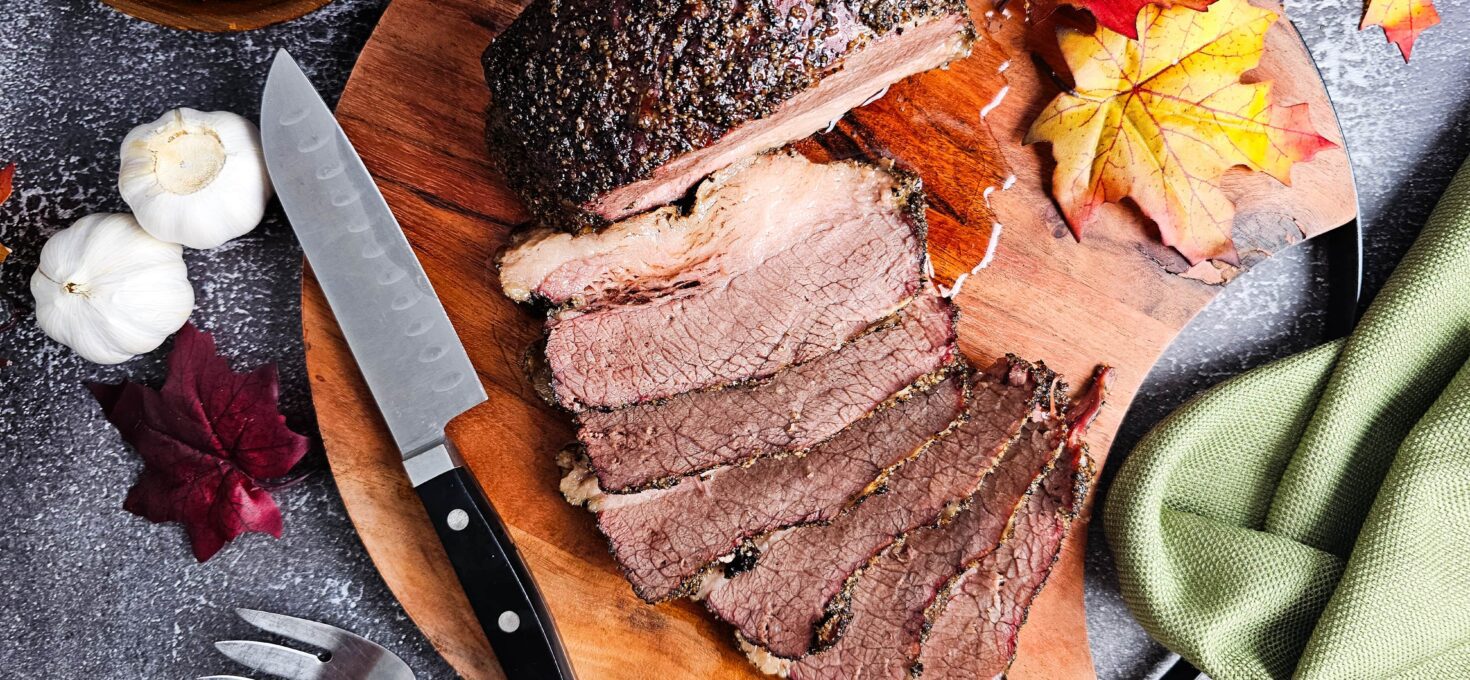
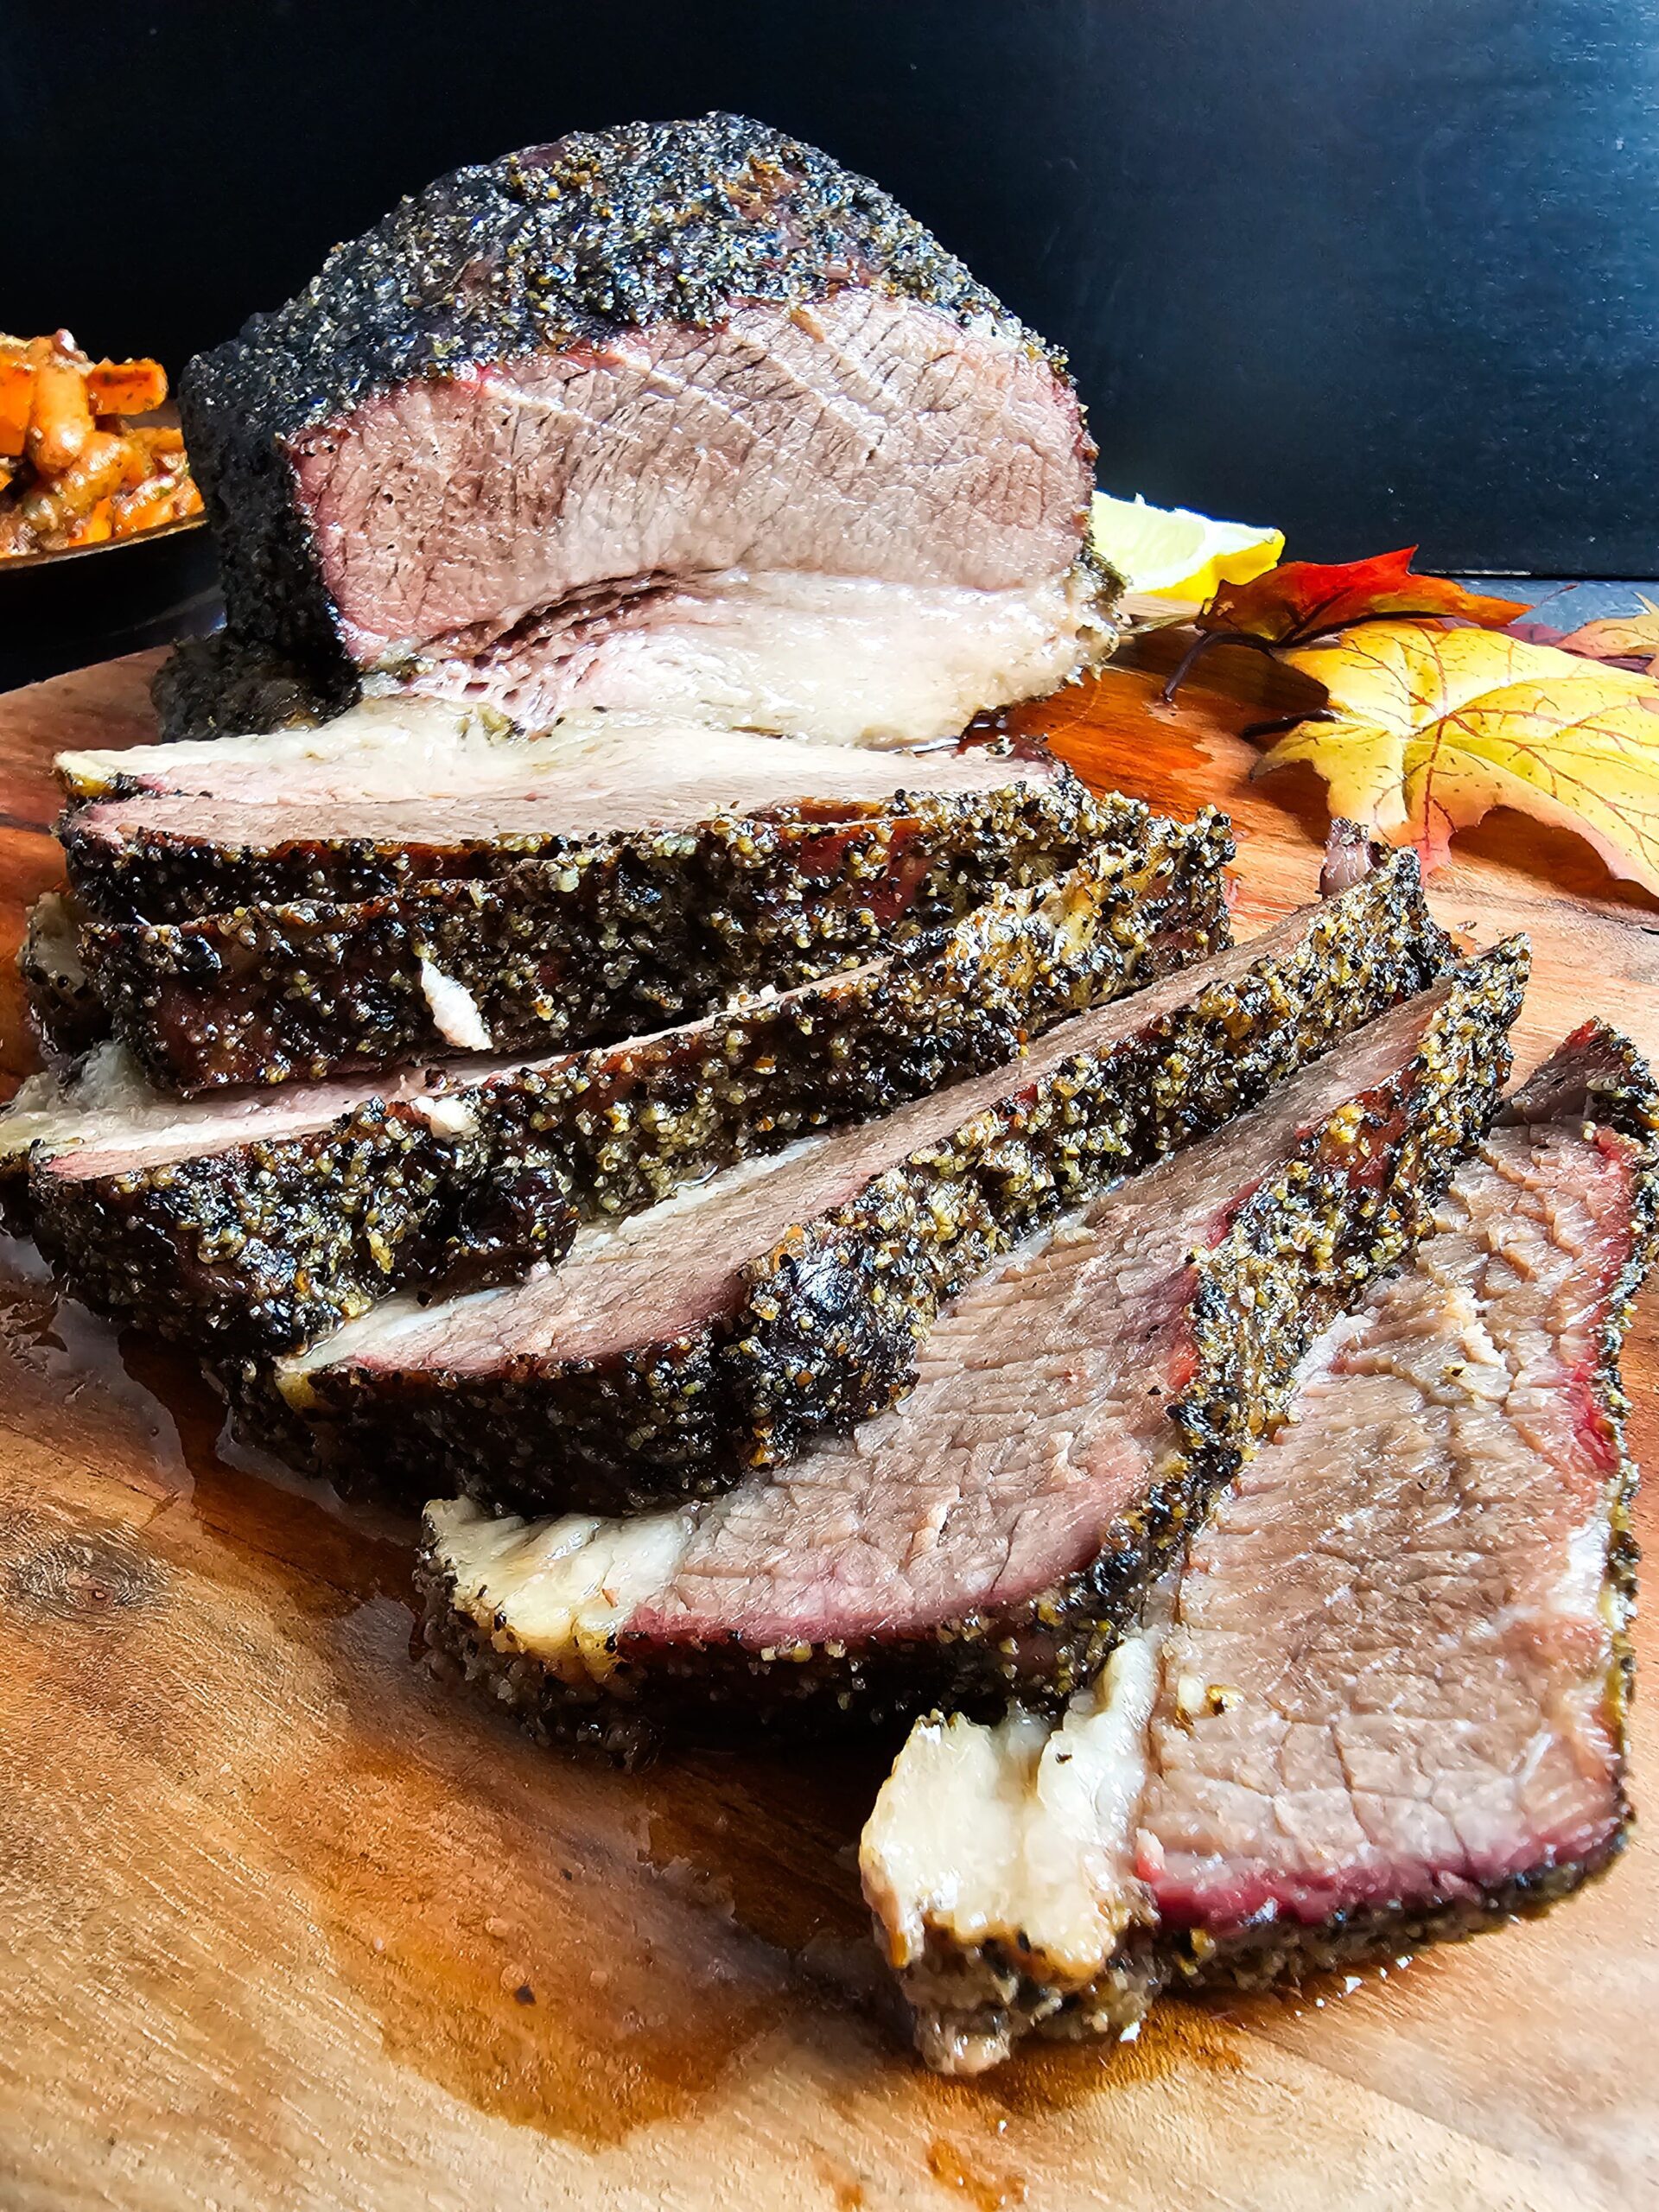
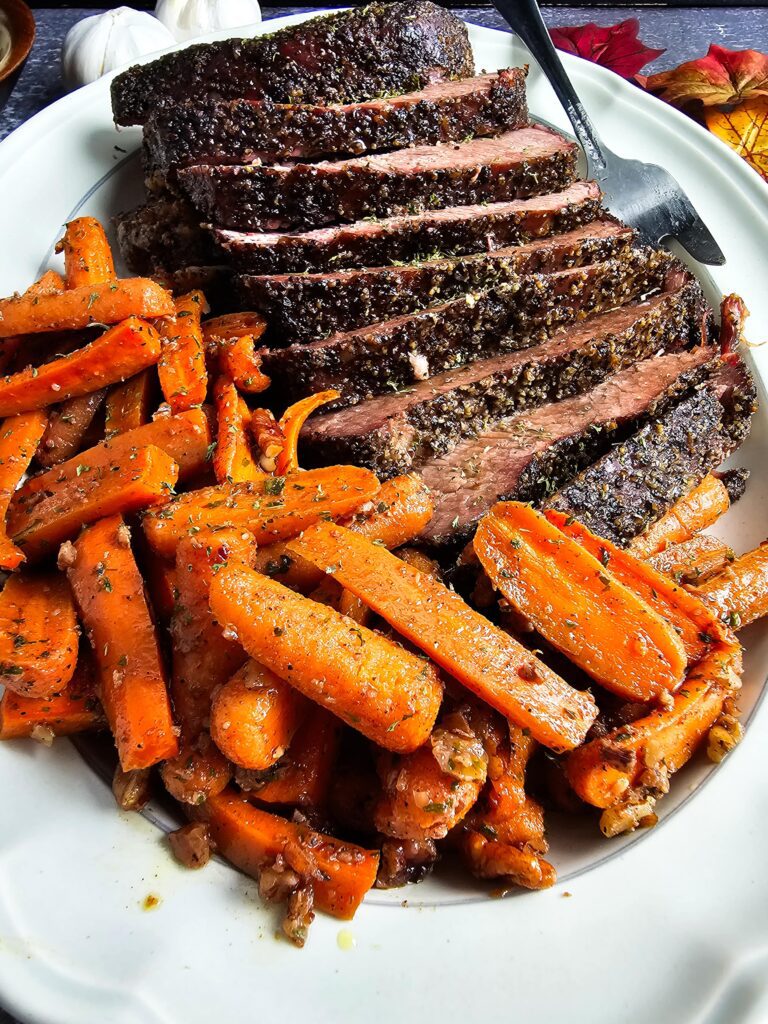
Slice against the grain into thin slices. Serve with pan juices spooned over the top.
FAQ – FREQUENTLY ASKED QUESTIONS
I usually plan for about 1 hour to 1 hour and 15 minutes per pound at 275 degrees f. For a 5-pound brisket, I set aside about 5 to 6 hours. It’s a “low and slow” process, but the wait is so worth it!
I don’t just go by time; I go by feel. I use a meat thermometer, and once it hits around 200 to 205 degrees f and the probe slides in like butter, I know it’s ready.
This is the most important step I follow. I let my brisket rest for at least 30 to 60 minutes before slicing. If I cut it too soon, all those delicious juices just run out on the board.
I don’t bother searing it on the stove. Since we are roasting it for several hours, the oven does a great job of developing a beautiful dark crust all on its own.
I like the flat cut if I want nice, uniform slices. If I’m in the mood for something richer and more shredded (like “burnt ends”), I’ll go with the point cut because it has more marbled fat.
Slow Roasted Brisket Recipe Substitutions and Variations
I love this recipe because it’s so flexible. If you want to put your own spin on this Easy Brisket Recipe, here are a few ways I sometimes mix things up:
- The Sweet Heat Swap: If I want a break from the classic Salt and Pepper Rub, I’ll swap the onion powder for a little brown sugar and chipotle powder to give it a sweet, smoky kick.
- Liquid Gold: Instead of beef broth, I’ve used a dark beer or even a splash of apple cider vinegar mixed with water to help tenderize the Low and Slow Oven Brisket while it cooks.
- Herb Infusion: Sometimes I’ll toss a few sprigs of fresh rosemary or thyme into the pan; it doesn’t change the Texas Style Beef Brisket vibe too much, but it makes the kitchen smell incredible.
- Coffee Rub: For a deeper, earthier crust, I sometimes add a tablespoon of finely ground coffee to my Beef Brisket Seasoning—it makes the “bark” look professionally smoked!
Cooking Tips for Recipe Success
I’ve learned a few tricks over the years to make sure my Tender Beef Roast comes out perfect every single time:
- Don’t Peek: Every time I open the oven door, I lose heat and moisture. I keep the door closed and trust the “low and slow” process to do its magic.
- Use a Meat Thermometer: Since every oven and every piece of meat is different, I always rely on a digital thermometer rather than just the clock to ensure a perfectly Oven Baked Brisket.
- The Foil Seal: When I wrap my brisket halfway through, I make sure the foil is crimped tight; this creates a steam chamber that breaks down the tough fibers for that Melt-in-Your-Mouth finish.
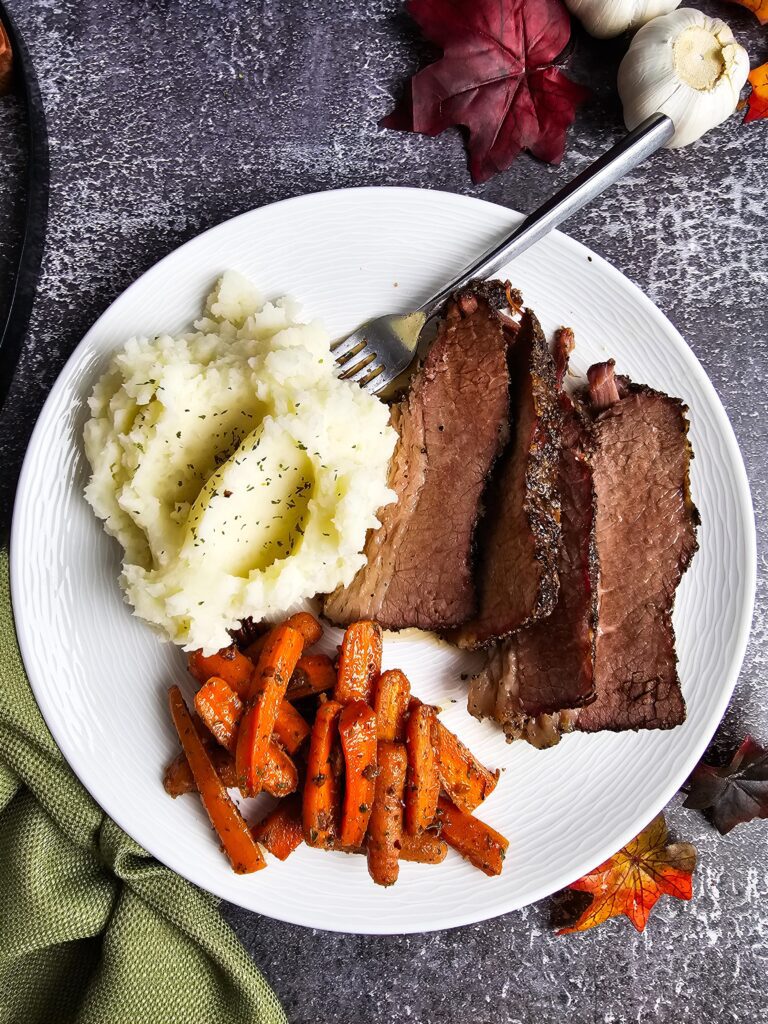
What Is Commonly Served With Low and Slow Oven Brisket?
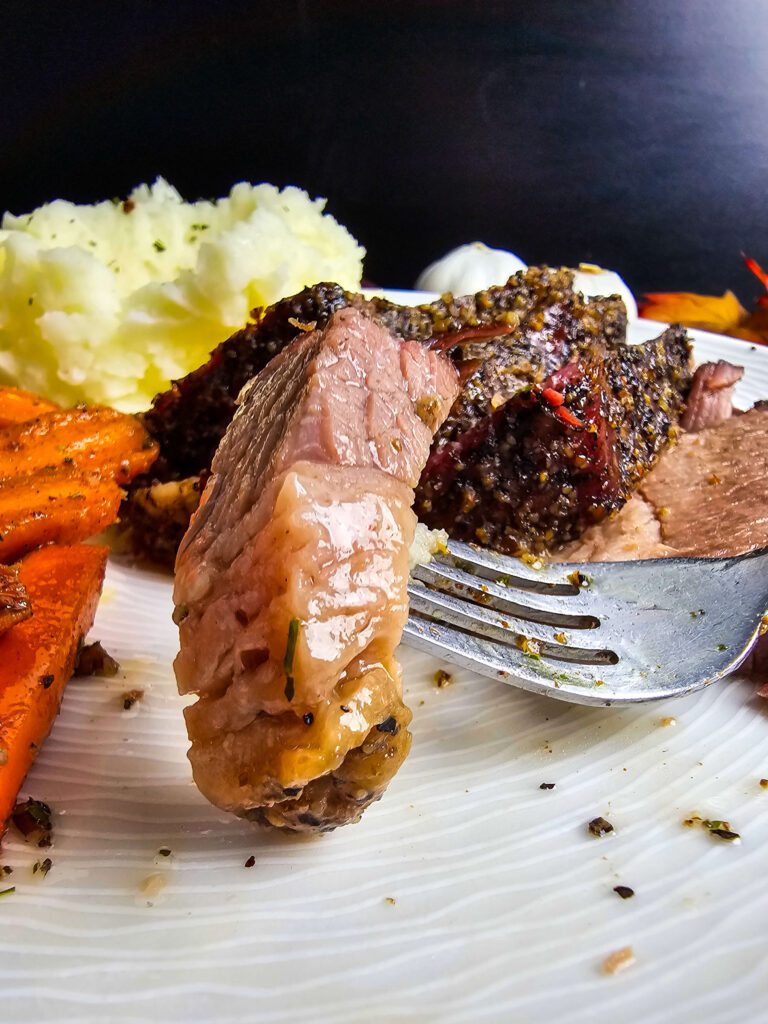
When I’m planning a Holiday Main Dish, I love pairing this brisket with classic comfort foods like creamy mac and cheese, buttery mashed potatoes, or a zesty vinegar-based coleslaw. For drinks, I find that a cold glass of sweet tea or a bold red wine like a Malbec really complements the peppery crust. This meal is my absolute favorite for big Game Day gatherings or a Father’s Day BBQ because it feels like a celebration on a plate. It’s also a staple at my Christmas and Hanukkah dinners because it’s so easy to scale up for a crowd.
How to Store Leftover Texas-Style Beef Brisket for Later?
If I’m lucky enough to have leftovers, I make sure to store them in an airtight container with a little bit of the leftover pan juices to keep the meat from drying out. I keep it in the fridge for up to four days, and I find that the flavors actually deepen after sitting overnight. When I’m ready to eat it again, I reheat it slowly in the oven or a skillet so it stays nice and juicy.
Can Leftover beef roast Be Frozen?
Yes, I freeze my brisket all the time and it works perfectly for future meals! I usually slice or shred the meat first, wrap it tightly in plastic wrap or foil, and then tuck it into a heavy-duty freezer bag for up to three months. When I need a quick dinner, I just thaw it in the fridge overnight and it’s ready to go.
LOOKING FOR MORE BEEF ROAST IDEAS? TRY THESE!
Easy and Tender Beef Sirloin Roast
Easy Red Wine Braised Tender Short Ribs
Simple Oven-Braised Sirloin Tip Roast Masterpiece
Joule Sous Vide London Broil Marinated Steak Recipe
FINAL THOUGHTS
I really hope you enjoy making this Easy Salt and Black Pepper Baked Beef Brisket as much as I do! It’s such a rewarding, simple way to bring those big Texas flavors into your own kitchen without any fancy equipment. If you try this recipe, please leave me a comment below and let me know how it turned out for you—I love hearing about your kitchen wins!
Easy Salt and Black Pepper Baked Beef Brisket
Equipment
Ingredients
- 5 lbs. beef brisket (4–6 pounds, flat or point cut, trimmed but with a thin fat cap left on)
- 2 ½ tablespoons kosher salt
- 2 ½ tablespoons black pepper (course)
- 1 teaspoon garlic powder (optional, not traditional but nice in oven roasting)
- 1 teaspoon onion powder
- ½ cup beef broth (or water)
Instructions
- Prep the brisket: Pat brisket dry with paper towels. Mix together the salt, pepper, garlic powder, and onion powder. Rub generously all over the brisket, coating both sides and pressing it into the meat.
- Rest before roasting (optional but better): Wrap the rubbed brisket in plastic wrap and refrigerate 4 hours or overnight. Bring to room temperature for 30–45 minutes before cooking.
- Prepare for oven roasting: Preheat oven to 275°F (135°C). Place brisket fat-cap side up on a large roasting pan with a rack (or directly in a heavy roasting pan). Pour beef broth (or water) into the bottom of the pan for moisture.
- Slow roast: Wrap the brisket tightly with heavy-duty aluminum foil. Roast at 275°F for about 1 hour per pound, until the internal temperature reaches 190–200°F (the sweet spot for tender, sliceable brisket).
- Resting: Remove brisket from oven and keep covered. Let rest at least 30–45 minutes before slicing.
- Serving: Slice against the grain into thin slices. Serve with pan juices spooned over the top.