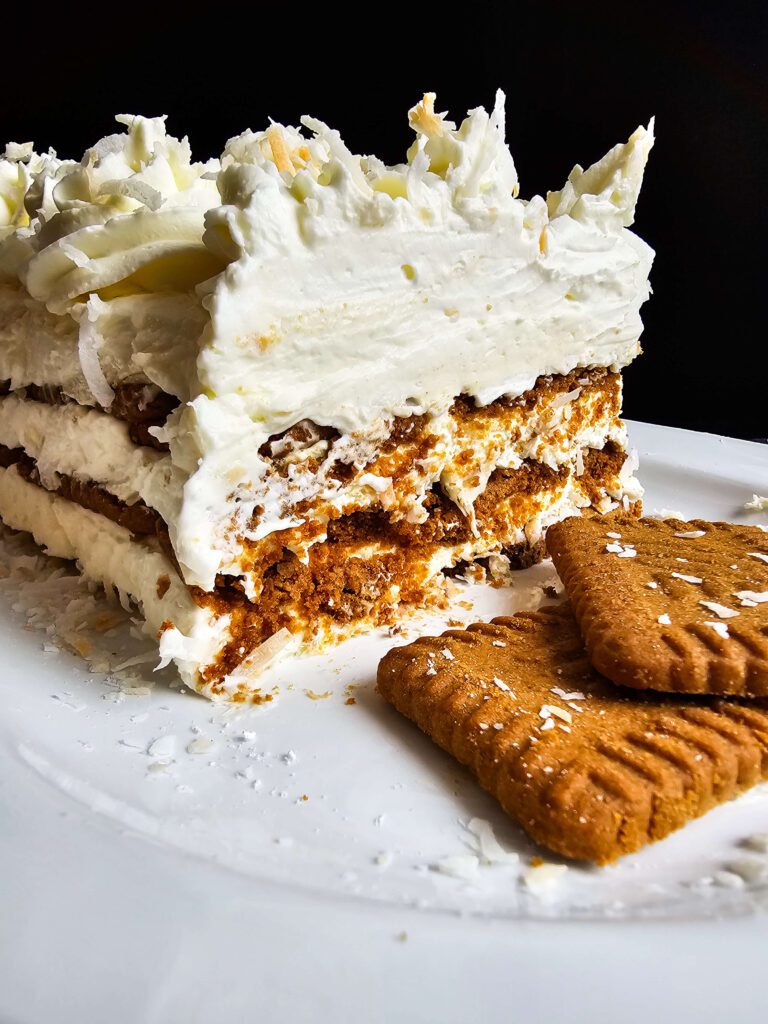
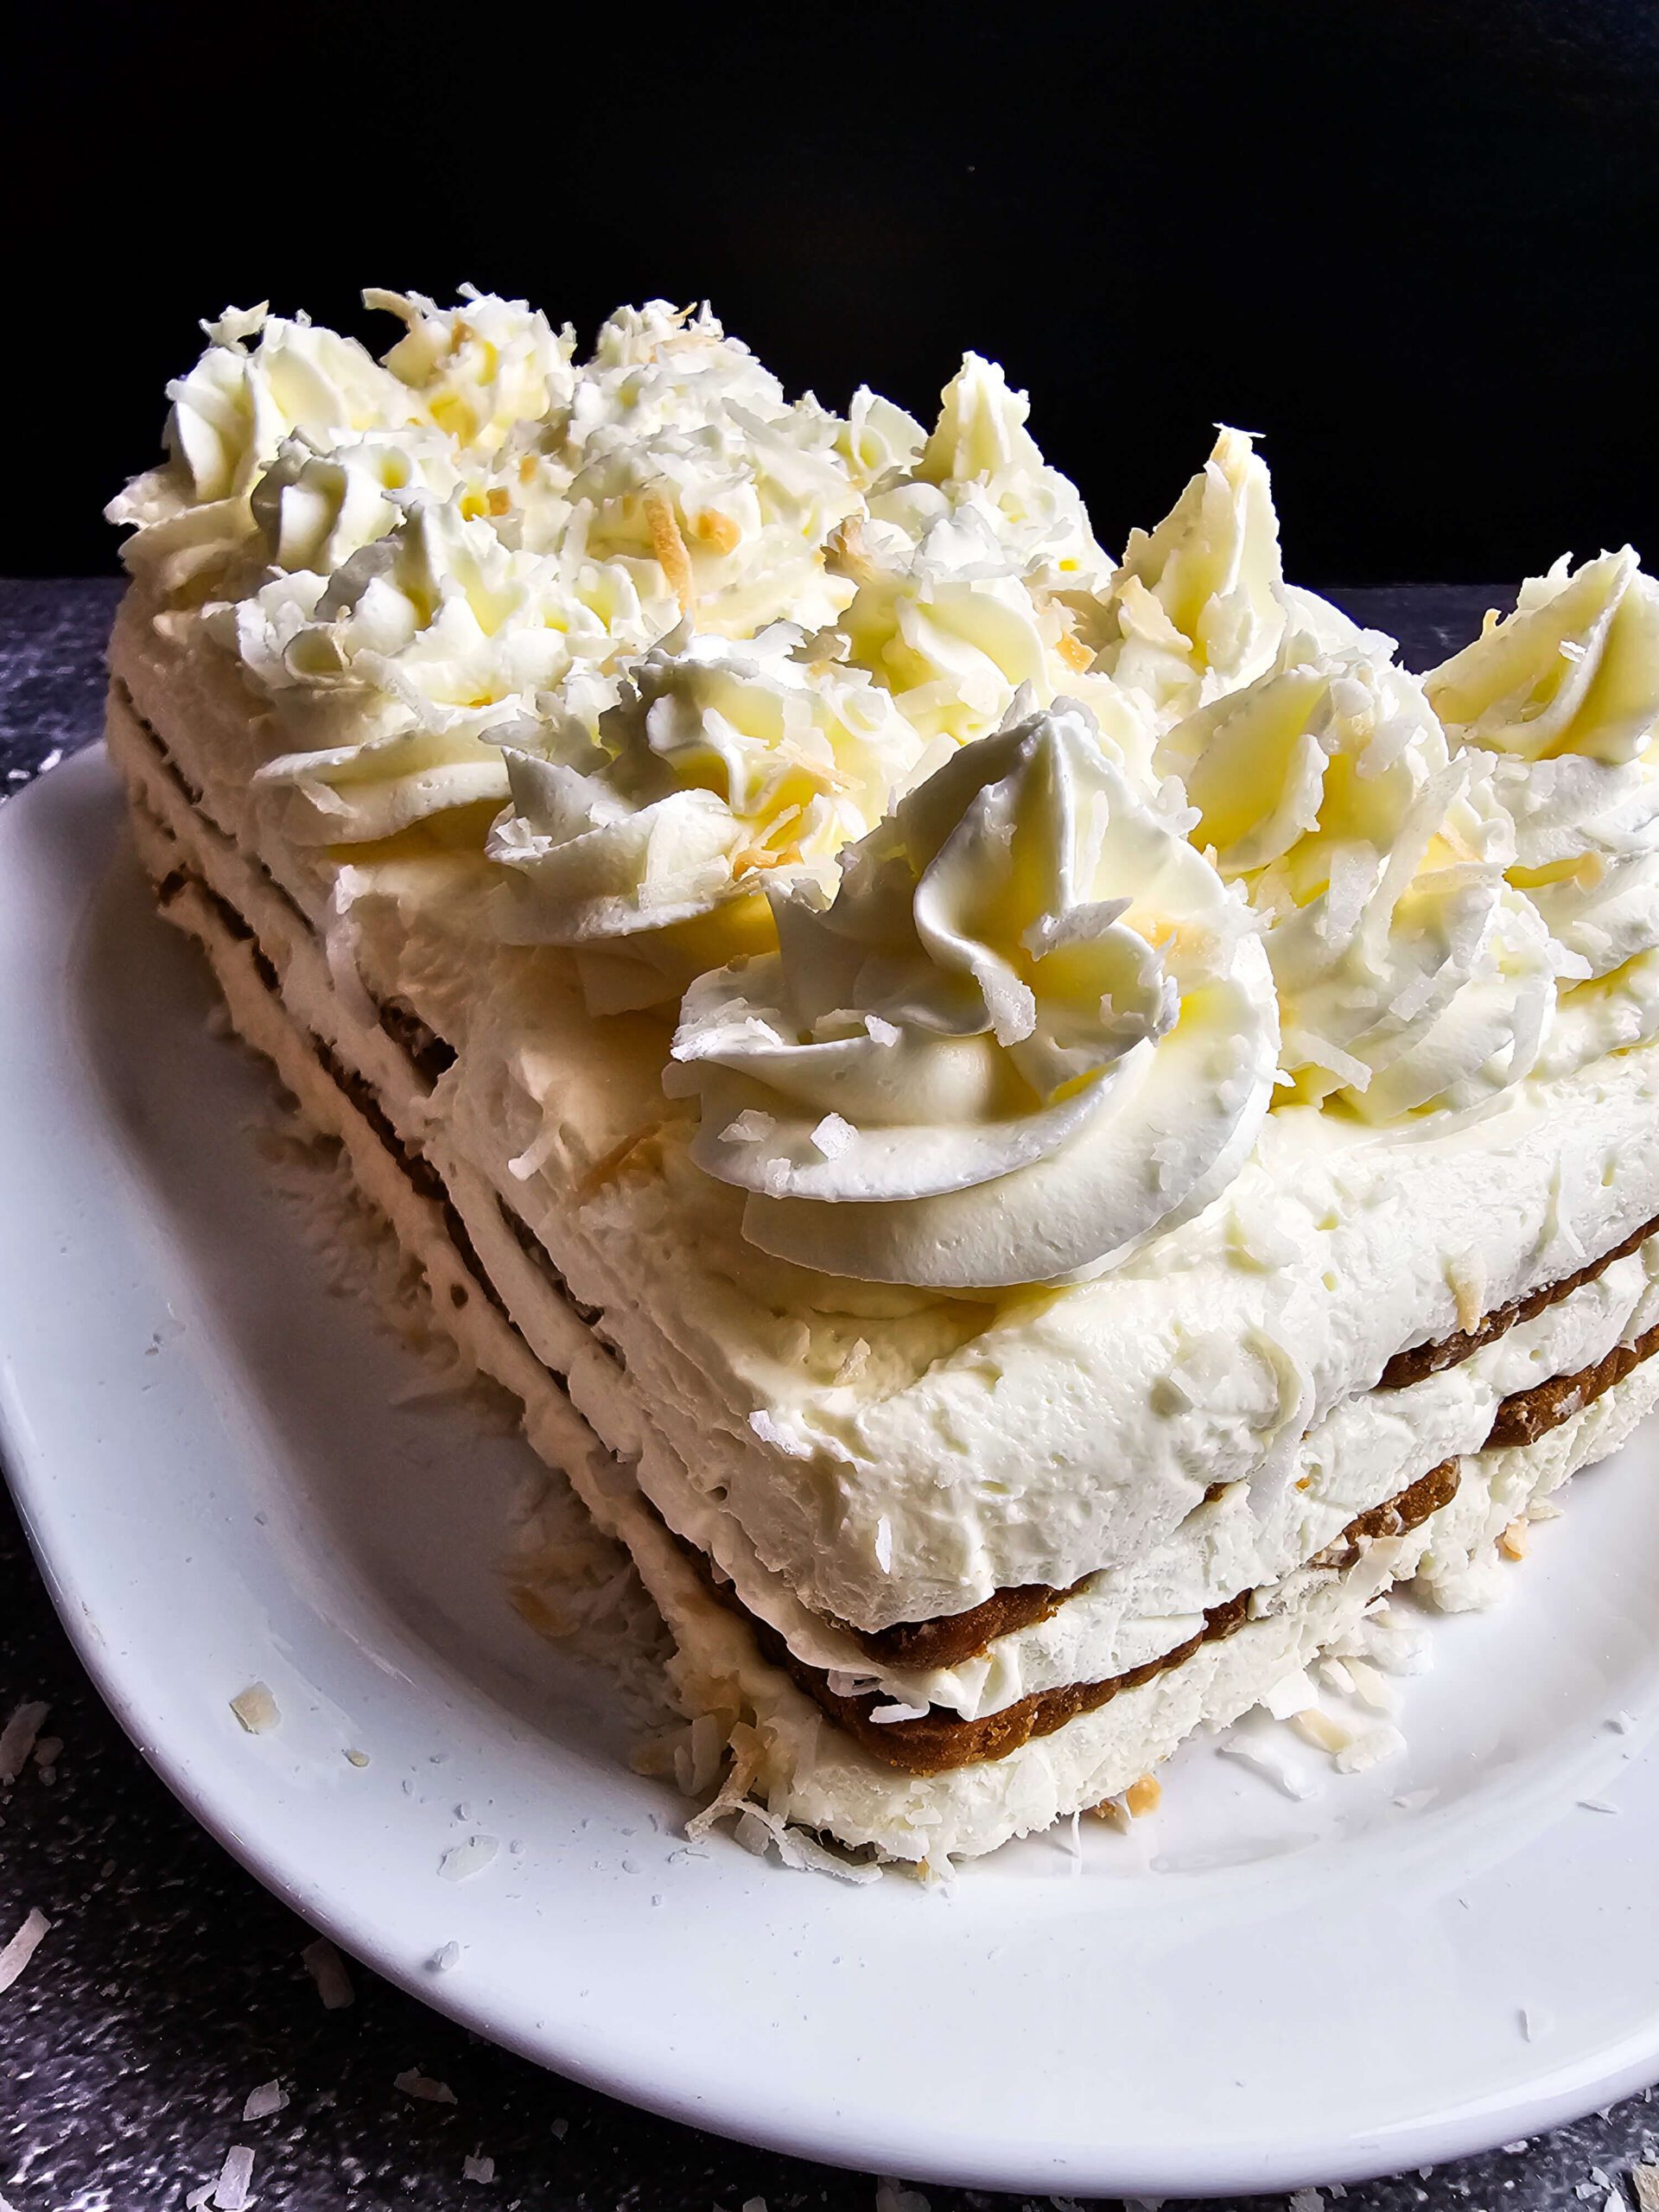
If you love coconut and want an easy dessert that doesn’t need an oven, you’ve got to try The Best Creamy No-Bake Coconut Cake. It’s light, fluffy, and full of sweet coconut flavor with layers that chill into the perfect slice. I love making this for summer parties or when I just want something simple and cool—it’s always a hit and takes hardly any effort!
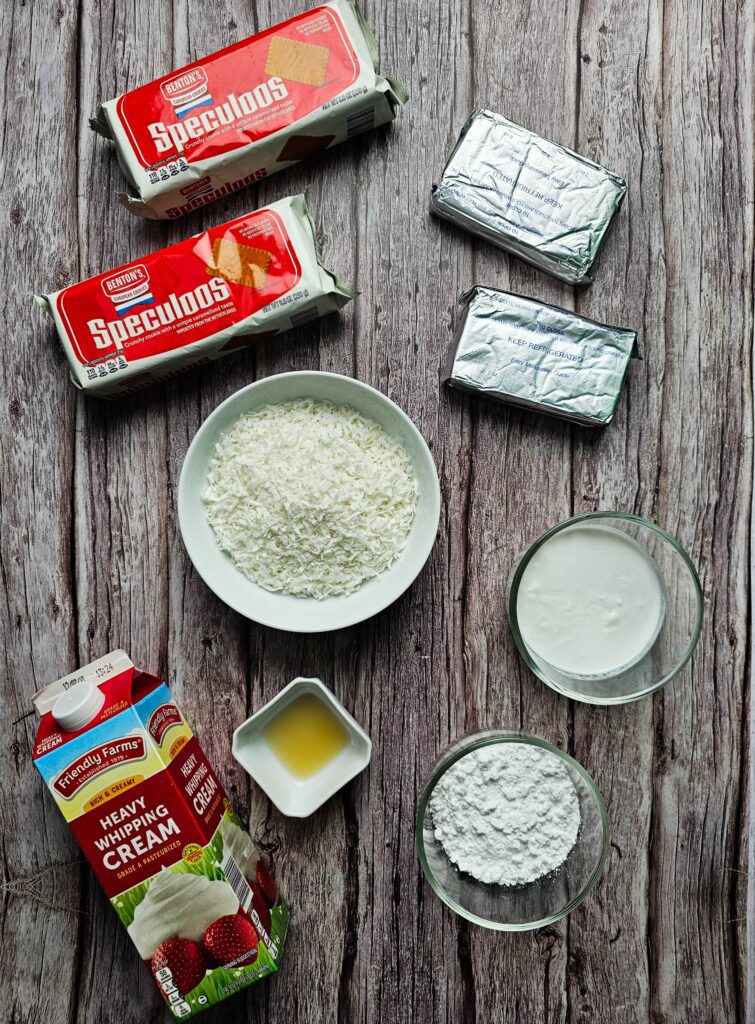
INGREDIENTS YOU’LL NEED:
- 2 (15 oz) cans coconut milk (full fat) – I use two full-fat cans and pop them in the fridge for a few hours so the thick cream separates to the top. That’s the good stuff we’ll use for the creamy layers.
- 1½ cups shredded coconut (sweetened) – I like using sweetened shredded coconut and toast it in the oven for a few minutes until it’s golden and smells amazing.
- 2 cups heavy cream (extra cold) – I chill the heavy cream and whip it until stiff peaks form. It makes the filling super fluffy and light.
- 2 bricks cream cheese (softened to room temp) – I let the cream cheese sit out until it’s soft so it blends smoothly with the other creamy ingredients.
- ½ cup powdered sugar – Just enough to sweeten the filling without making it too heavy—powdered sugar blends in really easily.
- 1 teaspoon vanilla extract – A splash of vanilla adds that cozy flavor and brings everything together.
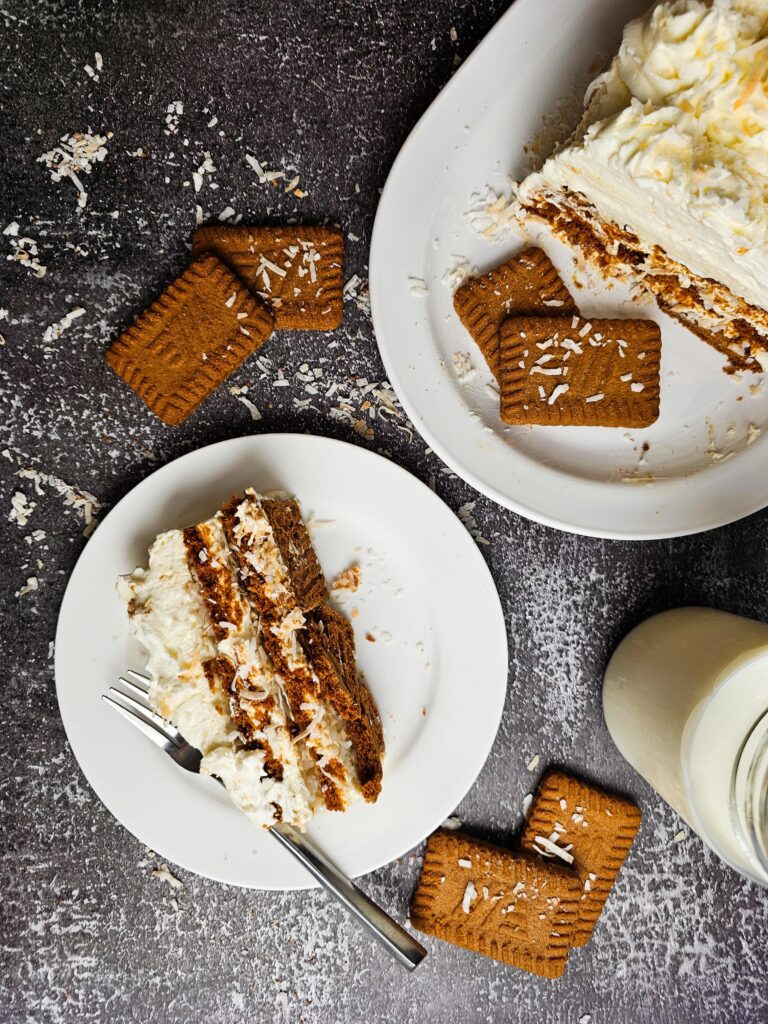
- 1 (6.75–7.5 oz) package caramel-flavored cookies – I use Pepperidge Farm Bordeaux or shortbread cookies for layering—they get soft like cake once chilled and taste amazing with the coconut filling.
WHY THIS CREAMY TOASTED COCONUT CAKE IS A WINNER?
- It’s super easy—no oven, no stress, and perfect for hot days when I don’t want to bake.
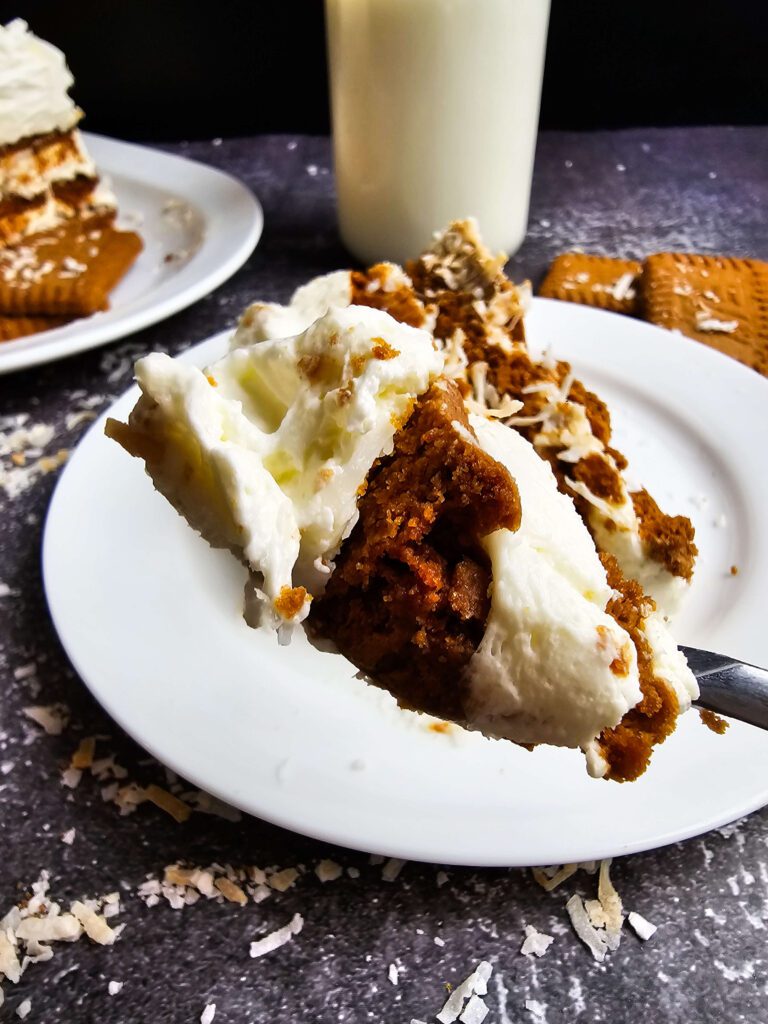
- The creamy coconut layers with those caramel cookies taste like a tropical dessert dream.
- Everyone always asks for seconds, and I secretly love how fancy it looks with almost no effort!
HOW TO PREPARE TOASTED COCONUT ICEBOX CAKE?
Time needed: 30 minutes
- Prep the Coconut Milk:
Place the two cans of full-fat coconut milk in the fridge (unshaken) for at least 4 hours or overnight. This helps the thick coconut cream separate from the liquid. - Toast the Coconut:
Preheat your oven to 350°F. Spread the sweetened shredded coconut on a baking sheet and toast it for 4–6 minutes, stirring once, until golden and fragrant. Let it cool. - Beat the Heavy Cream:
In a chilled bowl, whip the extra cold heavy cream until stiff peaks form. Set it aside in the fridge while you prepare the rest.
- Make the Cream Cheese Mixture:
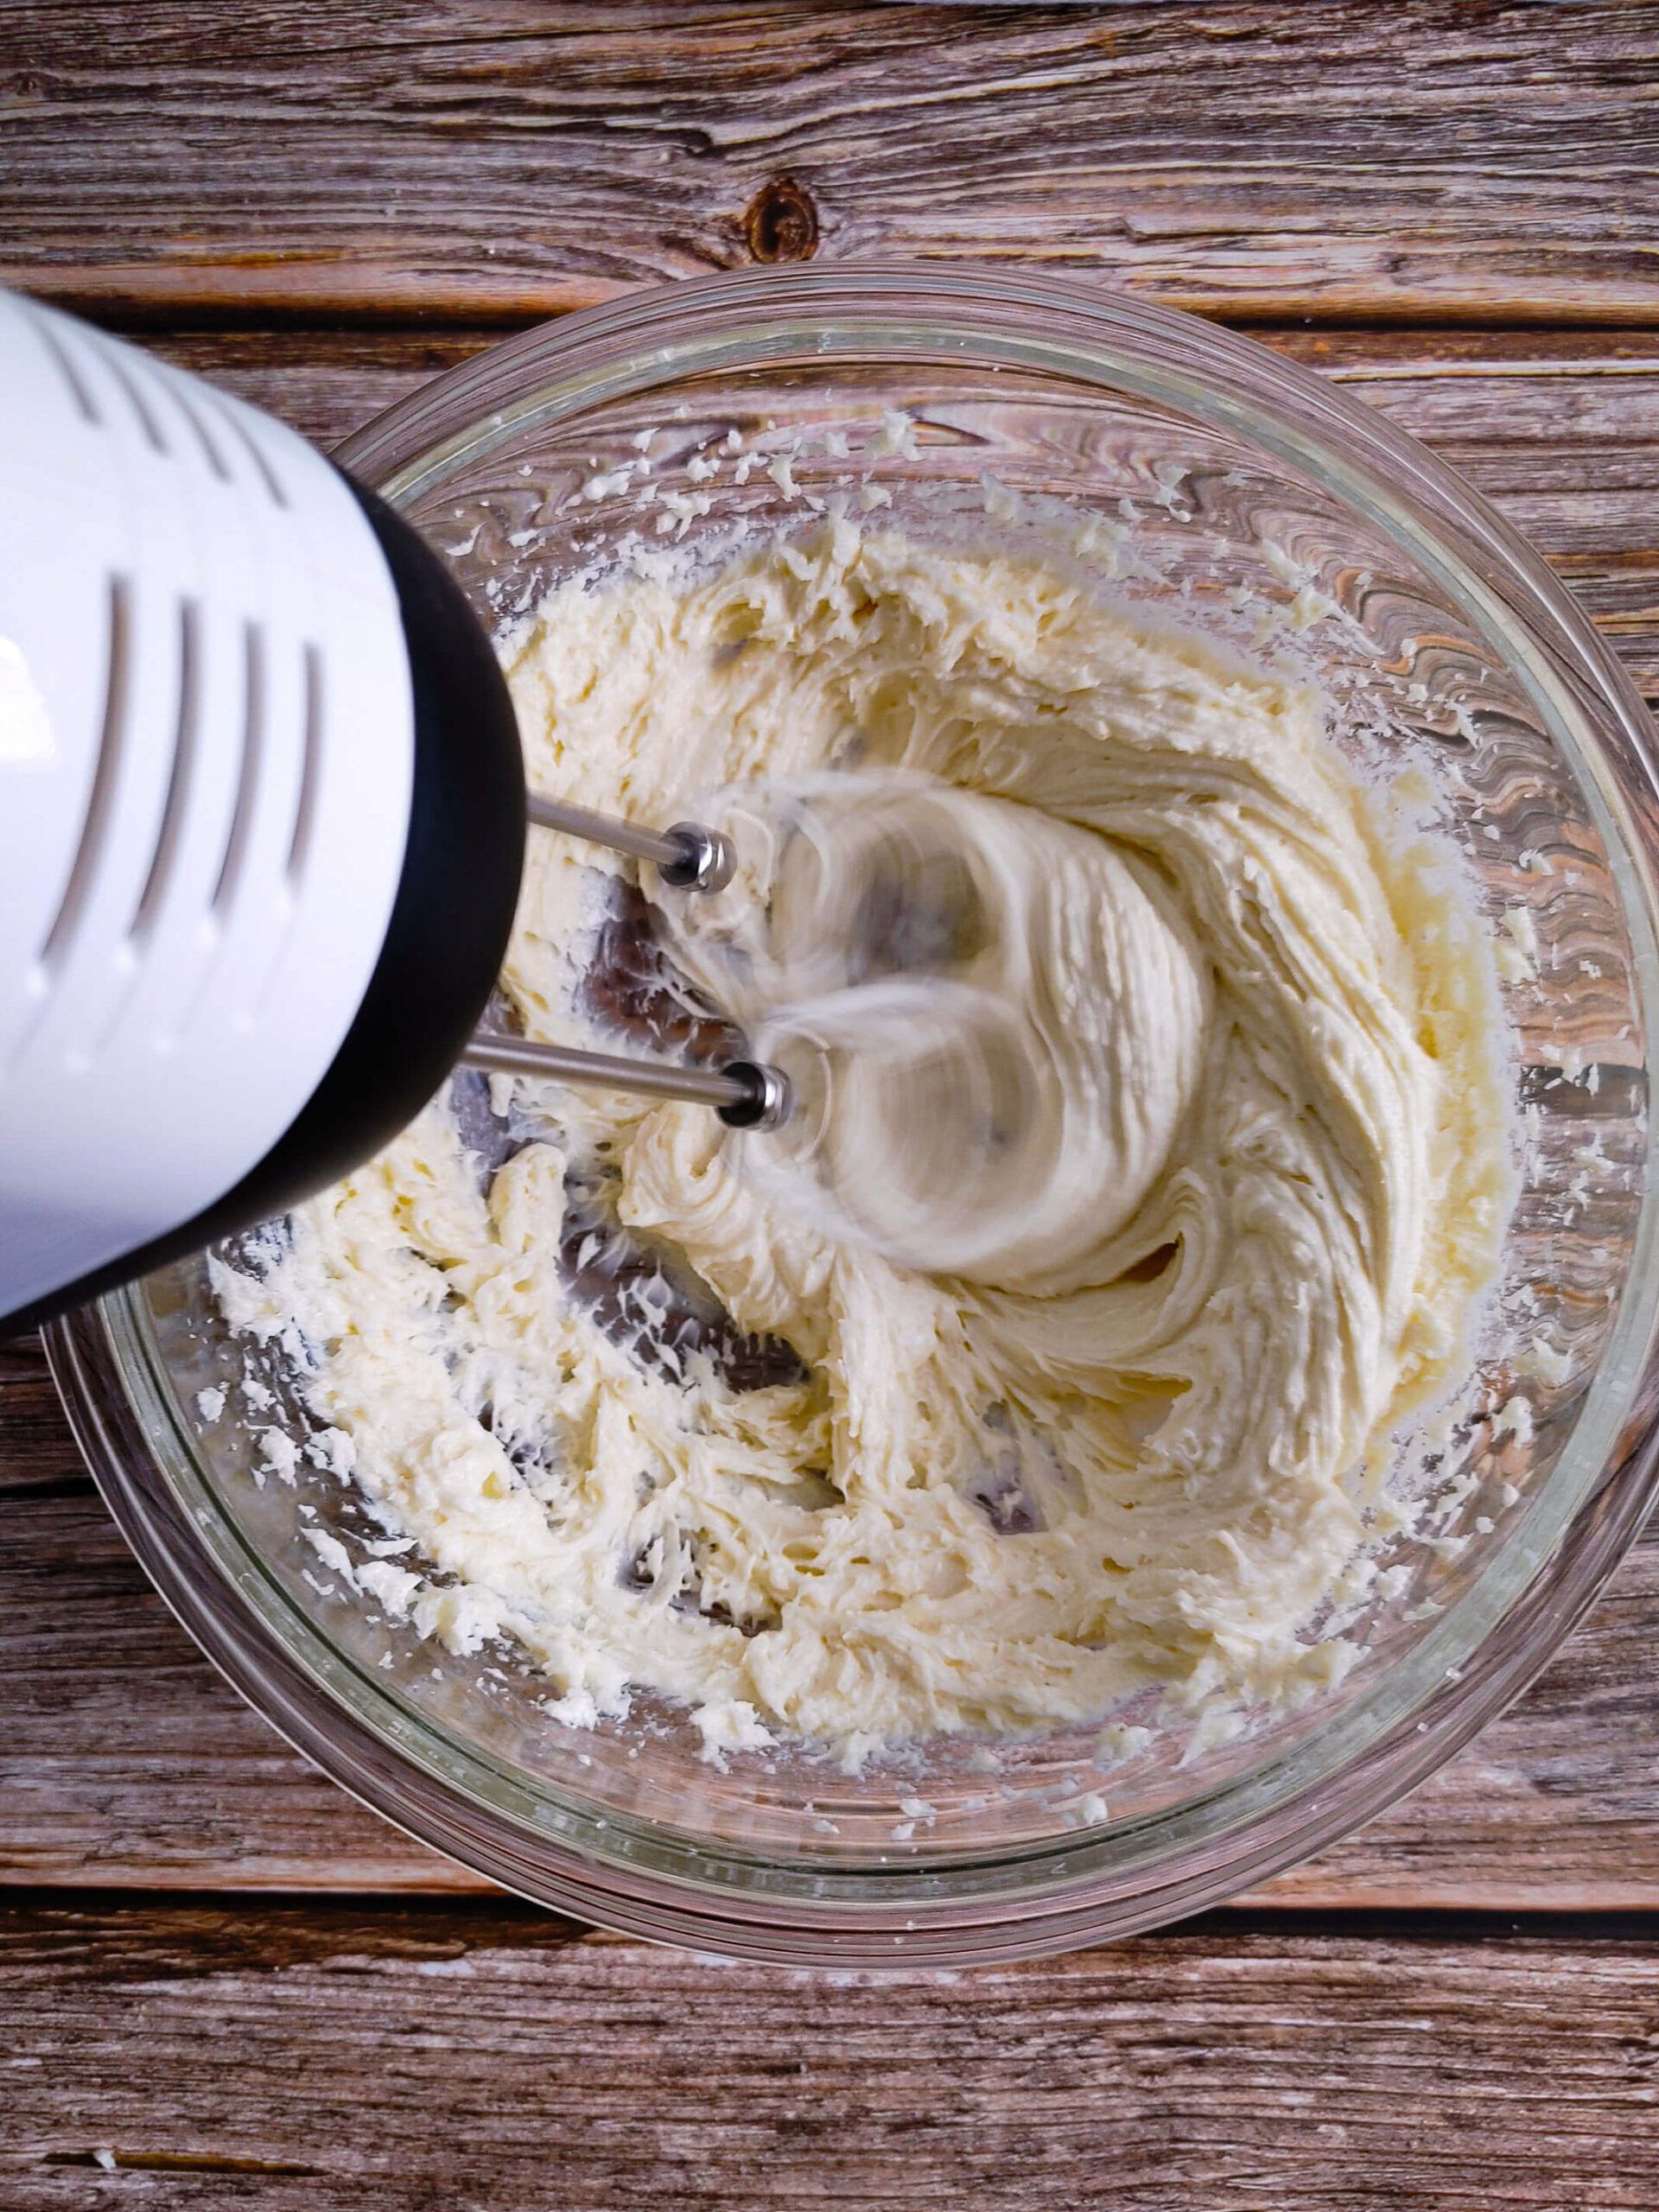
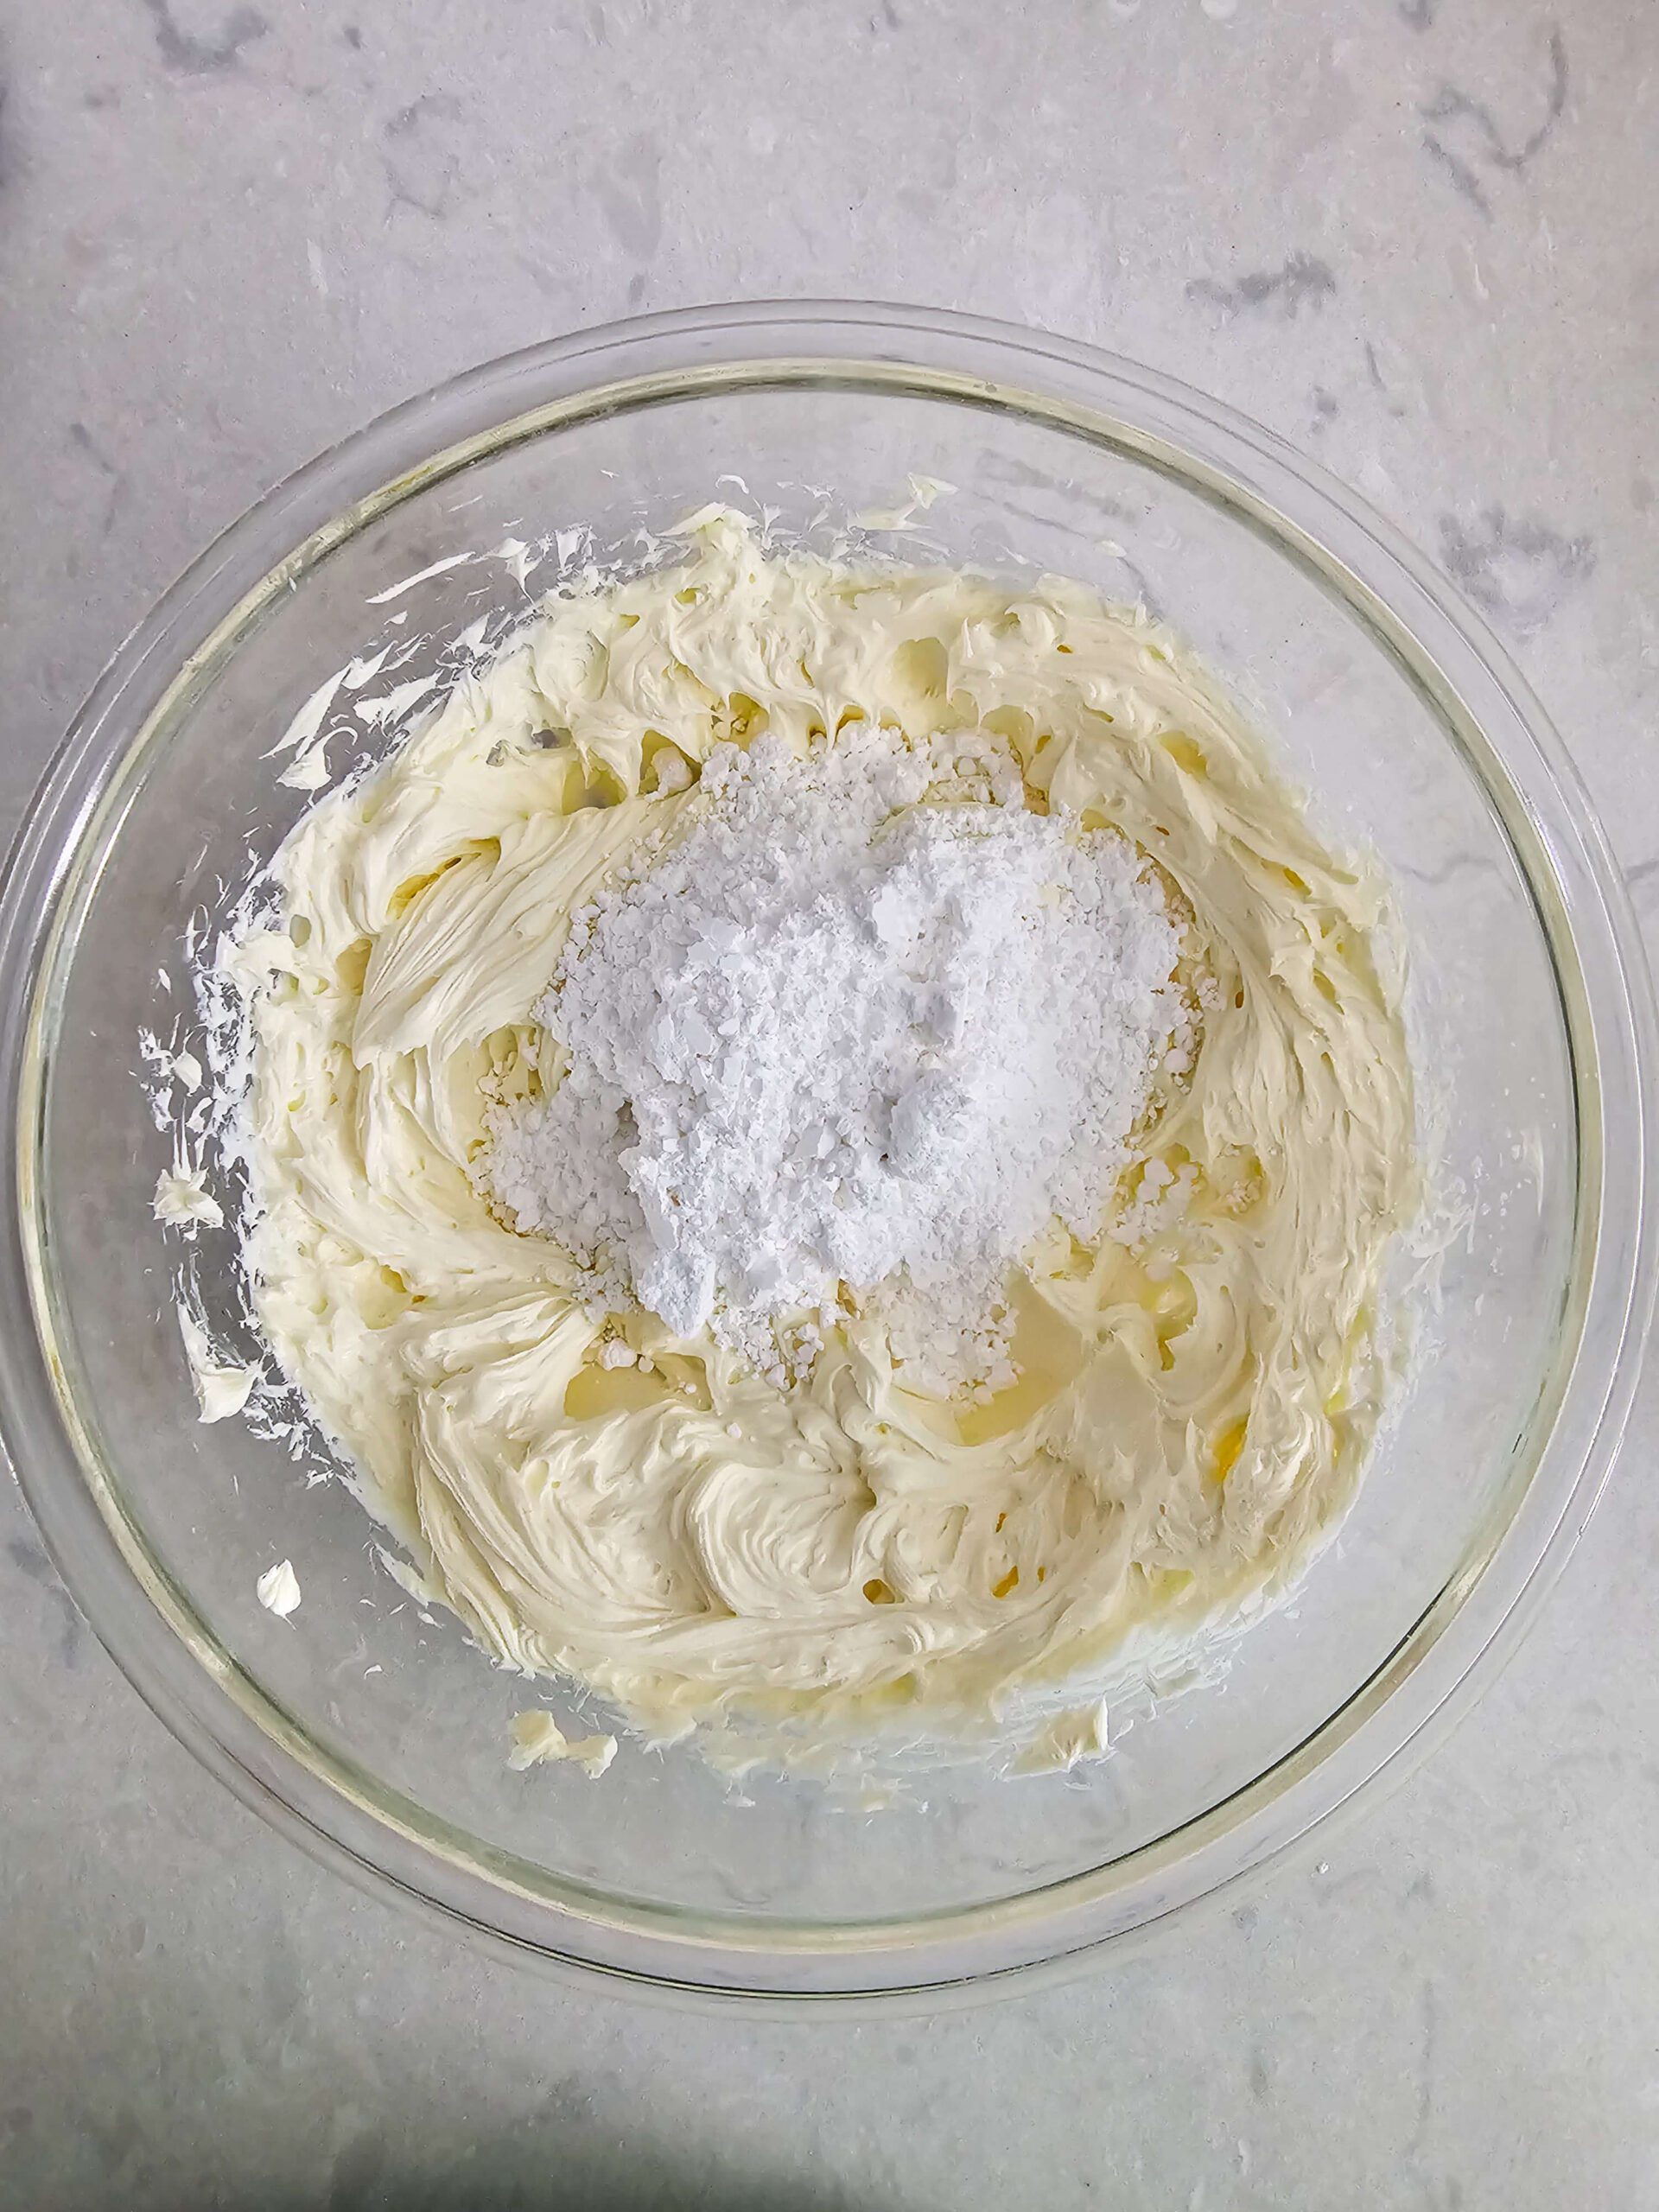
In a large mixing bowl, beat the softened cream cheese with the powdered sugar and vanilla extract until smooth and creamy. - Scoop Coconut Cream:
Open the cold cans of coconut milk and scoop out only the thick cream from the top (leave the watery liquid behind). Add this thick cream to the cream cheese mixture and beat until well combined.
** If you have trouble separating the coconut cream from the coconut milk, try pouring the unshaken, chilled can through a fine strainer to collect the solid bits of cream. - Fold in the Whipped Cream:
Gently fold the whipped cream into the coconut-cream cheese mixture. Do this slowly to keep the mixture light and fluffy. - Layer the Cake:
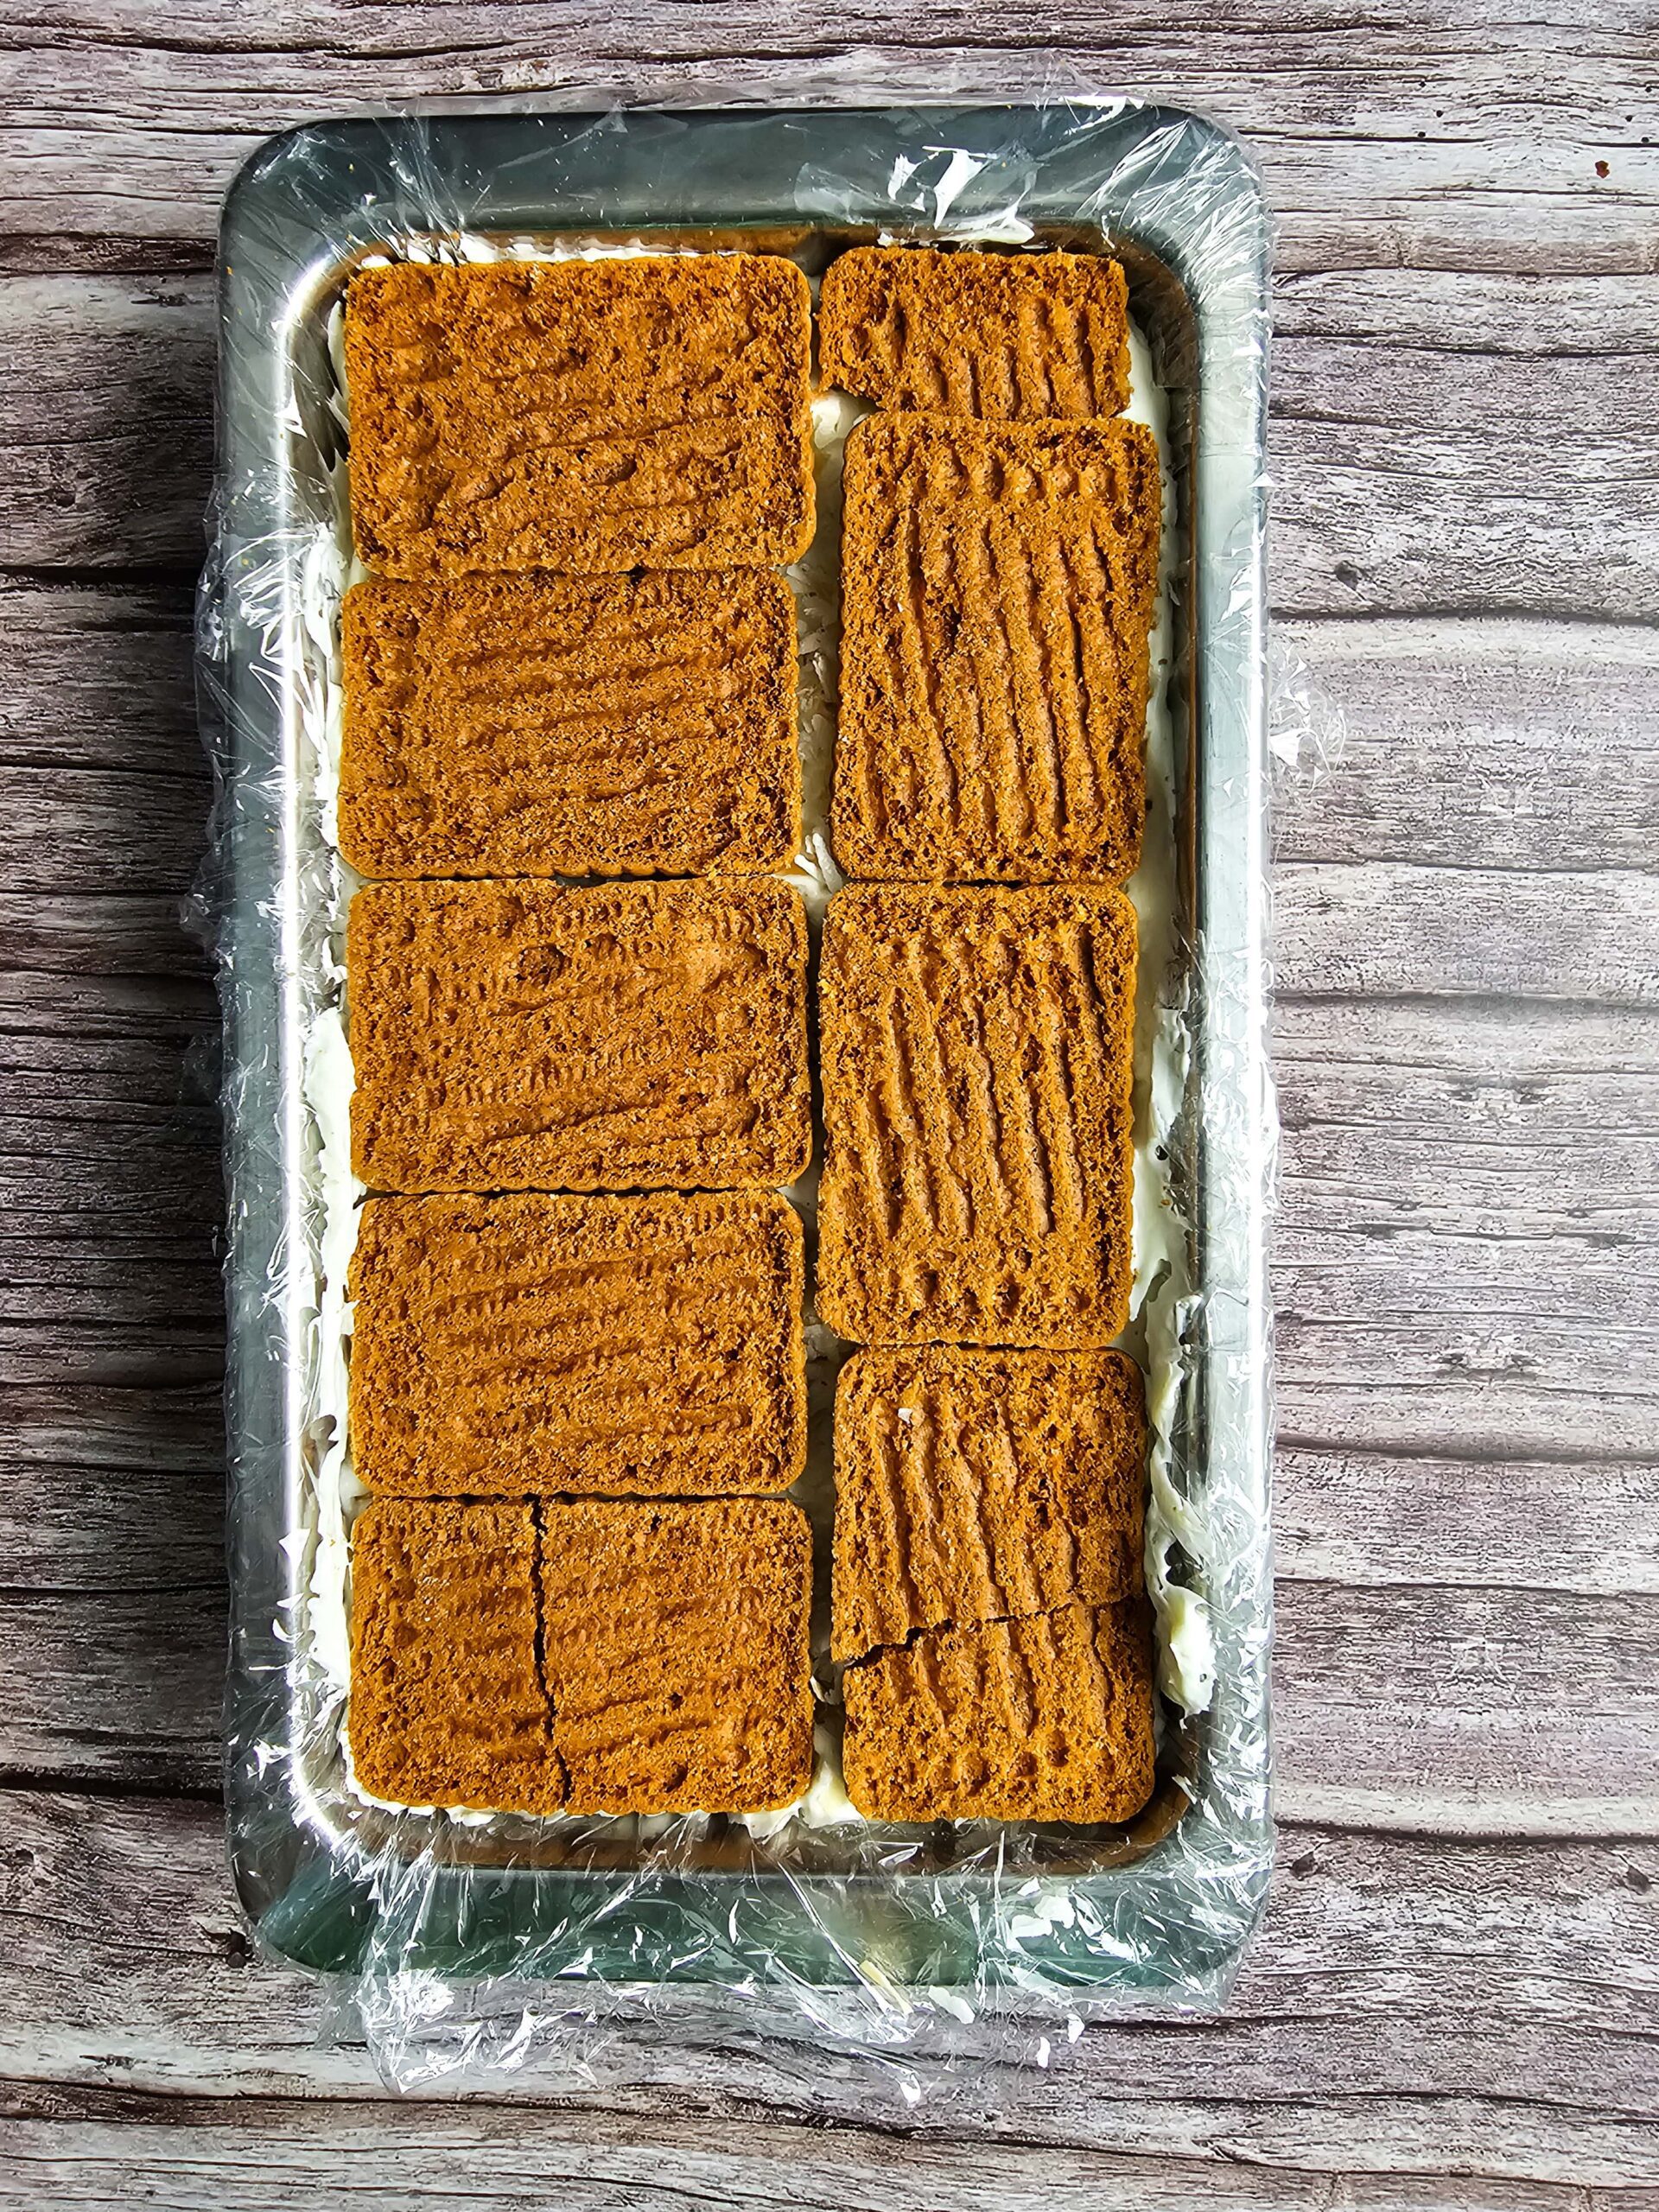
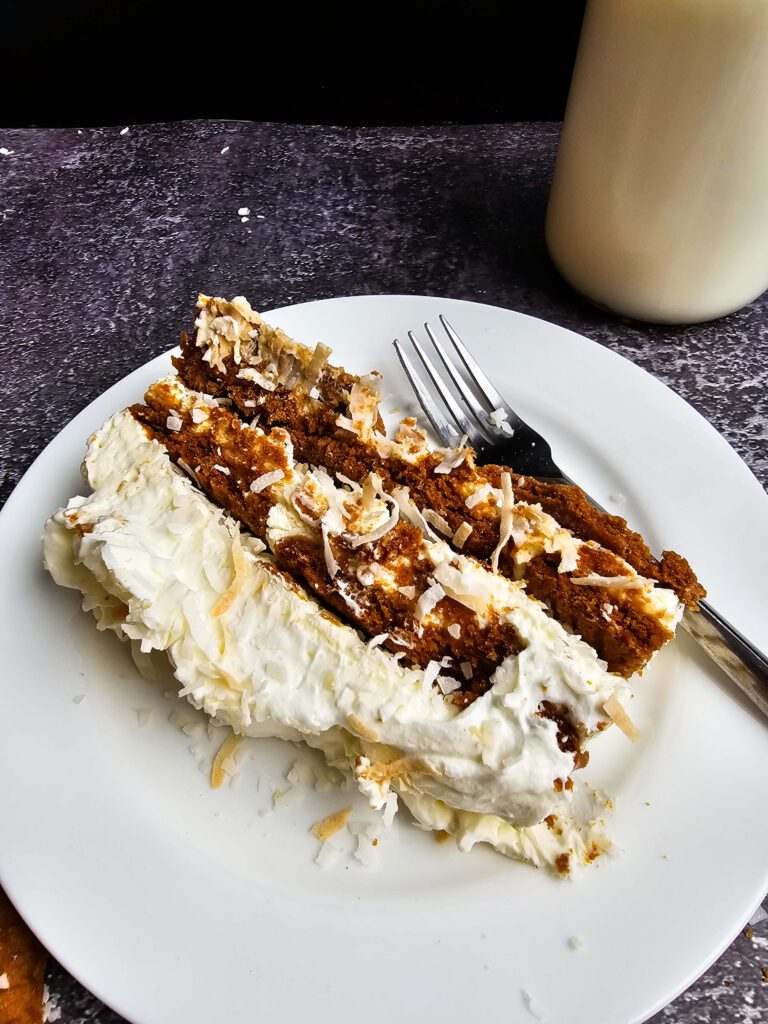
In a 9 x 5 loaf pan lined with plastic wrap, start with a layer of caramel cookies. Spread a thick layer of the creamy coconut filling on top. Repeat layers until all the filling and cookies are used, ending with cream on top.
- Chill the Cake:
Cover the dish with plastic wrap and refrigerate for at least 4 hours (or overnight) so the cookies soften and everything sets nicely. - Garnish and Serve:
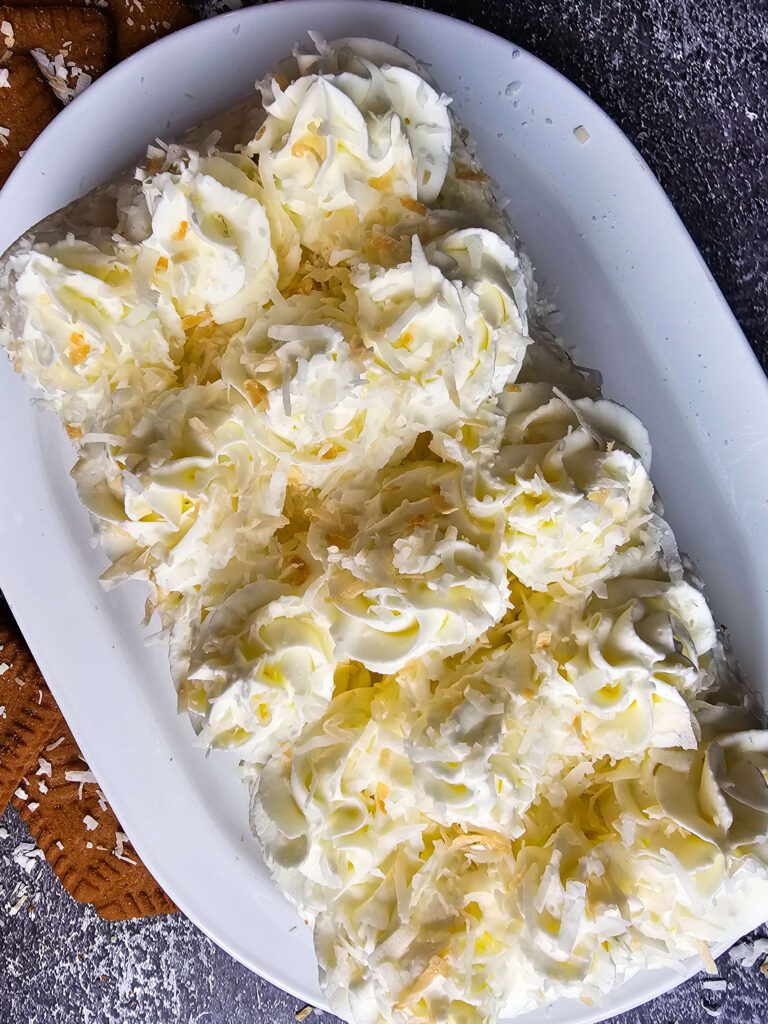
Right before serving, you can use the plastic wrap to lift the cake from the pan, and sprinkle the toasted coconut and extra whipped topping over the top of the cake. Slice and enjoy!


FAQ – FREQUENTLY ASKED QUESTIONS:
Yes, definitely! The thick coconut cream only comes from the full-fat version—it makes the filling rich and creamy.
Chilling helps separate the thick coconut cream from the watery part. I only scoop out the thick stuff for the best texture.
I really recommend a hand or stand mixer for whipping the cream and cream cheese—it’s way easier and gives you that smooth, fluffy texture.
Nope, I prepare it right in the loaf pan and serve it straight from there. Super easy.
Toasted Coconut Icebox Cake recipe add-ins and variations:
- Change the cookies – If I don’t have caramel cookies, I just use graham crackers, shortbread, or vanilla wafers instead.
- Use mascarpone – Sometimes I use mascarpone instead of cream cheese when I want it extra smooth and creamy.
- Make it dairy-free – I swap in coconut whipped topping and vegan cream cheese when I need it dairy-free, and it still tastes great.
- Add some fruit – I’ve mixed in crushed pineapple or banana slices before, and it makes it really fresh and summery.
- Use a different sweetener – If I’m out of powdered sugar, I’ll use a little maple syrup or a no-sugar option like monk fruit.
- Top it your way – I like to sprinkle macadamia nuts or white chocolate curls on top with the toasted coconut for extra flavor.
WHAT DO YOU SERVE WITH A Layered Coconut Cream Refrigerator Cake?
When I serve this no-bake coconut cake, I like to pair it with fresh berries or a big fruit salad on the side—it keeps things light and summery. A cold glass of iced coffee or sweet tea goes perfectly with it too. It’s my go-to dessert for backyard get-togethers or just when I want something easy but special.
HOW DO YOU STORE LEFTOVER REFRIGERATOR COCONUT CAKE?
When I have leftovers of this coconut cake, I just cover the dish tightly with plastic wrap or pop the slices into an airtight container. I keep it in the fridge, and it stays fresh and creamy for up to 3 or 4 days. It actually tastes even better the next day once the layers have had time to settle and chill!
CAN LEFTOVER LAYERED COCONUT CAKE BE FROZEN FOR ANOTHER DAY?
Yes, I’ve frozen this coconut cake before and it actually works pretty well! I just wrap it tightly or use a freezer-safe container, then thaw it in the fridge when I’m ready for it. The texture stays creamy, and the flavors still taste just as good—even after a few weeks.
LOOKING FOR MORE SUMMER DESSERT IDEAS? TRY THESE!
Easy No-Bake Blueberry Lemon Cake: One of my favorite desserts to make when I want something quick and light. It’s creamy, fresh, and packed with sweet blueberries and bright lemon.
Quick No-Bake Blueberry Cheesecake Pie: This dessert combines the creaminess of cheesecake with the burst of fresh blueberries.
Easy Peanut Butter Chocolate Chip Pie: This no-bake dessert is a combination of creamy peanut butter, chocolate, and a crunchy crust. It will have everyone coming back for seconds.
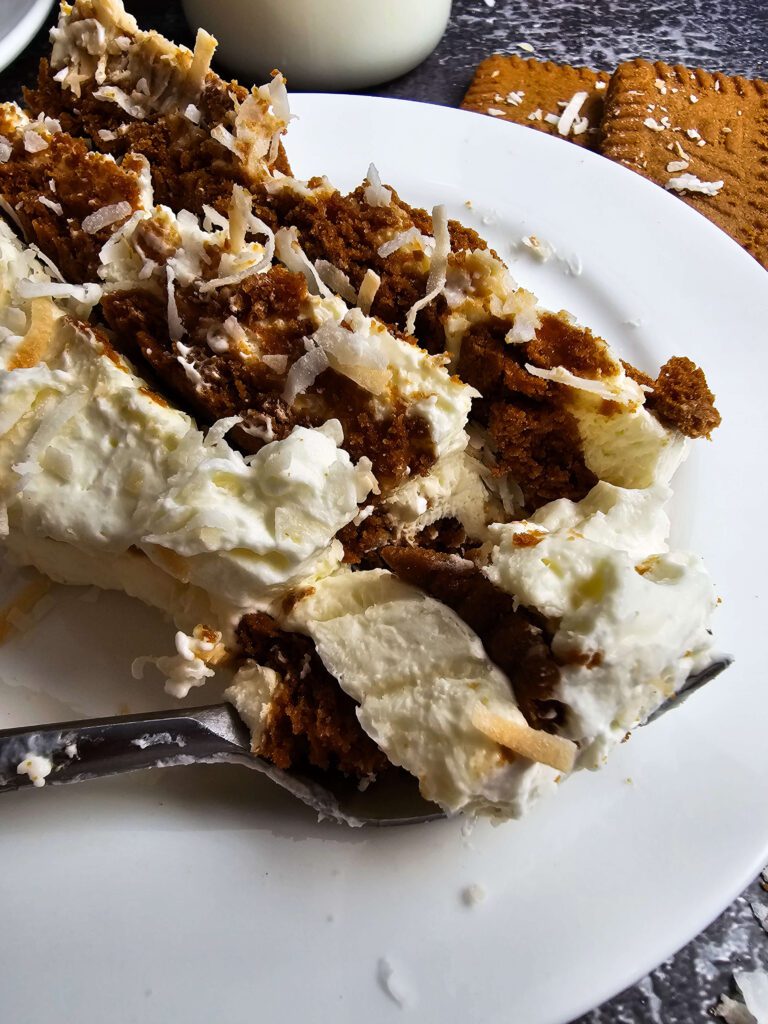
The Best Creamy No-Bake Coconut Cake
Equipment
- Plastic Wrap
Ingredients
- 2 (15 oz) Cans Coconut Milk (full fat) (refrigerate unshaken cans for 4 hours)
- 1½ Cups Shredded Coconut (sweetened)(toasted in the oven for a few minutes)
- 2 Cups Heavy Cream (extra cold) (beaten into stiff peaks)
- 2 (bricks) Cream Cheese (softened to room temperature)
- ½ Cup Powdered Sugar
- 1 teaspoon Vanilla Extract
- 1 (6.75-7.5 oz) packages Caramel Flavored Cookies (Pepperidge Farm Bordeaux or Shortbread Cookies)
Instructions
- Prep the Coconut Milk: Place the two cans of full-fat coconut milk in the fridge (unshaken) for at least 4 hours or overnight. This helps the thick coconut cream separate from the liquid.
- Toast the Coconut: Preheat your oven to 350°F. Spread the sweetened shredded coconut on a baking sheet and toast it for 4–6 minutes, stirring once, until golden and fragrant. Let it cool.
- Beat the Heavy Cream: In a chilled bowl, whip the extra cold heavy cream until stiff peaks form. Set it aside in the fridge while you prepare the rest.
- Make the Cream Cheese Mixture: In a large mixing bowl, beat the softened cream cheese with the powdered sugar and vanilla extract until smooth and creamy.
- Scoop Coconut Cream: Open the cold cans of coconut milk and scoop out only the thick cream from the top (leave the watery liquid behind). Add this thick cream to the cream cheese mixture and beat until well combined.** If you have trouble separating the coconut cream from the coconut milk, try pouring the unshaken, chilled can through a fine strainer to collect the cream solid bits.
- Fold in the Whipped Cream: Gently fold the whipped cream into the coconut-cream cheese mixture. Do this slowly to keep the mixture light and fluffy.
- Layer the Cake: In an 9×5 loaf pan lined with plastic wrap, start with a layer of caramel cookies. Spread a thick layer of the creamy coconut filling on top. Repeat layers until all the filling and cookies are used, ending with cream on top.
- Chill the Cake: Cover the dish with plastic wrap and refrigerate for at least 4 hours (or overnight) so the cookies soften and everything sets nicely.
- Garnish and Serve: Right before serving, you can use the plastic wrap to lift the cake from the pan, and sprinkle the toasted coconut and extra whipped topping over the top of the cake. Slice and enjoy!