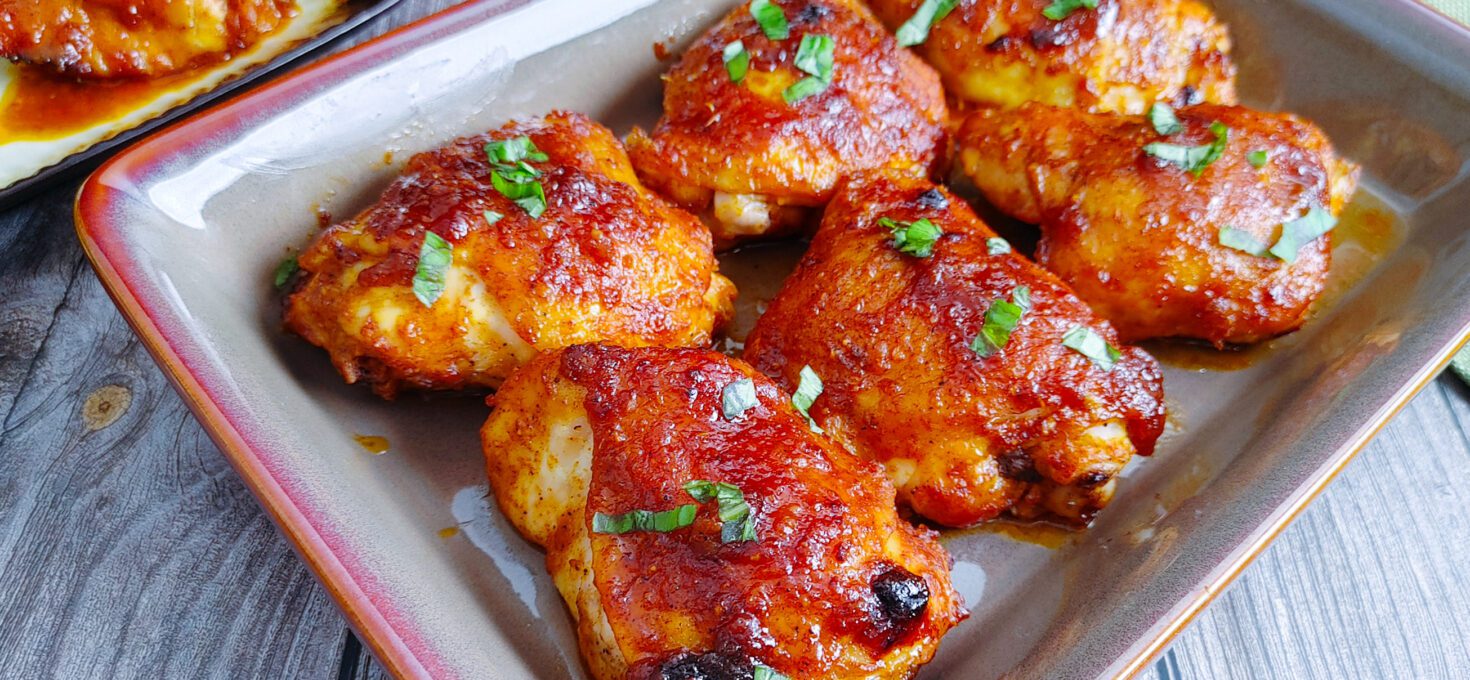
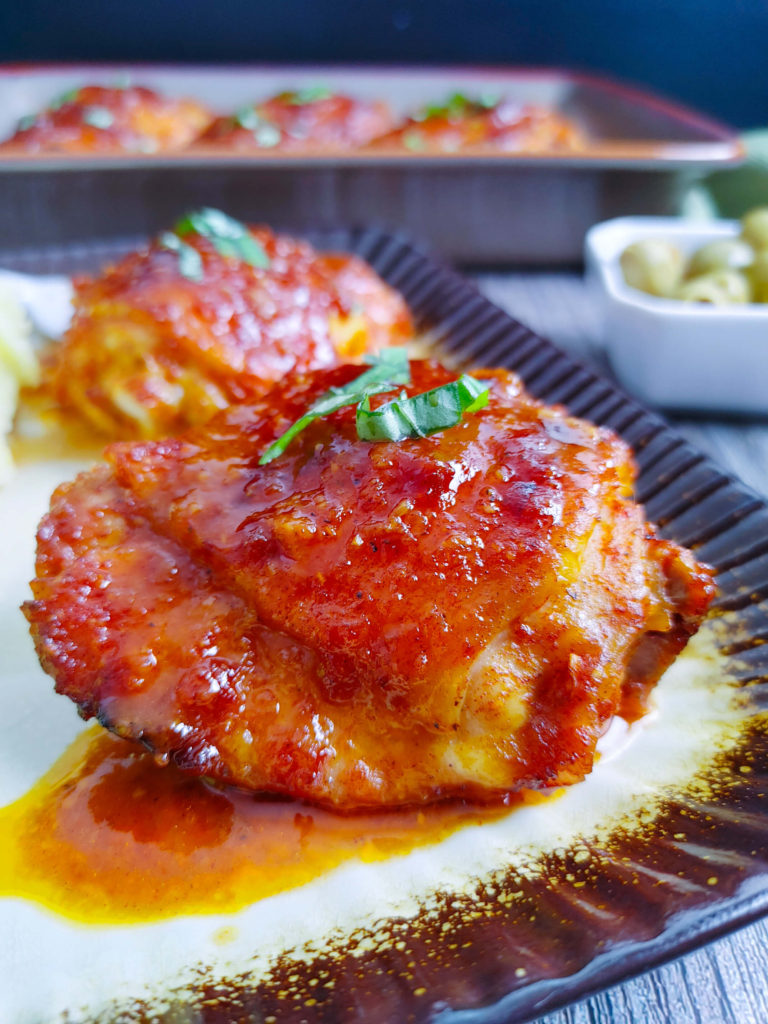
These honey garlic baked chicken thighs have been on my dinner table more times than I can count, and they are the recipe that converted my entire family into chicken thigh believers. What makes this recipe different from every other honey garlic chicken recipe out there is the flour dredge. Before the chicken ever touches the glaze, each thigh gets a light coating of flour — and that coating is the secret to the thickest, most deeply caramelized honey garlic glaze you have ever made at home.
I spent months testing this technique, and the difference is remarkable. The flour creates a barrier that lets the glaze cling and caramelize instead of sliding off into the pan. Combined with a two-stage baking method — covered first then uncovered — the result is tender, juicy chicken under a sticky lacquered glaze that is genuinely restaurant-quality. Minimal prep, maximum payoff. This is the honey garlic chicken thigh recipe you keep forever.
Why This Recipe Works
I have made a lot of honey garlic chicken recipes over the years and most of them have the same problem — the sauce slides right off the chicken and pools in the bottom of the pan. This recipe solves that with two techniques that no other recipe uses together.
The flour dredge is the first secret. Most recipes skip this step entirely, but coating each thigh in a light layer of flour before dipping it in the glaze gives the honey garlic sauce something to grip onto. The flour absorbs the glaze and creates a thick coating that caramelizes against the chicken skin rather than dripping away.
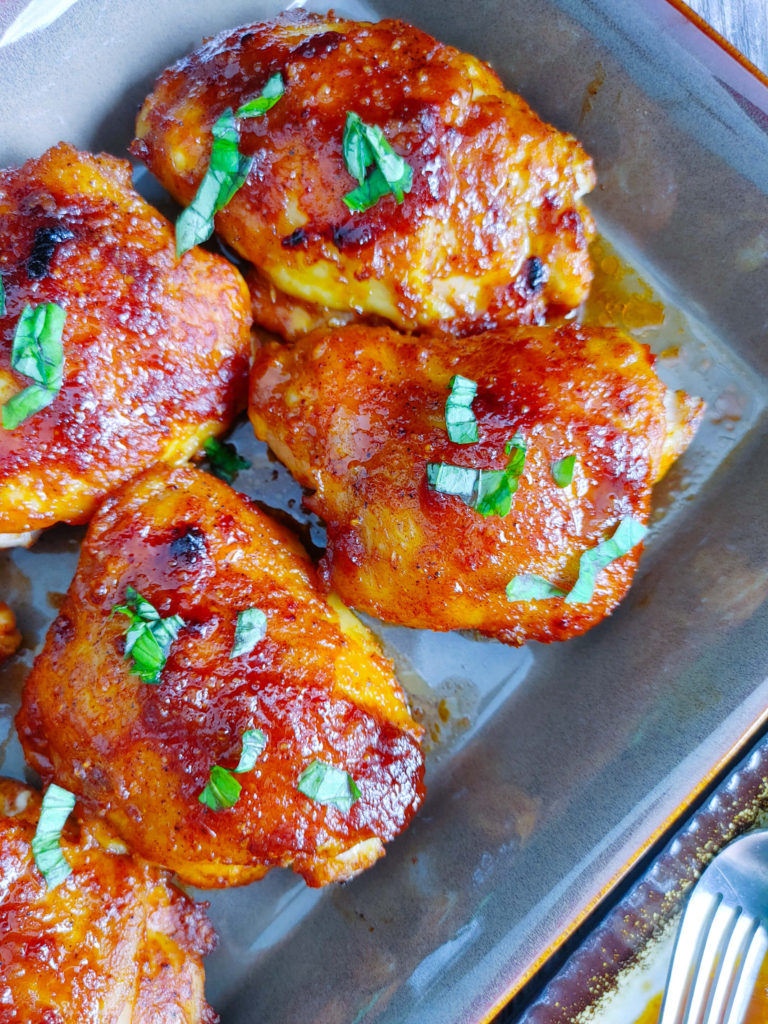
The two-stage baking method is the second secret. Covering the pan for the first 45 minutes lets the chicken cook through gently while the glaze infuses deep into the meat. Removing the foil for the last 15 minutes hits the glaze with direct heat and creates that deep amber caramelization that makes these chicken thighs look like they came from a restaurant.
The combination of these two techniques — flour dredge plus two-stage baking — is what makes this recipe genuinely different from everything else out there.
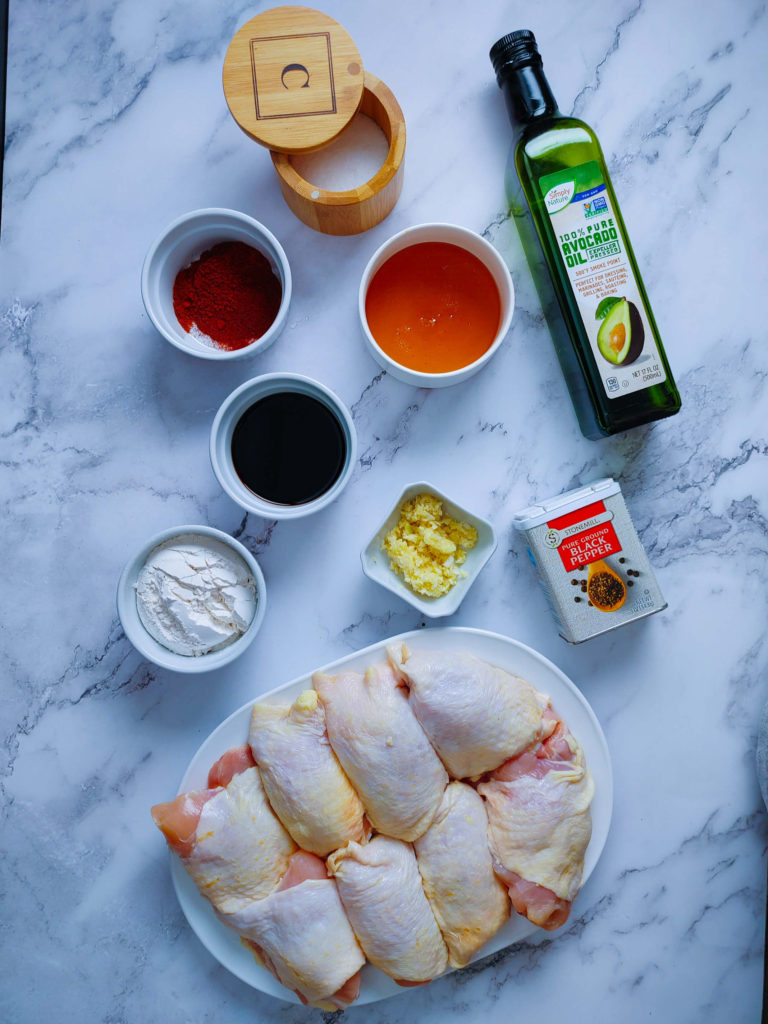
Ingredients for Sticky Honey Garlic Chicken
- 8 Chicken Thighs: I recommend bone-in, skin-on for the best moisture and a crispy exterior.
- 1/3 Cup Flour: This provides a light “breading” that helps the sticky honey garlic sauce cling to the meat.
- 1/2 Cup Honey: Use high-quality clover honey for a rich, floral sweetness.
- 5 Tablespoons Soy Sauce: This adds the essential savory umami balance.
- 6 Cloves Garlic: Freshly minced garlic is non-negotiable for that authentic aromatic punch.
- 1 Teaspoon Smoked Paprika: This adds a beautiful “flame-grilled” color and a hint of woodsy smoke.
- Salt and Black Pepper: I use a half tablespoon each to season the meat before the glaze.
- Red Chili Flakes (Optional): I love adding these for a subtle heat that cuts through the sweetness.
How to Prepare Glazed Chicken Thighs Step-by-Step
Time needed: 1 hour
- Prepare the Chicken Thighs:
Preheat your oven to 425°F. I always line my 9×13 baking dish with foil; the honey glaze is sticky, and this makes cleanup effortless. Arrange the thighs in the dish and season both sides with salt and pepper.

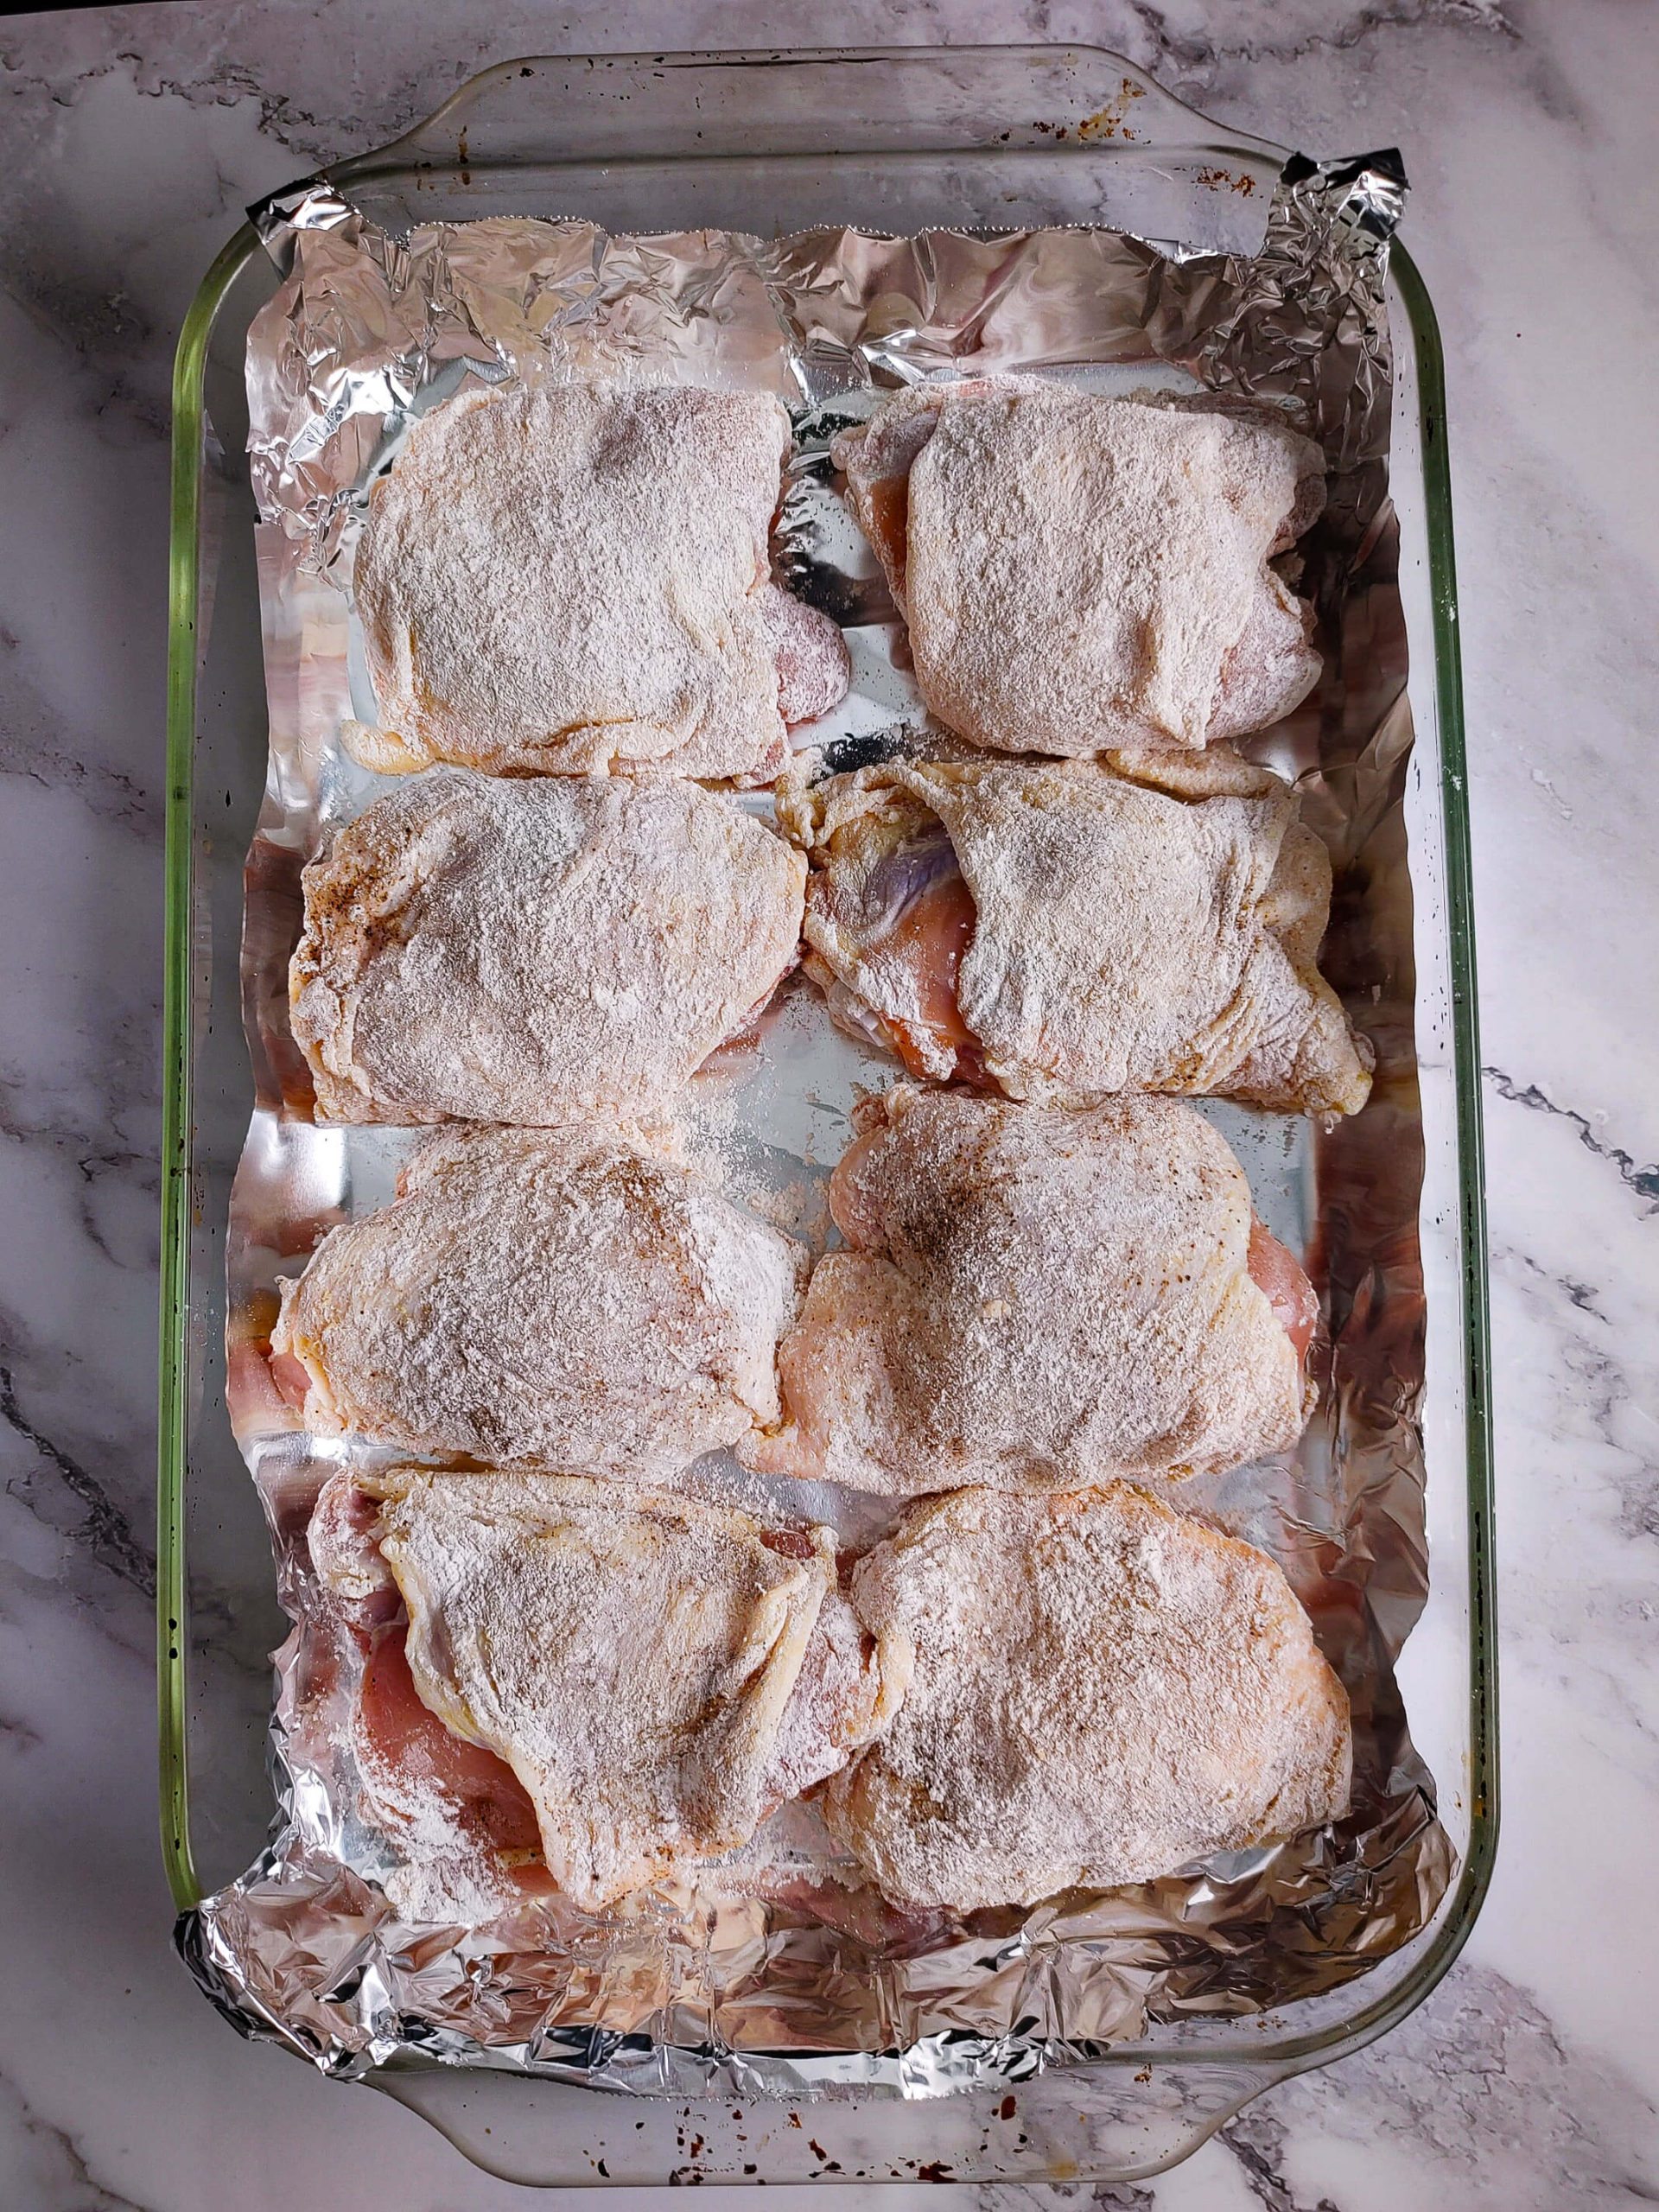
- Roll in Flour:
Dredge each chicken thigh in the flour. You want a light, even coating—be sure to shake off any excess so it doesn’t become gummy in the oven.
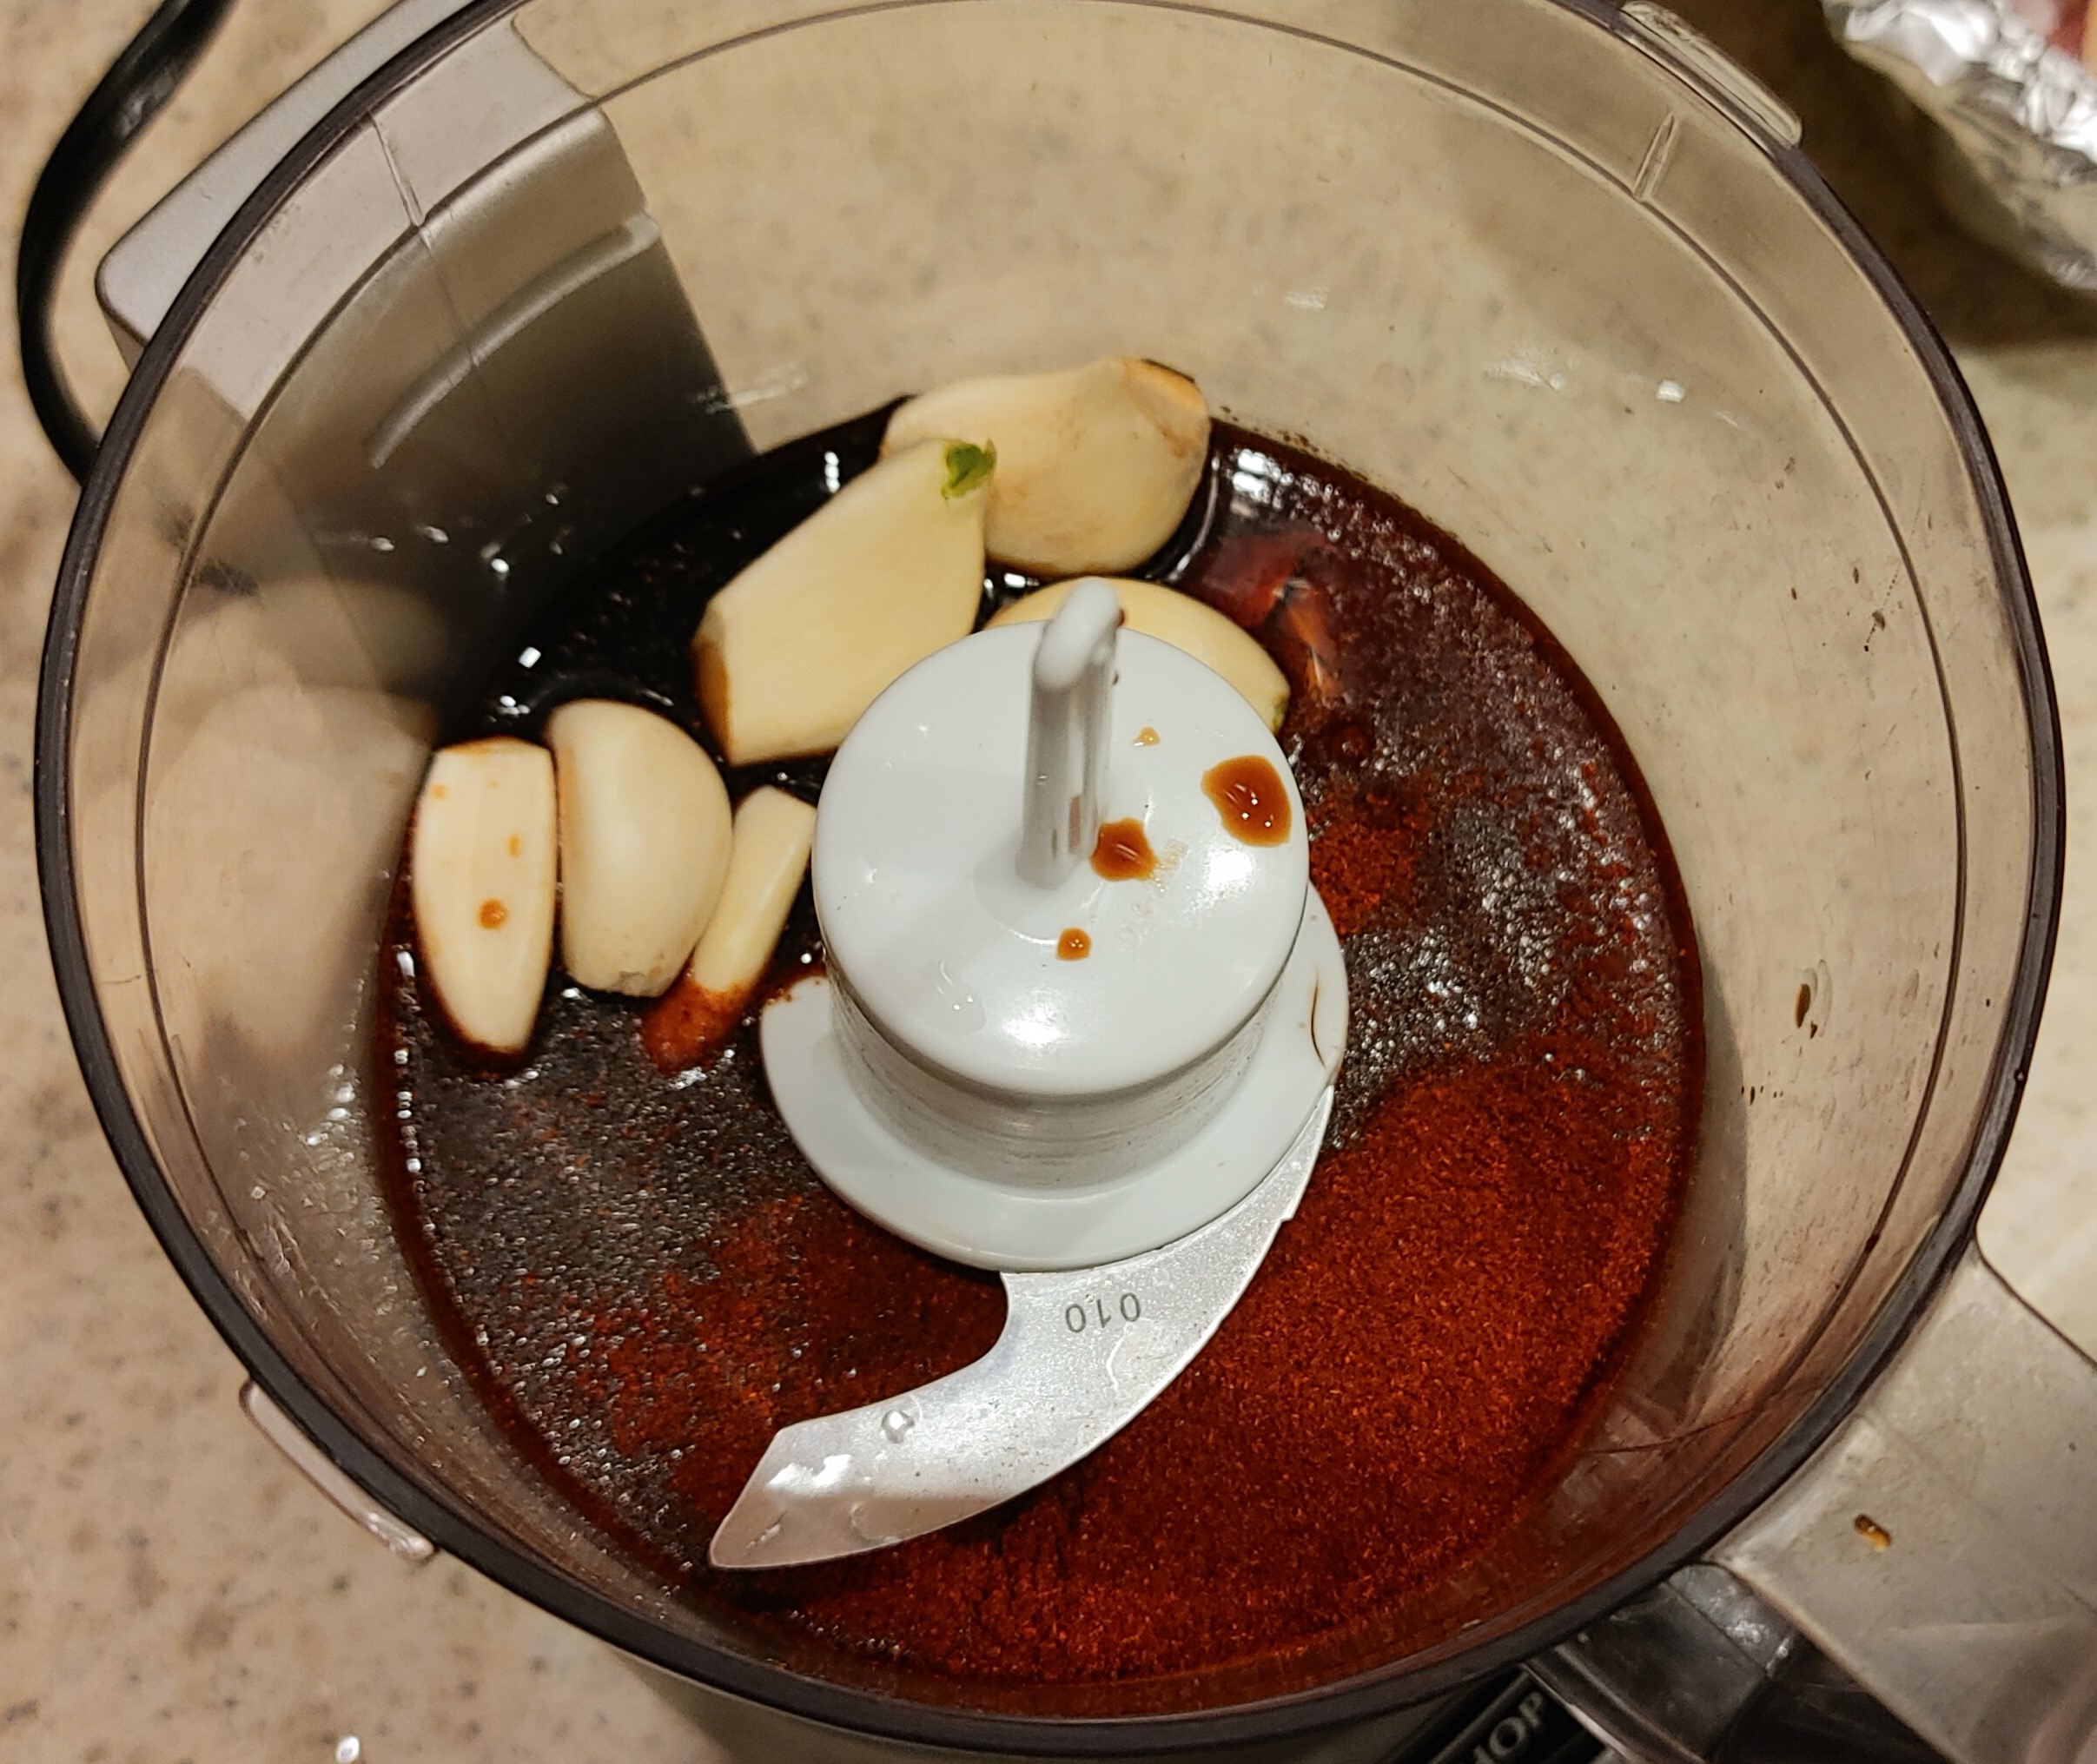
- Whisk the Glaze:
In a small bowl (or a Cuisinart Mini-Prep for extra speed), combine the garlic, soy sauce, honey, and smoked paprika. Whisk until the mixture is smooth and glossy.
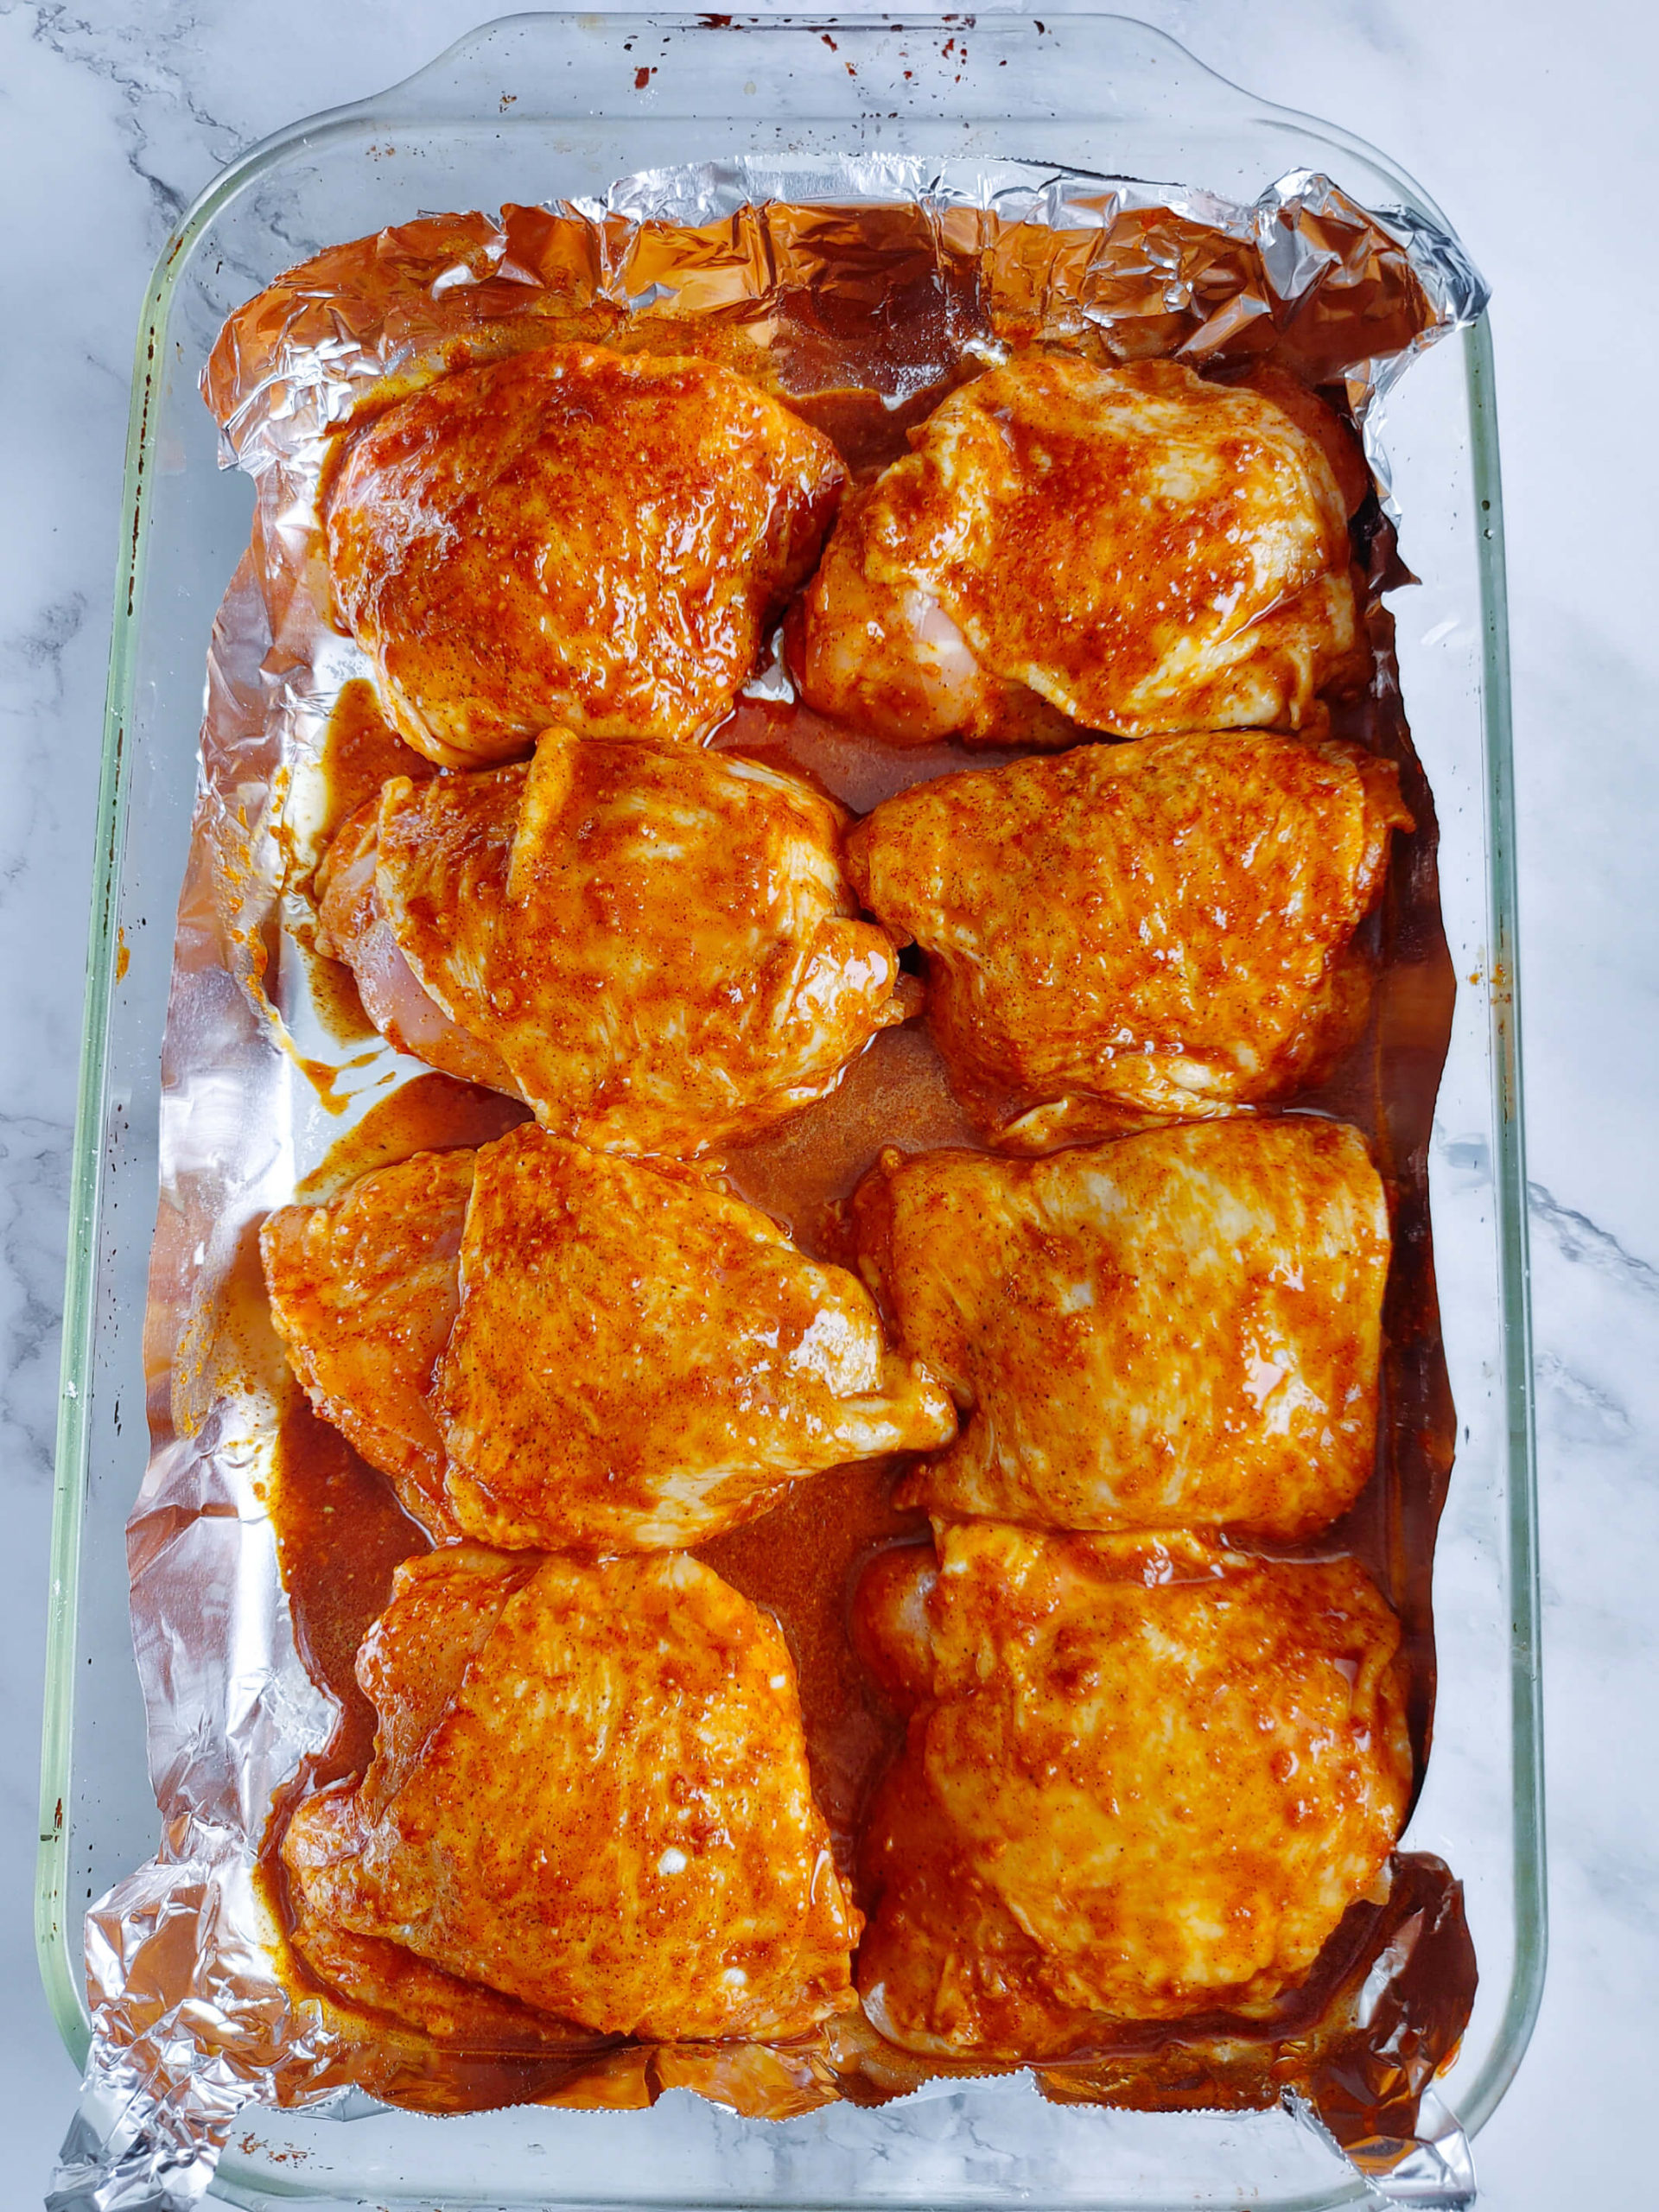
- Coat and Bake:
Roll the floured chicken in the glaze until fully submerged. Sprinkle with red pepper flakes if you enjoy a little spice. Cover the dish tightly with foil and bake for 45 minutes.
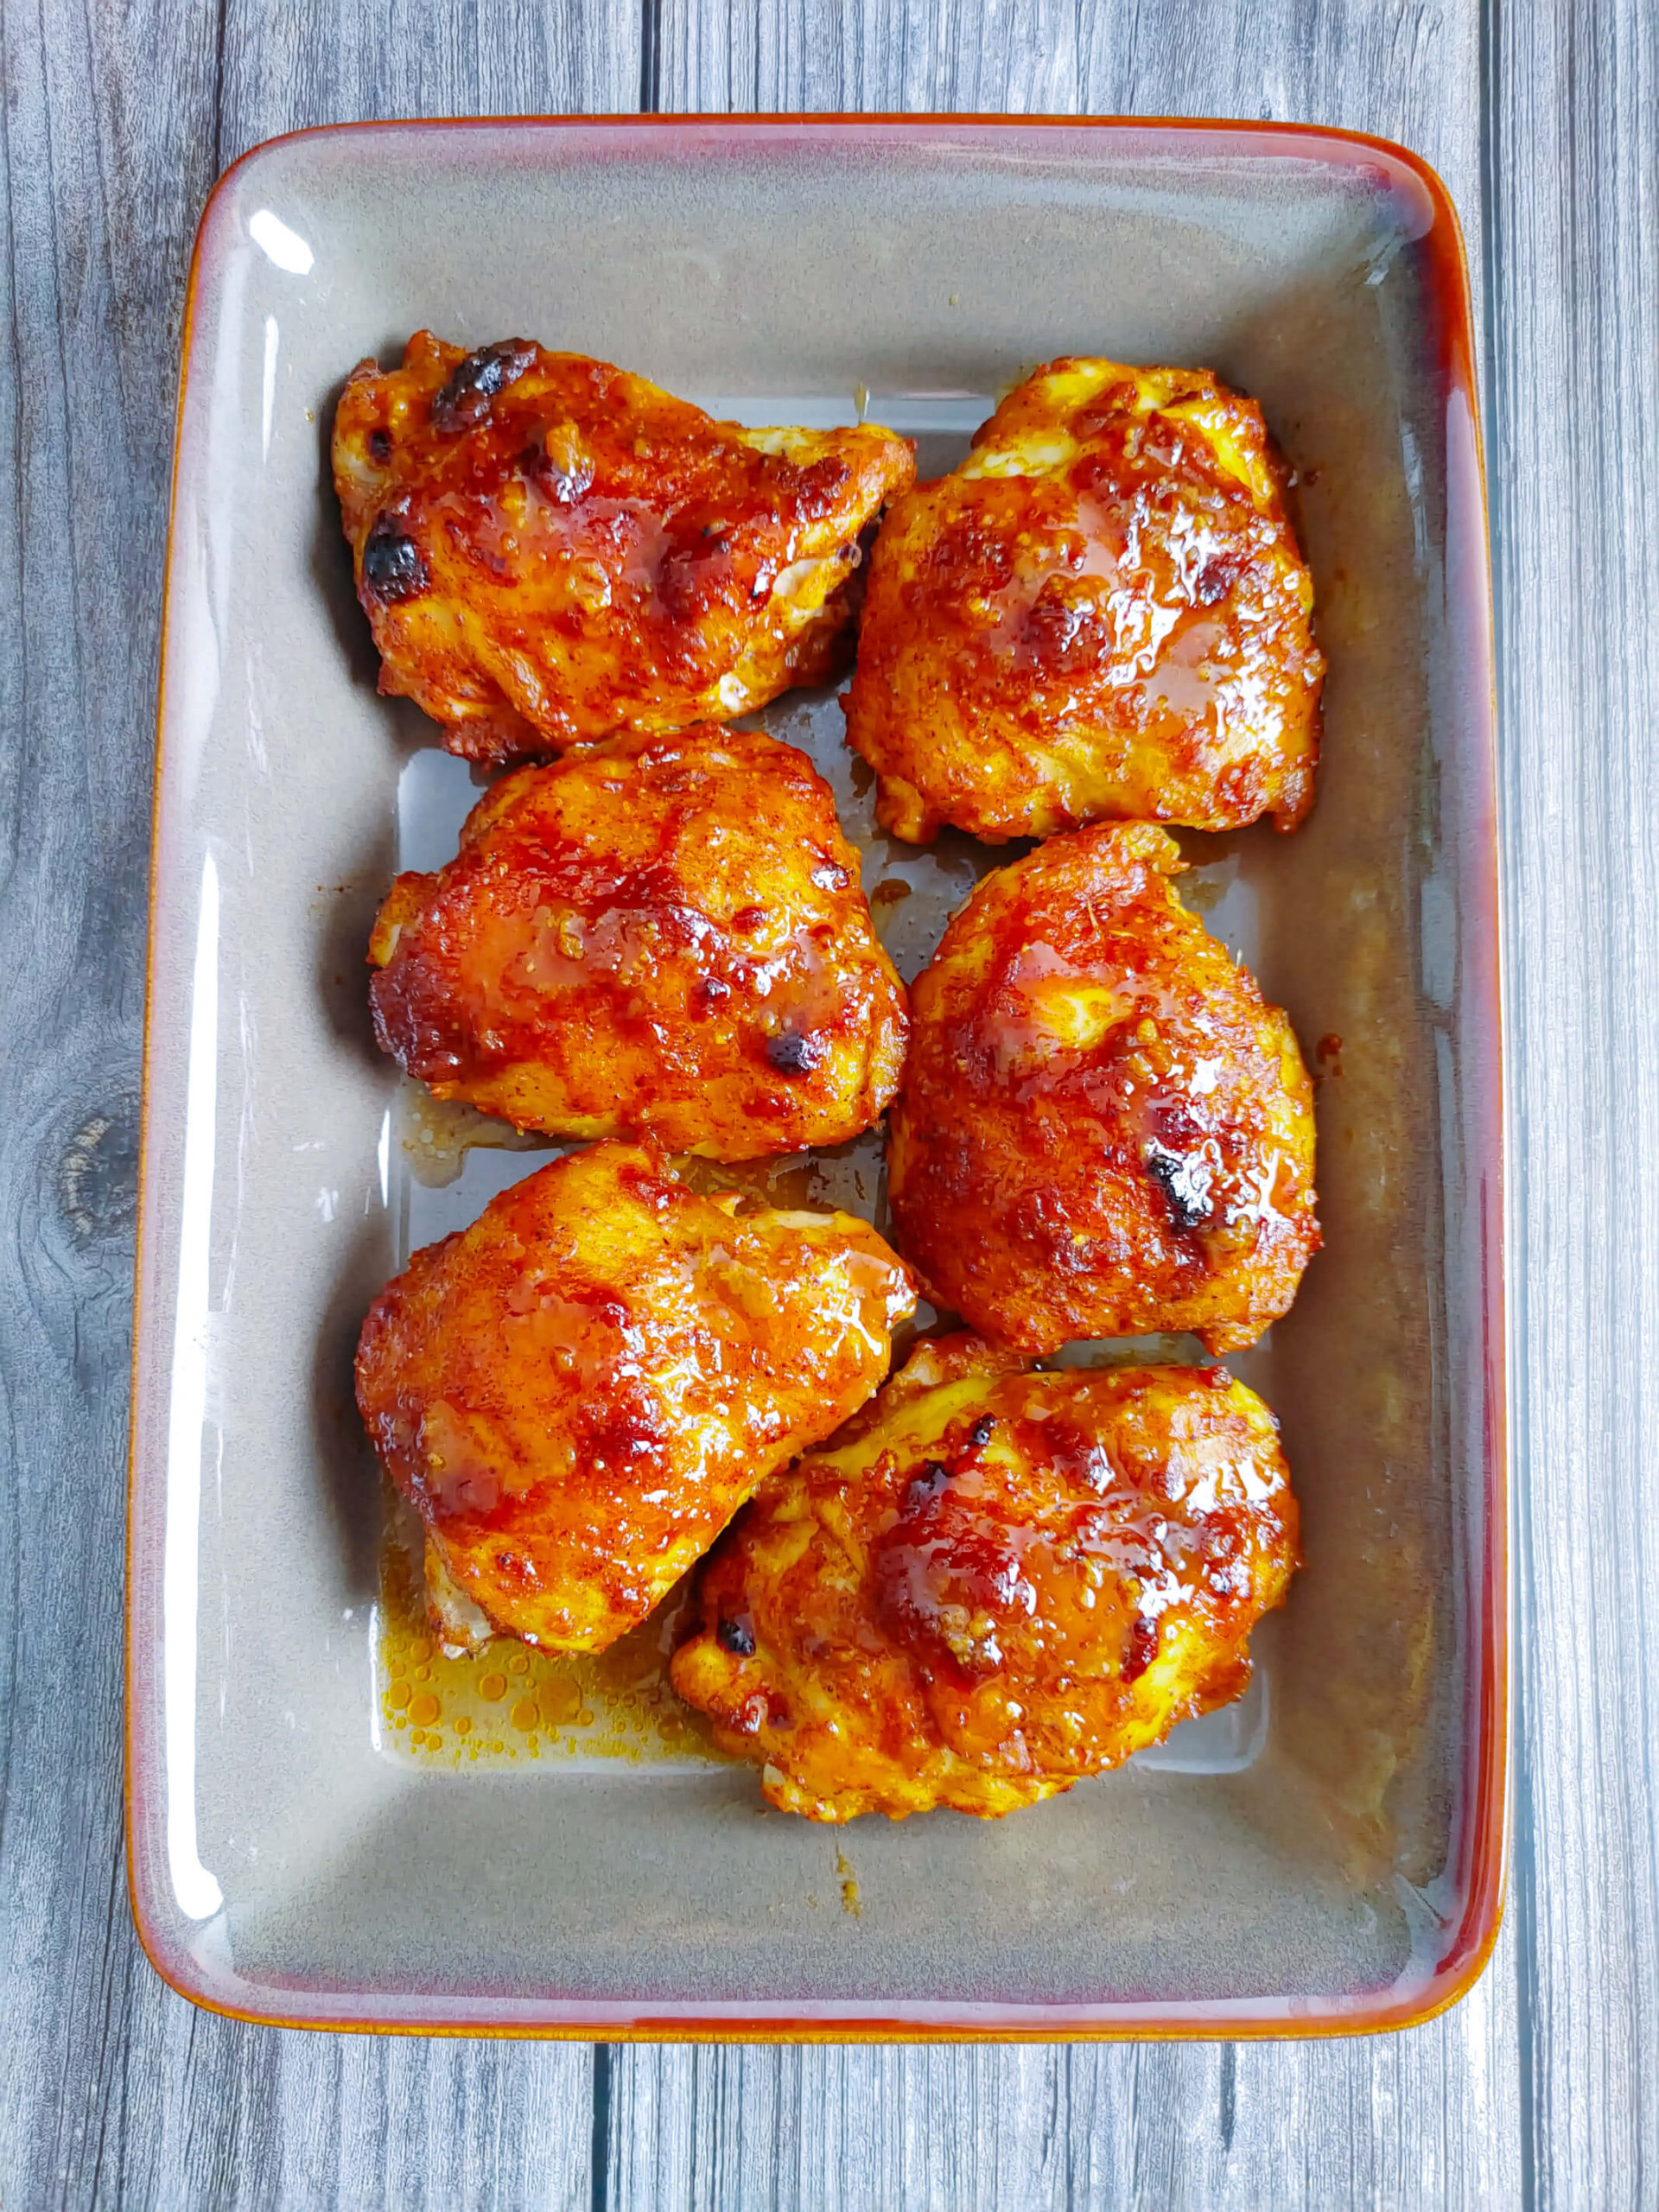
- Crisp and Serve:
Remove the foil for the last 15 minutes of baking. This is the secret to getting that perfect, caramelized skin that makes this easy chicken thigh recipe stand out.
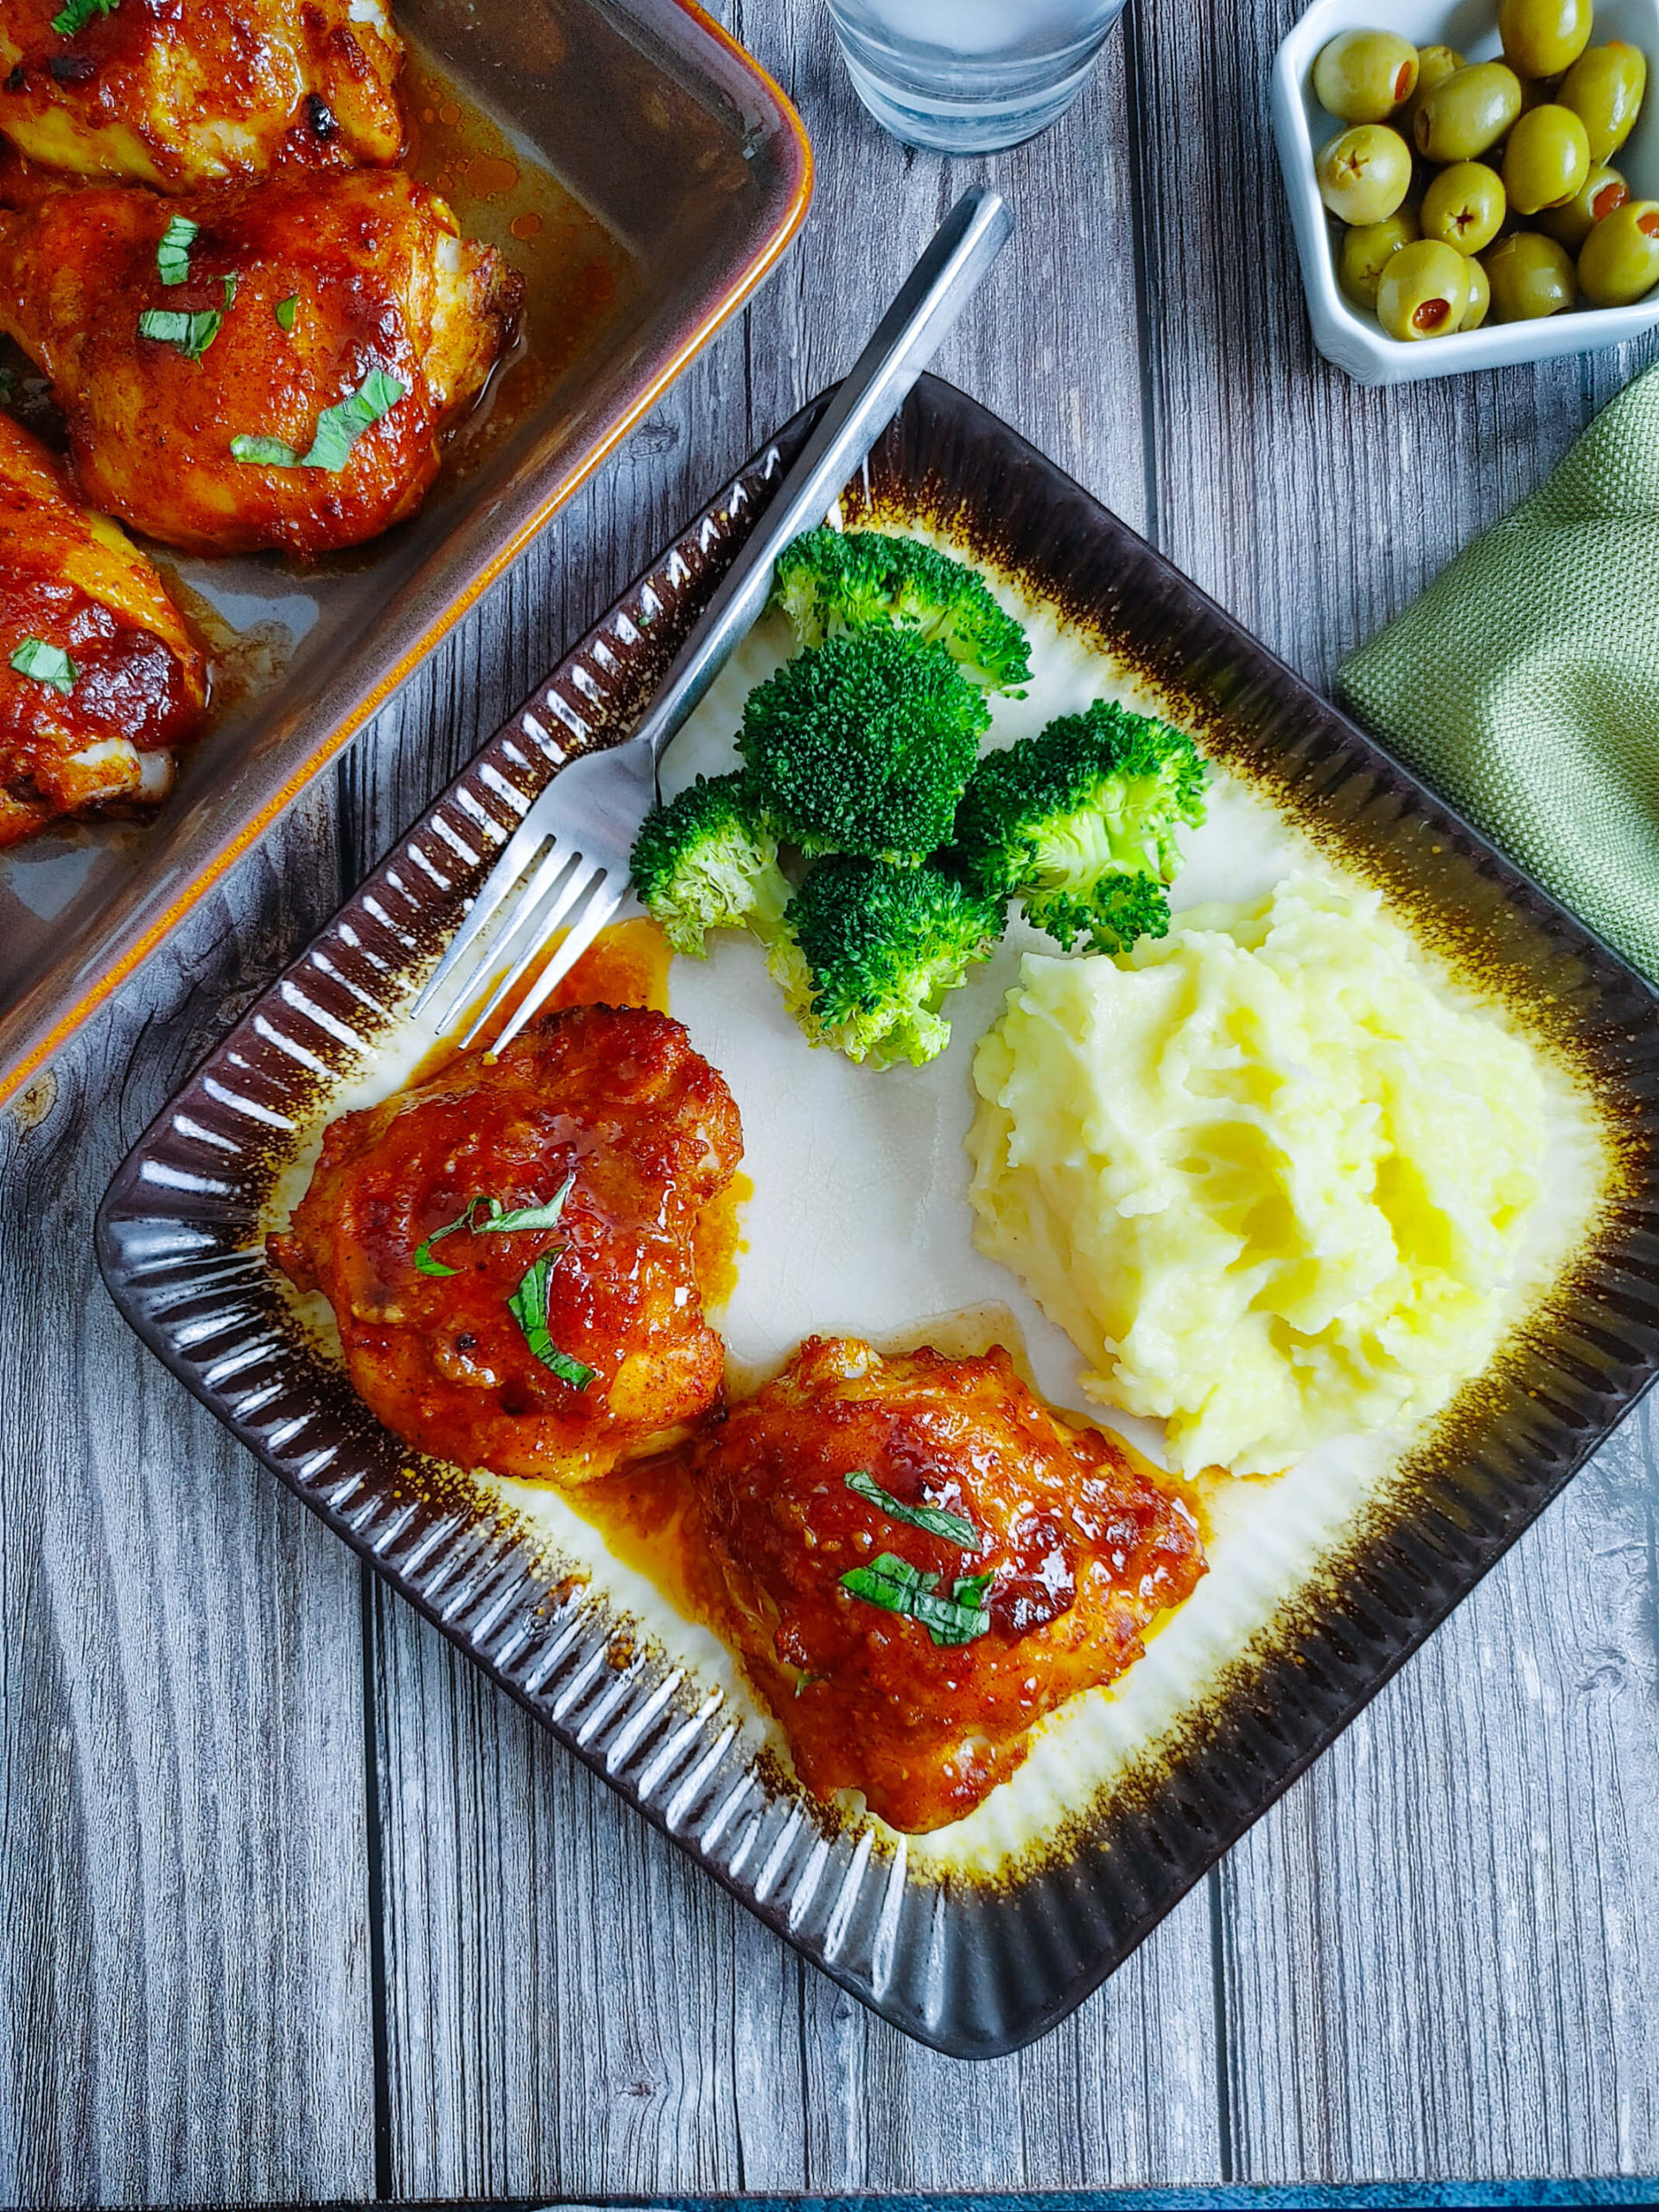
- Serve and Enjoy!
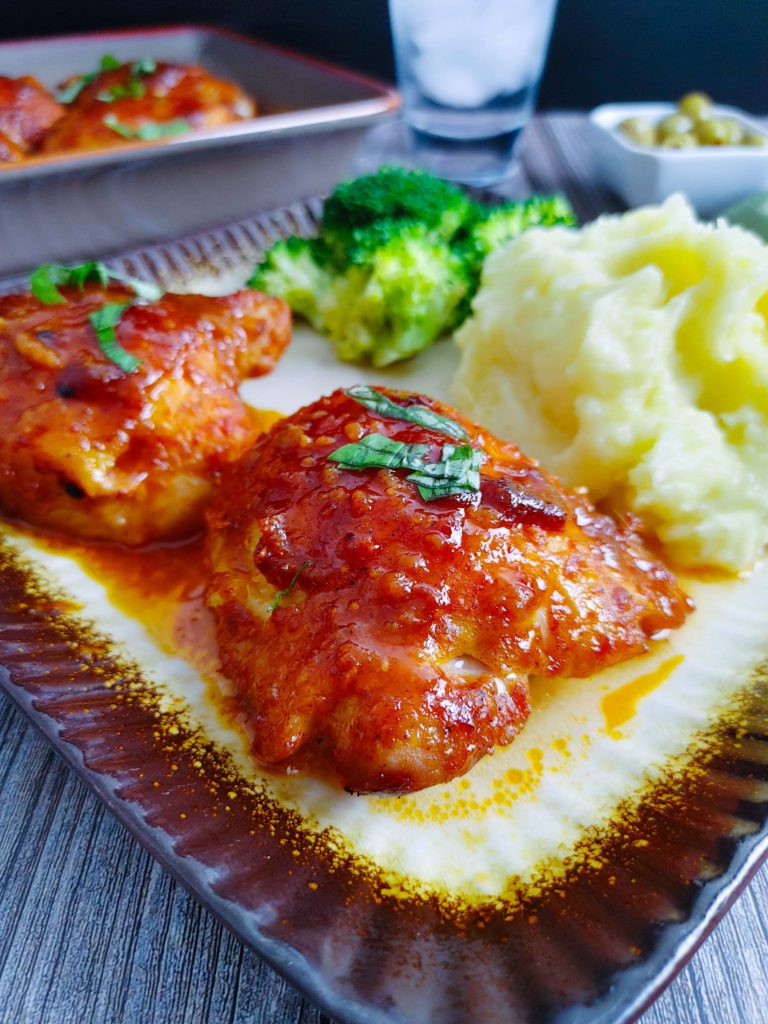
Serve with mashed potatoes and steamed vegetables for a well-rounded meal.

Cooking Tips for Recipe Success
- Internal Temperature: Always use an instant-read thermometer. I pull my thighs out at 165°F to ensure they remain juicy and safe to eat.
- The Foil Trick: Don’t skip covering the pan. Since honey has a high sugar content, it can burn quickly at 425°F. The foil protects the glaze while the meat cooks through.
- Resting Time: I let the chicken sit for 5 minutes before serving. This allows the sauce to thicken into a true sticky honey garlic sauce.
Substitutions and Variations
- Boneless Thighs: You can absolutely use boneless thighs. Reduce the initial baking time by 10 minutes, as they cook much faster than bone-in cuts.
- Sugar-Free Option: For those following a low-carb lifestyle, you can substitute the honey with a keto-friendly maple syrup or honey alternative.
- Gluten-Free: Swap the all-purpose flour for a 1:1 gluten-free flour blend or cornstarch for a similar crisp.
FAQ – FREQUENTLY ASKED QUESTIONS:
Cover the pan with aluminum foil for the first 30 minutes while baking. Remove the foil for the last fifteen minutes to allow the glaze to caramelize without becoming overly charred.
Basting the chicken thighs with juices or a marinade, or covering them with foil during part of the baking process, can help retain moisture and prevent them from drying out.
The flour dredge is the secret to getting the honey garlic glaze to stick to the chicken instead of sliding off into the pan. The light flour coating absorbs the glaze and creates a thick layer that caramelizes against the skin during baking. Without the flour the sauce simply pools in the bottom of the dish. This technique is what gives these chicken thighs their deeply lacquered restaurant-quality finish.
Yes, and I do this regularly. You can dredge the chicken in flour, coat it in the glaze, and refrigerate it covered for up to 24 hours before baking. This actually improves the flavor as the glaze penetrates the meat overnight. Pull from the refrigerator 20 minutes before baking so the chicken comes to room temperature for more even cooking.
Three things make the biggest difference. First, the flour dredge gives the glaze something to grip so it caramelizes rather than drips. Second baking at 425°F is high enough to drive that caramelization without burning. Third, removing the foil for the last 15 minutes exposes the glaze to direct heat — this is when the magic happens. Do not skip the uncovered stage and do not reduce the temperature.
Use an instant-read meat thermometer to check for an internal temperature of 165°F (75°C) in the thickest part of the chicken thighs per the USDA recommendations. This ensures they are fully cooked and safe to eat.
Use aluminum foil or parchment paper, or lightly grease the baking dish before arranging the chicken thighs to prevent sticking.
Yes, boneless can be used, but cooking time may need to be adjusted by 10 minutes less.
Best Side Dishes for Honey Garlic Chicken
I love serving these with creamy garlic mashed potatoes because the honey glaze acts almost like a savory gravy. For a balanced meal, try these sides:
- Steamed Broccoli: A fresh, green contrast to the rich glaze.
- Maple Roasted Carrots: To lean into the sweet and savory theme.
- Hasselback Potatoes Au Gratin: For a fancy, crispy texture.
Looking for the CHICKEN DINNER IDEAS? Try these!
Honey Garlic Baked Chicken Legs
Best Buffalo Chicken Sandwich Recipe
Baked Honey Mustard Chicken Legs
How to store and reheat garlic HONEY Chicken Thighs?
- To Reheat: I highly recommend using an air fryer. Preheat to 380°F and cook for 3–5 minutes. This restores the crispy skin that a microwave usually makes soggy. You can also use the oven at 350°F for 15 minutes.
- To Store: Allow the chicken to cool completely. Place in an airtight container and refrigerate for up to 3–4 days.
- To Freeze: You can freeze these for up to 3 months. I recommend freezing them in a single layer first so they don’t stick together, then transferring them to a freezer bag.
HOW TO FREEZE AND REHEAT LEFTOVER CHICKEN THIGHS?
To freeze leftover chicken thighs, allow them to cool completely before transferring them to an airtight container or freezer bag. Ensure the container is tightly sealed to prevent freezer burn and maintain freshness. When ready to enjoy, thaw the chicken thighs overnight in the refrigerator or use the defrost setting on the microwave. Once thawed, reheat them in the oven, microwave, or air fryer until heated thoroughly, ensuring they reach an internal temperature of at least 165°F.
Final Thoughts
These honey garlic baked chicken thighs are the recipe I am most proud to share because the technique genuinely makes a difference that you can see and taste. The flour dredge, the two-stage baking, the high-heat caramelization — every step is there for a reason, and the result is something that looks and tastes far more impressive than the effort involved.
If you made these, I would love to hear how they turned out in the comments below. Have you tried the flour dredge technique for the first time? Did your family go back for seconds? Did you serve them over rice and watch the sauce disappear? Leave a star rating too — it helps other home cooks find this recipe and genuinely means everything to me. Happy cooking!

The Best Honey Garlic Glazed Chicken Thighs (Oven Baked)
Equipment
Ingredients
- 8 Chicken Thighs (bone-in or boneless)
- ⅓ Cup Flour
- ½ Cup Honey
- 5 Tbsp Soy Sauce
- 6 Cloves Garlic
- 1 Tsp Smoked Paprika
- ½ Tbsp Salt (to taste)
- ½ Tbsp Pepper (to taste)
- ½ Tbsp Red Chili Flakes (optional)
Instructions
- Preheat oven to 425 degrees.
- Foil line a 9×13 baking dish (to make clean up easy)
- Arrange all the chicken thighs in the baking dish season both sides with salt and pepper.
- Roll each chicken thigh in flour.
- In the Cuisinart Mini-Prep (a quick way to blend this together) added the garlic, soy sauce, honey, and paprika and ground it up until it was smooth.
- Roll the flour-coated chicken in the garlic, soy sauce, honey, and paprika mixture. Sprinkle the top with Red Pepper Flakes or leave them off if you don't like spice.
- Cover with aluminium foil and bake covered for 30 minutes and uncover for the last 15 minutes.